Carlson793
-
Posts
1443 -
Joined
-
Last visited


About Carlson793


Carlson793's Achievements
")


-
 Malpheus reacted to a file:
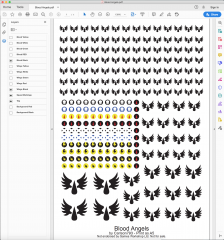
Blood Angels RT Era (2 of 2)
Malpheus reacted to a file:
Blood Angels RT Era (2 of 2)
-
 crabking reacted to a file:
House Malinax
crabking reacted to a file:
House Malinax
-
 Agramar_The_Luna_Wolf reacted to a post in a topic:
Salamanders Cuneiform Code Cracked
Agramar_The_Luna_Wolf reacted to a post in a topic:
Salamanders Cuneiform Code Cracked
-
LameBeard reacted to a post in a topic:
Ye Olde Decal Project
-
apologist reacted to a post in a topic:
Salamanders Cuneiform Code Cracked
-
Bouargh reacted to a file:
Ordo Reductor
-
Bouargh reacted to a file:
Blades of Vengeance
-
Bouargh reacted to a file:
Space Wolves RT Era
-
Bouargh reacted to a file:
Steel Brethren
-
Bouargh reacted to a file:
Company of Misery
-
I am no longer designing decal files, nor do I have access to my original files due to a drive failure. If you have one of the files I posted on this site, please contact one of the admins to see about having it uploaded.
-

-

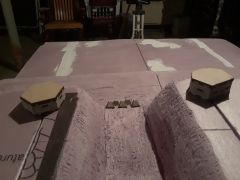
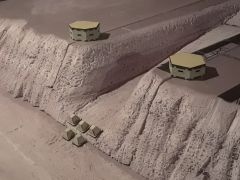
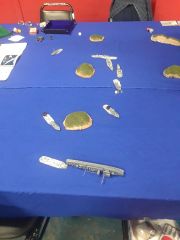
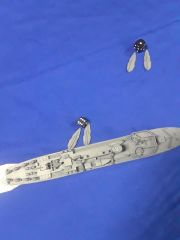
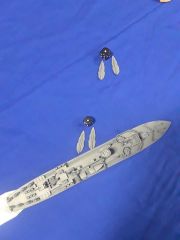
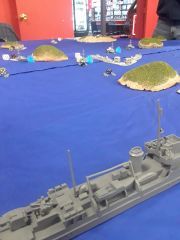
Today in Titanicus I...
Carlson793 replied to Black Knight's topic in + EPIC SCALE HORUS HERESY GAMES +
Today, I'm waiting on the rain to stop so I can hopefully get some models at least primed for this weekend. -
Today in Titanicus I...
Carlson793 replied to Black Knight's topic in + EPIC SCALE HORUS HERESY GAMES +
Today in Titanicus, I'm... • preparing a 3D printed epic-scale Spartan for basing (something to stick under a Reaver's foot) • printing some "Interplanetary Empires" tiles for the campaign we've got starting this weekend • getting weapons for my titans painted • and if time allows, reading up on the rules for a game I've played one time so far ;) -
I am no longer taking decal sheet commissions. The sheets I have posted are in their final form, and will not be modified by me.
-
A holding place for 'customer samples' of my WIP decal sheets.
-
-
Carlson793 reacted to a post in a topic:
Danpesci's Quarantine Painting Log
-
-
-
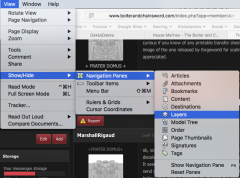
Part of the decision process is easy - use White Decal Paper. Buy the paper for your specific type of printer - Inkjet or Laser. Put the paper in the printer, open the file, and print. If using an inkjet printer, after the sheet has printed, allow it some time to dry (15-30 minutes), then spray a light coat of clear gloss paint over the sheet. allow this to dry fully, then spray a second coat. This will seal the sheet so the ink doesn't run. (This step isn't necessary when using a laser printer.) Application is the same as for any other decals (I recommend Winterdyne's tutorial in my sig). Note, however, that as your using white paper, when you cut out the decals, you will have a white edge to them. To fix this, cut the decal a bit wide before applying. Once the decal has fully set, use some of your background paint (black in this case), and use that to cover/blend the decal edges into the model background. That was the technique used on the Imperial Raptor on the missile pod on my Deredeo below.
-
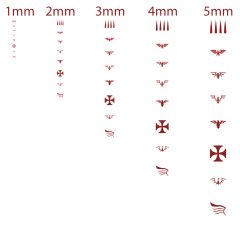
Since I've got a few minutes of down time before starting my next terrain project, and as I'm getting rusty with Illustrator, I whipped up Daimyo-Phaeron Lenoch's Black Guard and Rob P's Astral Hawks. See the Downloads section.
-

368 downloads
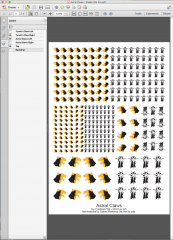
Black Guard Space Marine Chapter. Intended to be printed on white decal paper (background can be turned off in the Layers panel of your PDF reader). -

464 downloads
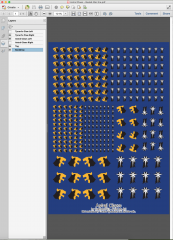
Astral Hawks Space Marine Chapter. Intended to be printed on white decal paper (background can be turned off in the Layers panel of your PDF reader). -
Carlson793 reacted to a post in a topic:
[Vanguard Miniatures] Mar 10: Zeus Grand Cruiser + Cybershadow ships
-
TTCombat's Citadel Mega Paint Rack 72.
-
Forge World Plasma Cannon cables
Carlson793 replied to Jamafore's topic in + GENERAL PCA QUESTIONS +
I usually just set a bowl of cold water with ice by the kitchen sink, then run the tap at full hot. FW resin is pliable/soft enough that hot straight from the tap is enough for bending. Run it under the tap, carefully bend it to shape, then submerge in the ice water. Repeat 2-3 times to make sure the shape is right and help it keep the shape better. -
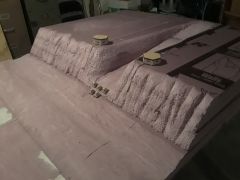
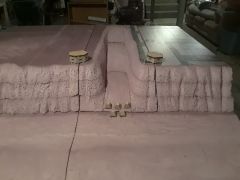
If you don't mind casting parts, Hirst Arts' Castle Molds (specifically his Egyptian molds) should do the trick. I had one of that set (Basic Block Mold #95) and they are detailed enough that, using a decent gypsum cement, the bricks come out feeling like they are made of sandstone.
-
Razorback/Predator top hull weapon mount plate.
Carlson793 replied to Havok13's topic in + GENERAL PCA QUESTIONS +
Check The Forges of Mars thread. Top of my head, I think Bitspudlo and Blood and Skull Industry would likely have them, maybe Kromlech (think they worked on turrets recently, so a base plate might be available as well).