Since the introduction of Primaris Marines, the modelling prevelance of Art Scaling, or TRU-scaling, has seen a somewhat reduction in popularity. Although those two terms were used somewhat interchangably, for me, they meant two distinct methods of Up-scaling Space Marines.
Art Scale was upscaling Marines by using larger models, predominantly terminator kits, and using a lot of greenstuff to gap-fill and bulk out to achieve the classic look.
TRU-Scale was using plastic styrene sheet to add height and bulk to the regular Power Armour kits.
It's TRU-Scaling that I'll be looking at today. I'm going to grab one of the mkIV plastic marines, go through the TRU-Scaling process and see if the finished result stands up to the newer mklll and mkVI plastic kits.
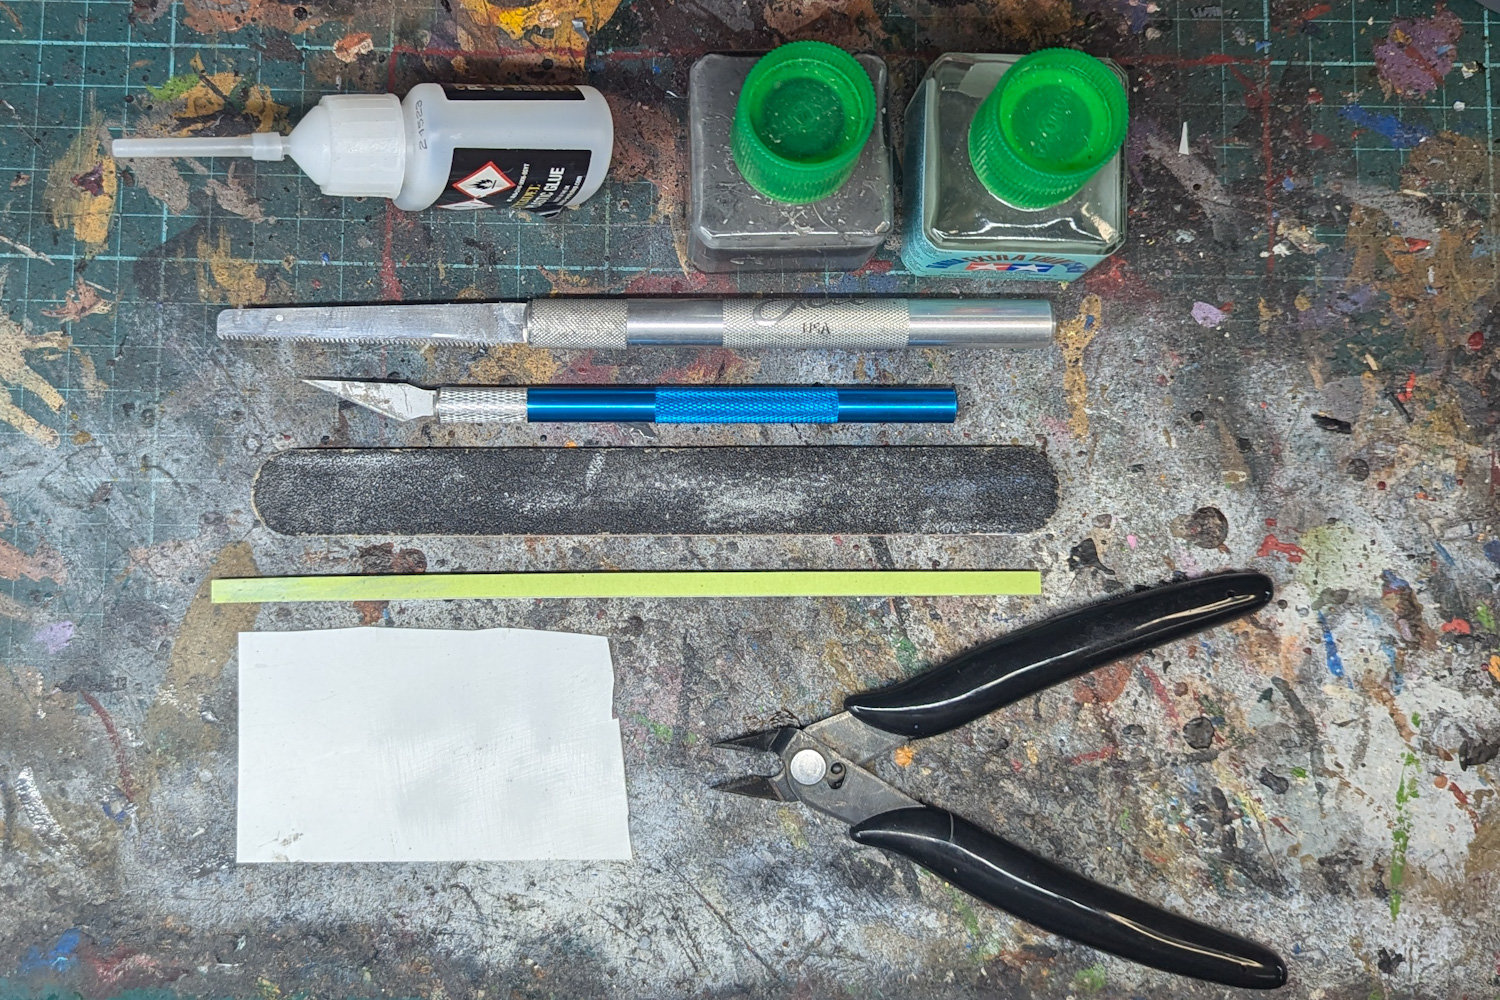
Needs to Have:
Hobby Knife with fresh blade
Hobby Saw
Clippers
Plastic Glue
0.5mm plasticard sheet
Nice to Have:
Foam Nail File
Sanding Sticks
Tamiya Thin
Sprue Goo
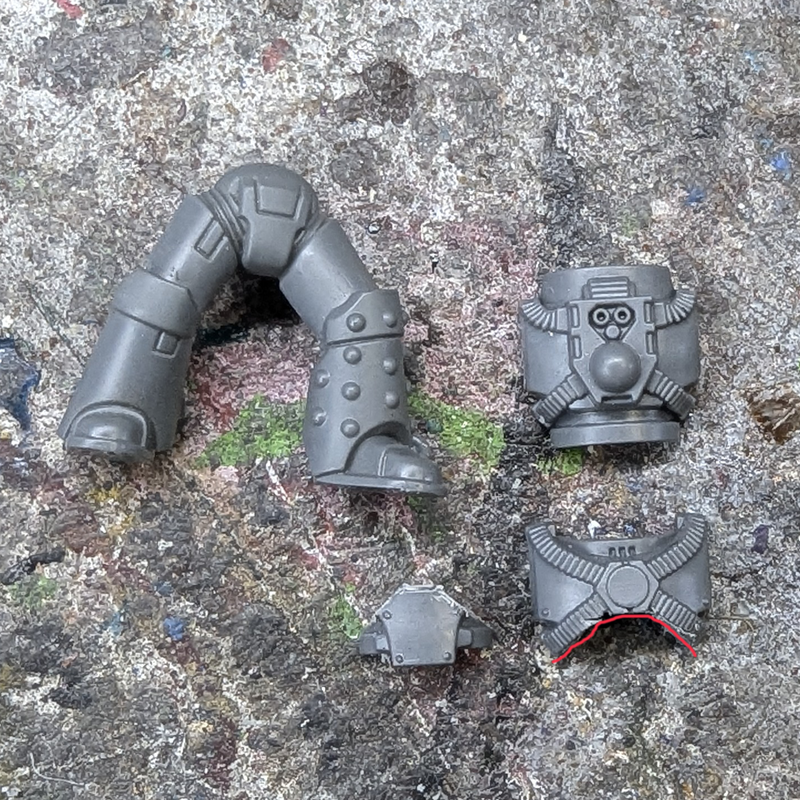
Step 1 is pretty straight forward, very carefully using your hobby knife, cut the abdomen out from the torso front.
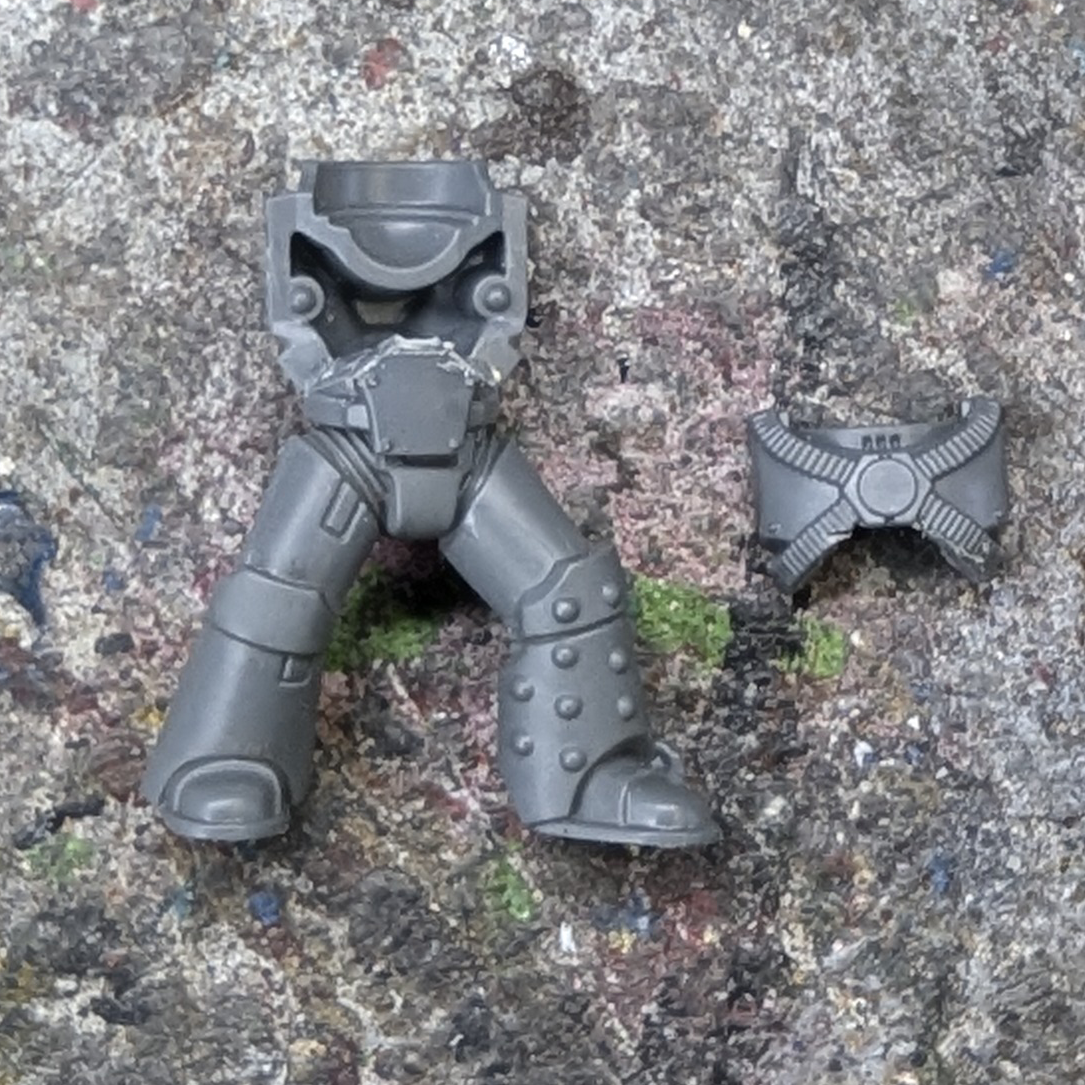
Step 2 is to glue the abdomen and torso back into place on the legs.
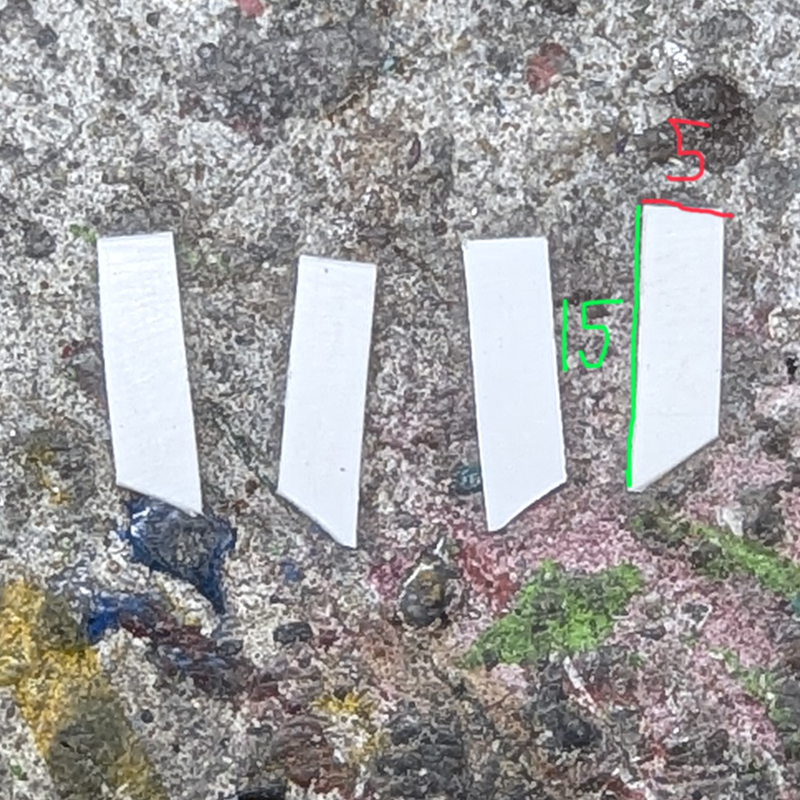
Step 3 is adding some bulk to the Torso, by pushing the upper torso out by 1mm. You need 4 strips of plasticard, each 5mm x 15mm, with one of the lower corners cut off.
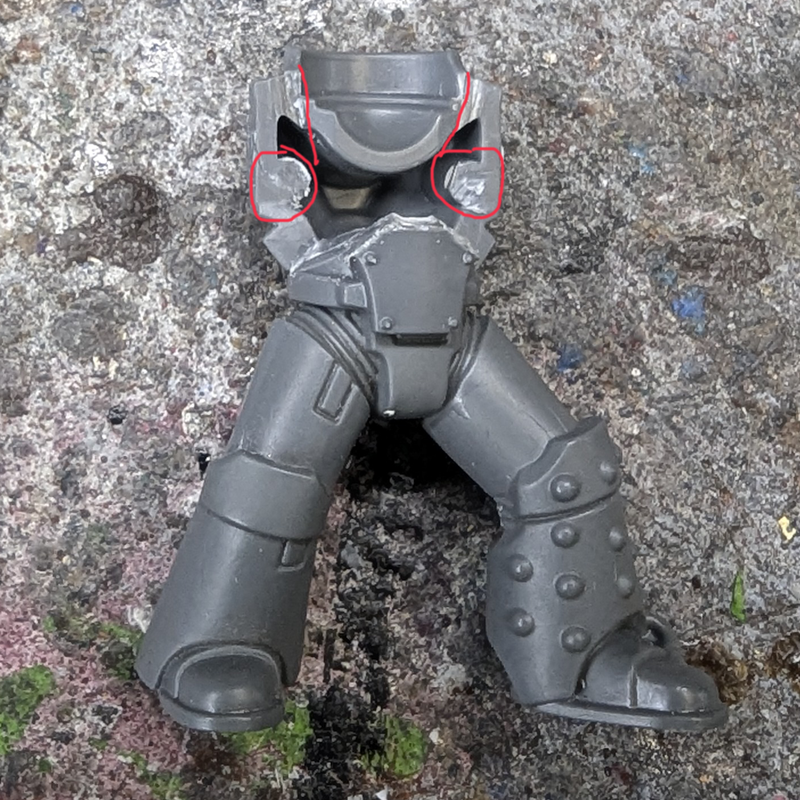
Step 4 is to prepare the rear torso for the plsticard stripe. First smooth off the two circled bumps used to locate the torso front. Second, there's a small angled piece of the torso on either side of the neck ball, we're going to cut a smll right angle out og these to allow the plasticard to fit more flush.
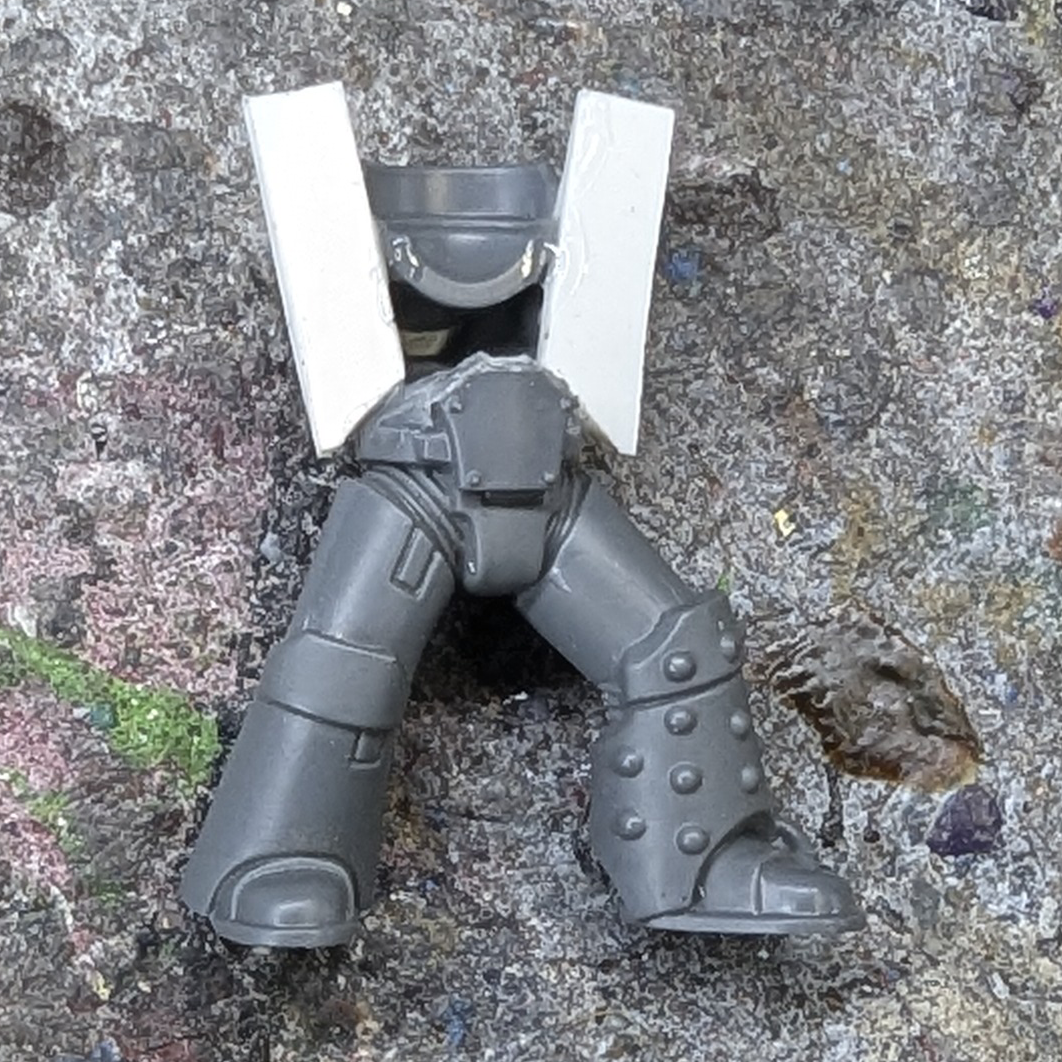
Step 5, attach two strips of plasticard to each side of the torso. When gluing the plasticard to itself, make sure to cover the entire overlap in glue, this is important to prevent the plasticard for separating later.
The glue needs a good amount of time to securely bond the platicard to itself, and the model. 2hrs minimum (this may seem excessive, but if you were to be batching these, the time would fly).
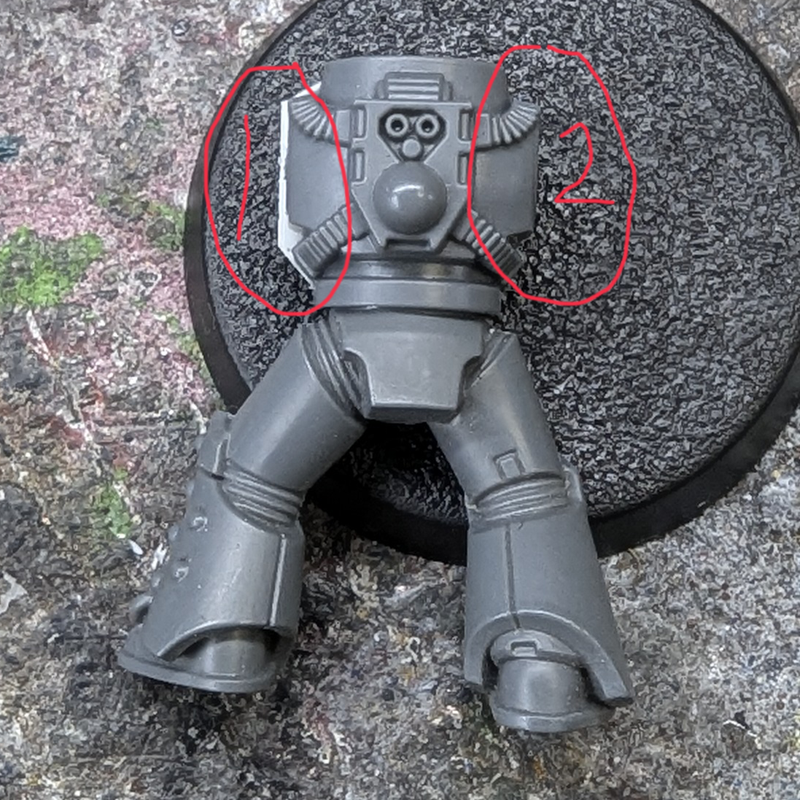
The first stage of Step 6 is to make some broad trims with your clippers. It's important that you leave excess at this point, otherwise it will effect the finished result. Once the broad trim has been completed, the second stage is to use your Hobby Knife and slowly work off the excess and get a close, smooth finish. Sanding sticks with be quite handy here.
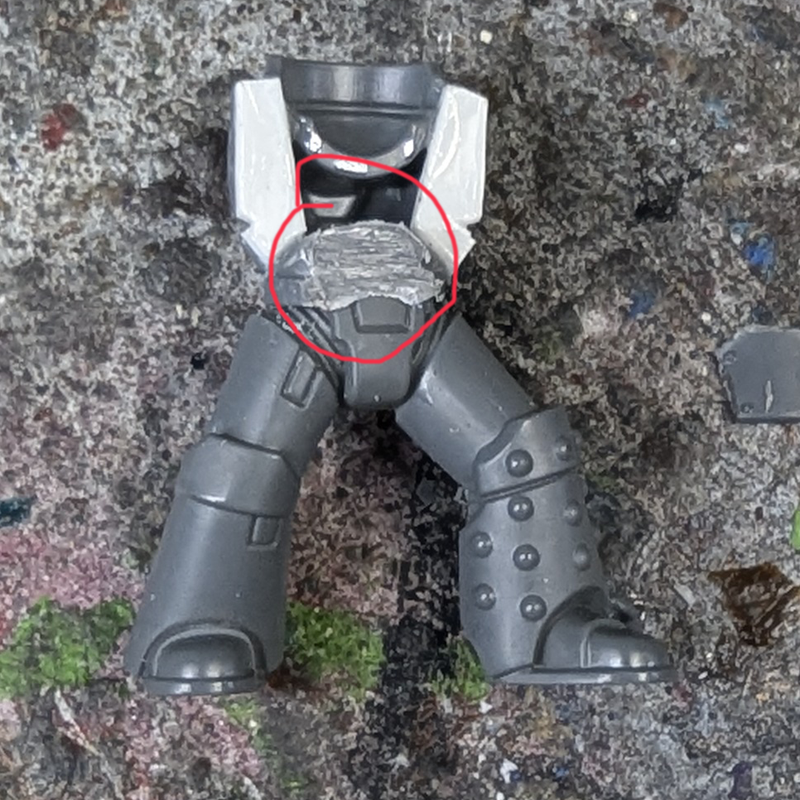
Step 7 is removing the crotch plate. Grab your Hobby Saw, and starting from the top, saw straight down, taking care to not damage the legs as you saw.
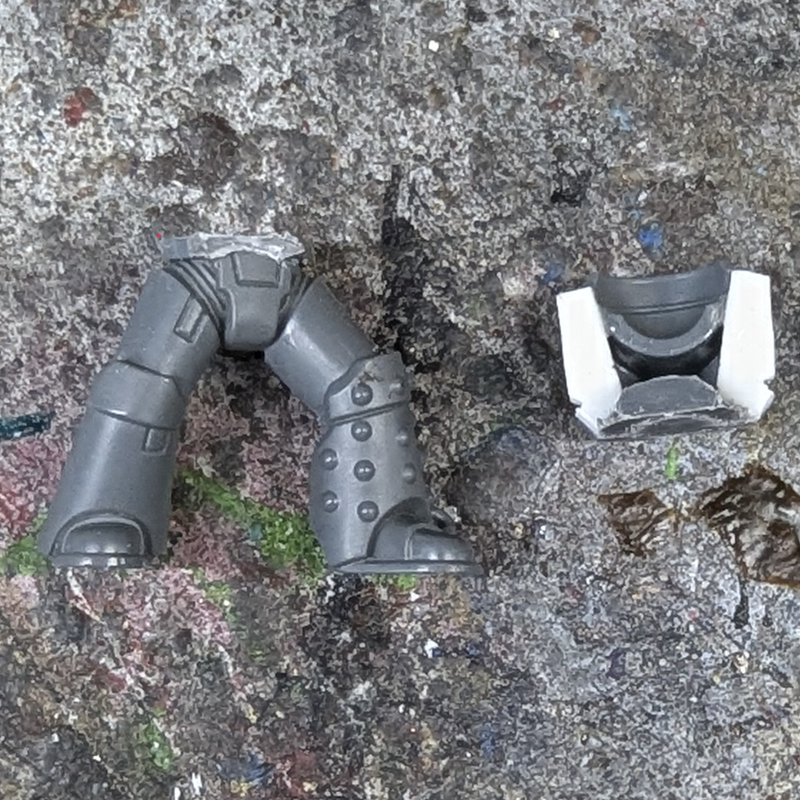
Step 8 also requires the Hobby Saw. Following around the top of the belt, saw the upper torso from the legs.
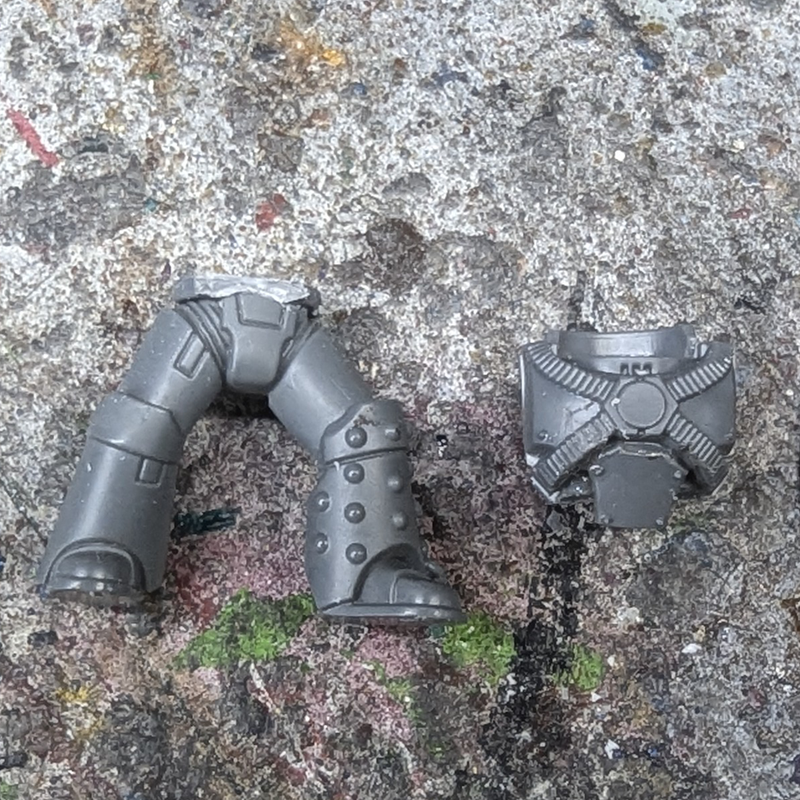
For Step 9 we're gluing the three pieces of the torso back together. You'll see the torso armour is glued in on angle, I left it this way for 10mins before pushing it vertical, which causes the plastic to stretch and cover a small gap between the upper torso and abdomen. You can skip this and use Sprue Goo if you have it available.
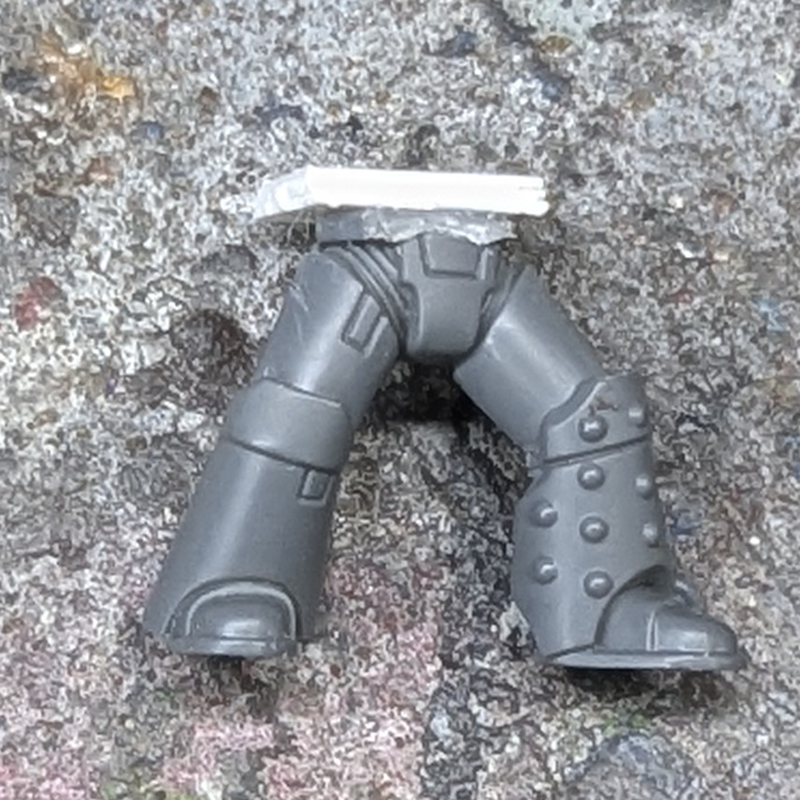
Step 10 is where we start adding height. Starting with 3x rough cut pieces of 0.5mm plasticard. Again, be sure to glue every mm of each layer of card together. Again, we wait, 2hrs or so.
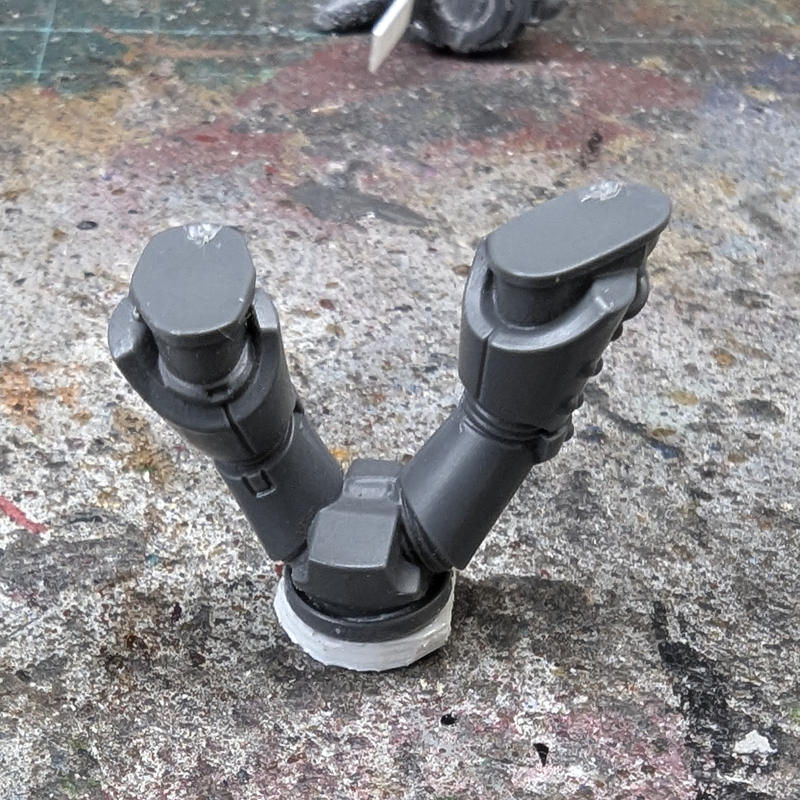
To start off Stage 11, perform a broad trim with your clippers, and the move onto the knife, much like we did with the upper torso. I found the best thing for this was to flip the model, and cut down onto the mat with the knife.
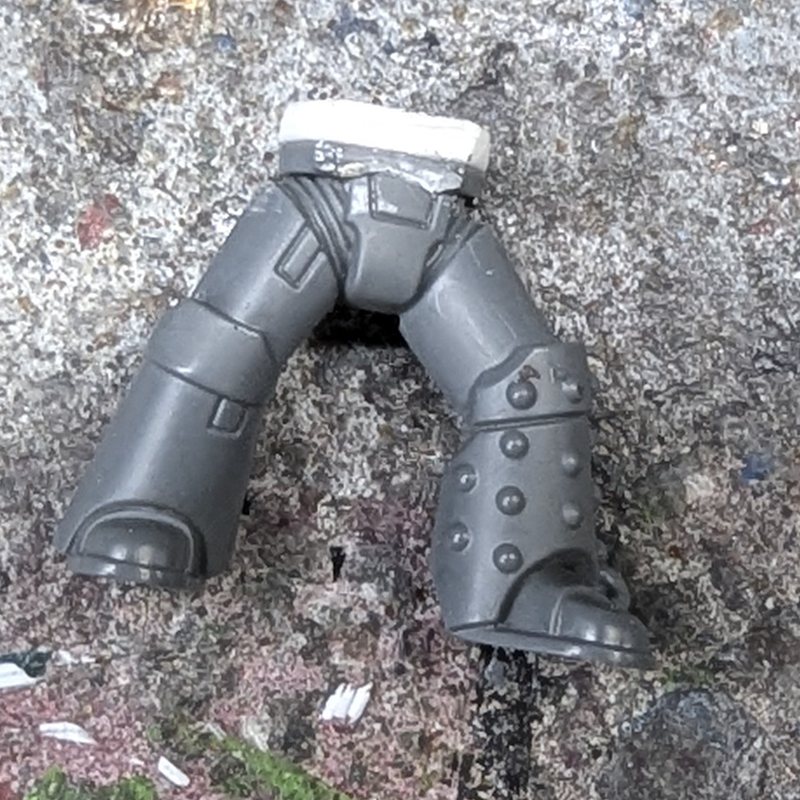
Then once the majority of the fine trimming was completed, I switched to the sanding sticks and made a nice clean finish. At this point, we can glue the upper torso back on op of the legs.
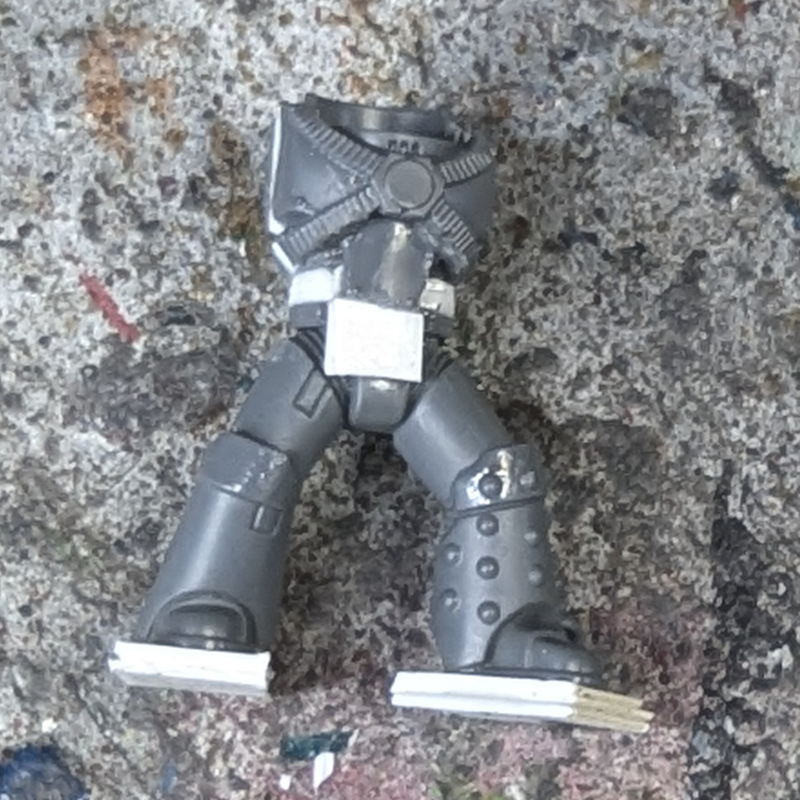
For Stage 12 s we'll be adding more height. Again, with 3x rough cut pieces of 0.5mm plasticard. Again, be sure to glue every mm of each layer of card together. Again, we wait, 2hrs or so.
At this point, I realised the abdomen plate was too short and starting an extention. In hindsight, I would have done this extention while it was separate.
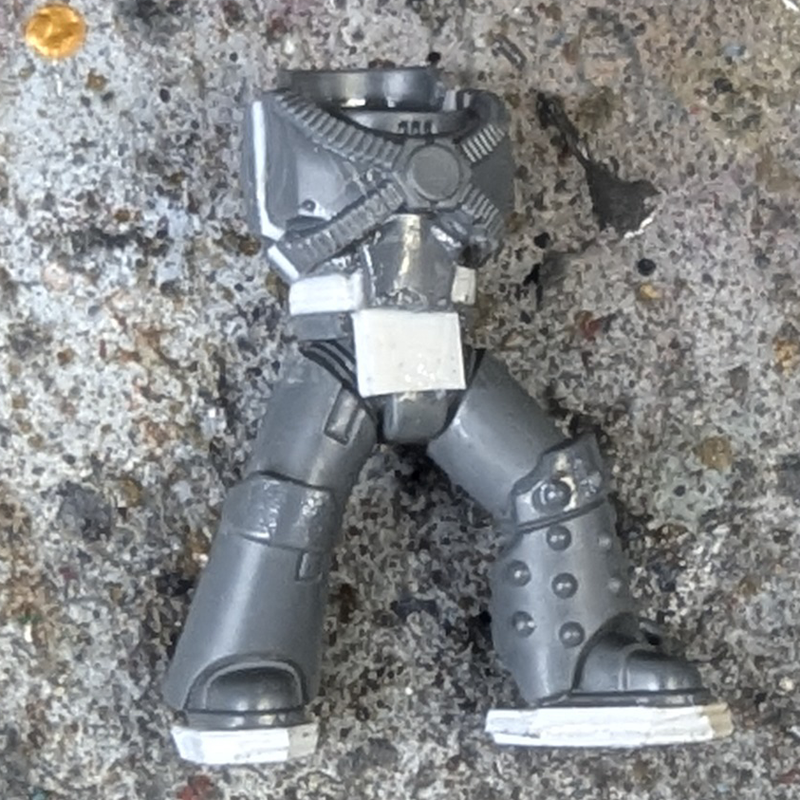
As with the previous plasticard stages, perform a broad trim with your clippers, and then move onto the knife, much like we did with the torsothen cut down onto the mat with the knife to get that smooth, flush finish.
Step 14 is the first on the road to the end, with everything glued back together, we've added an additional 3mm in height, lets put the model on a base and compare it to an unconverted mkIV Marine.
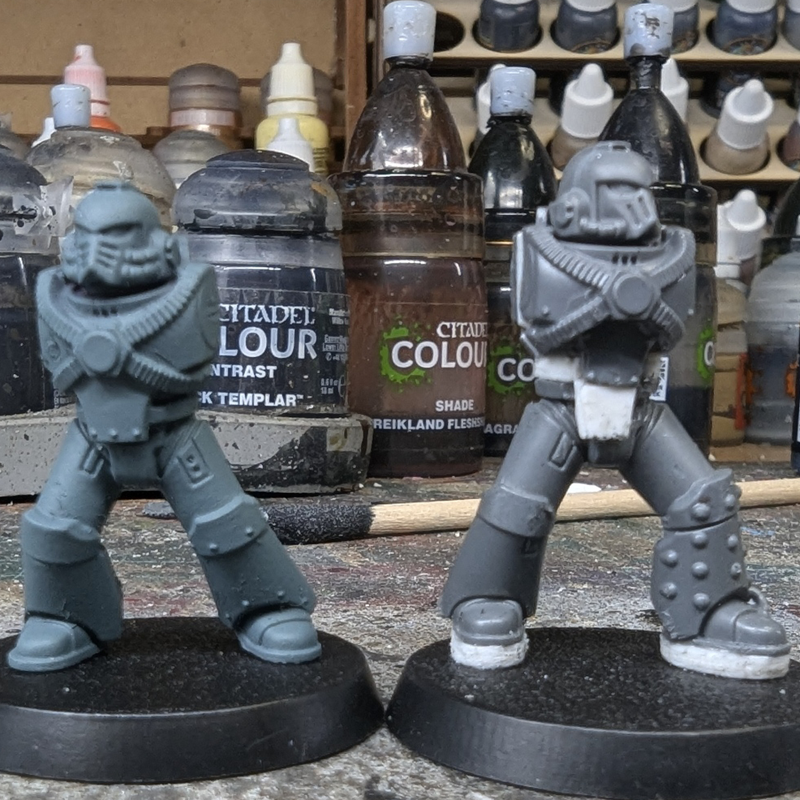
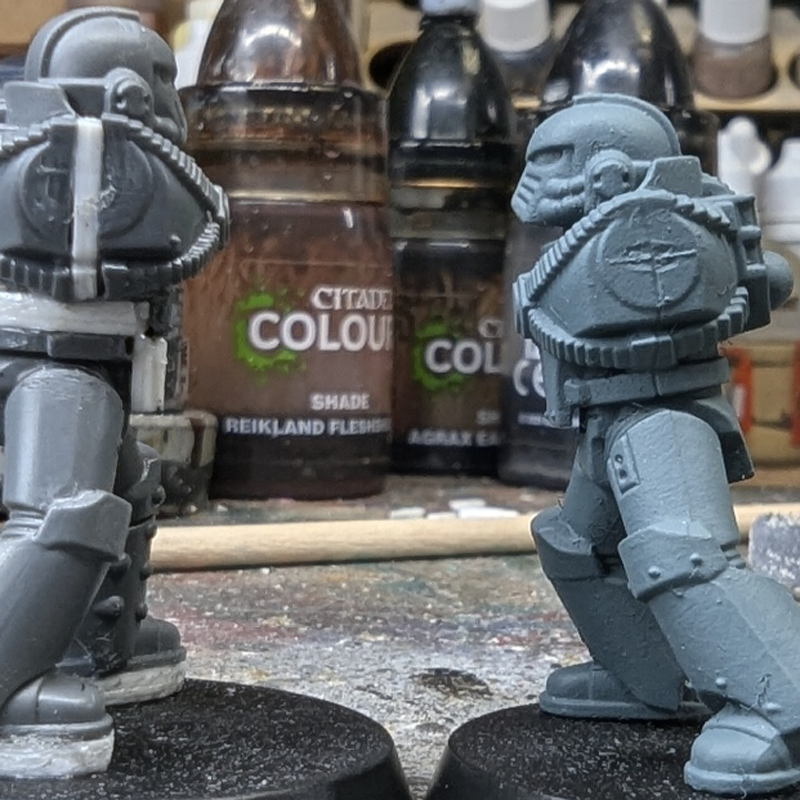
A comparison vs mkIV isn't what we're here for though, is it?
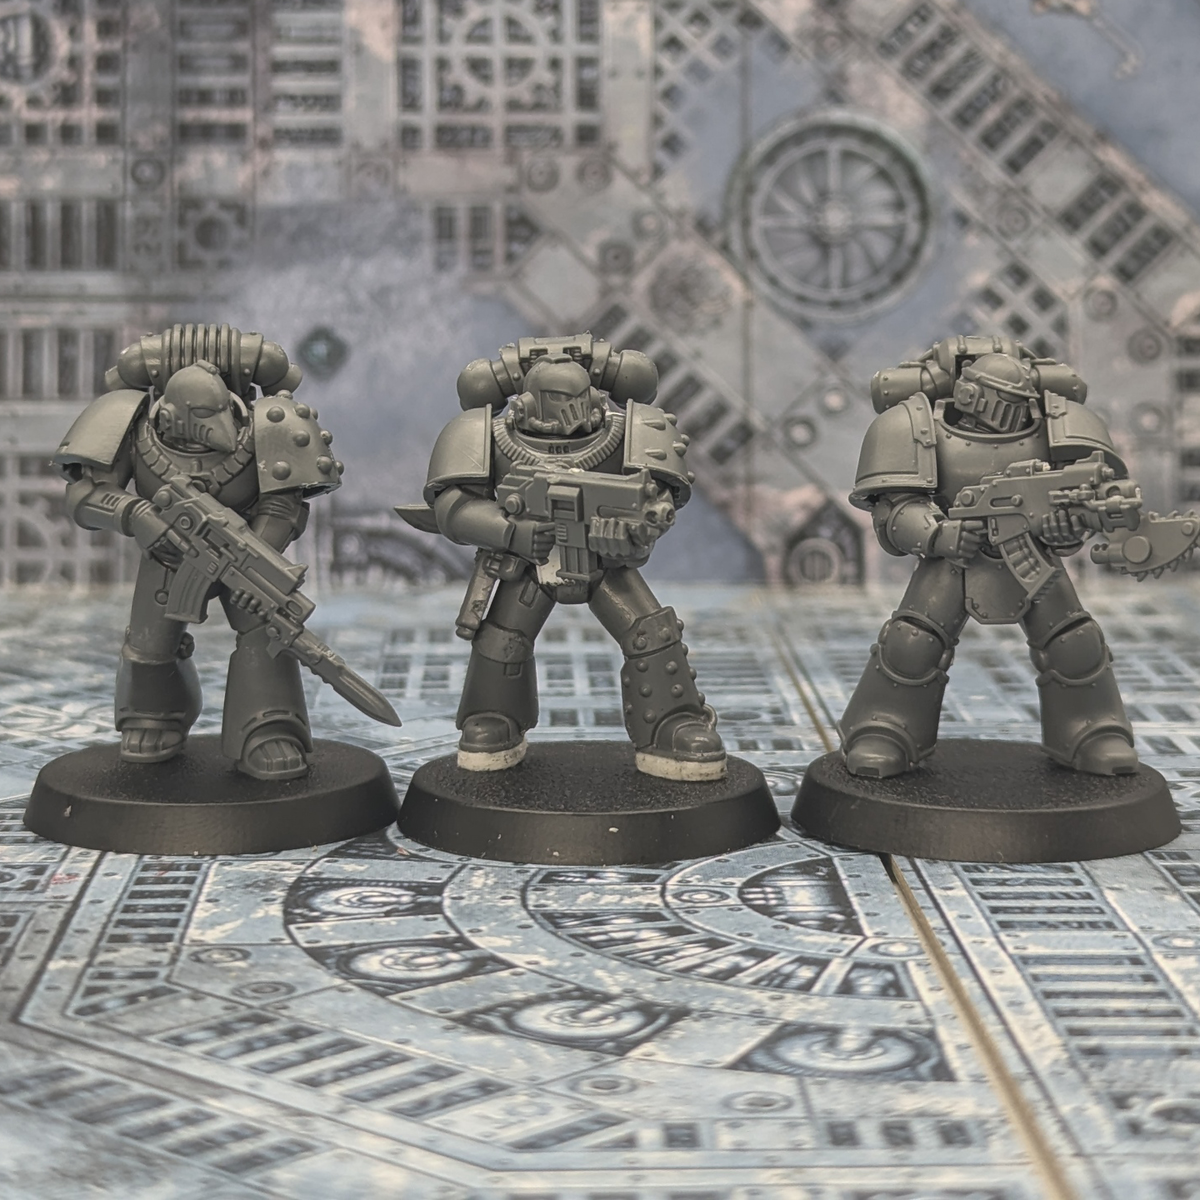
How does its scale up against the plastic mklll and mkVl plastic kits?
Pretty darn well I say...
But, I couldn't stop there, now could I?
I asked, will these techniques work with the new mklll and mkVI plastic kits?
Yes. Yes, they do.
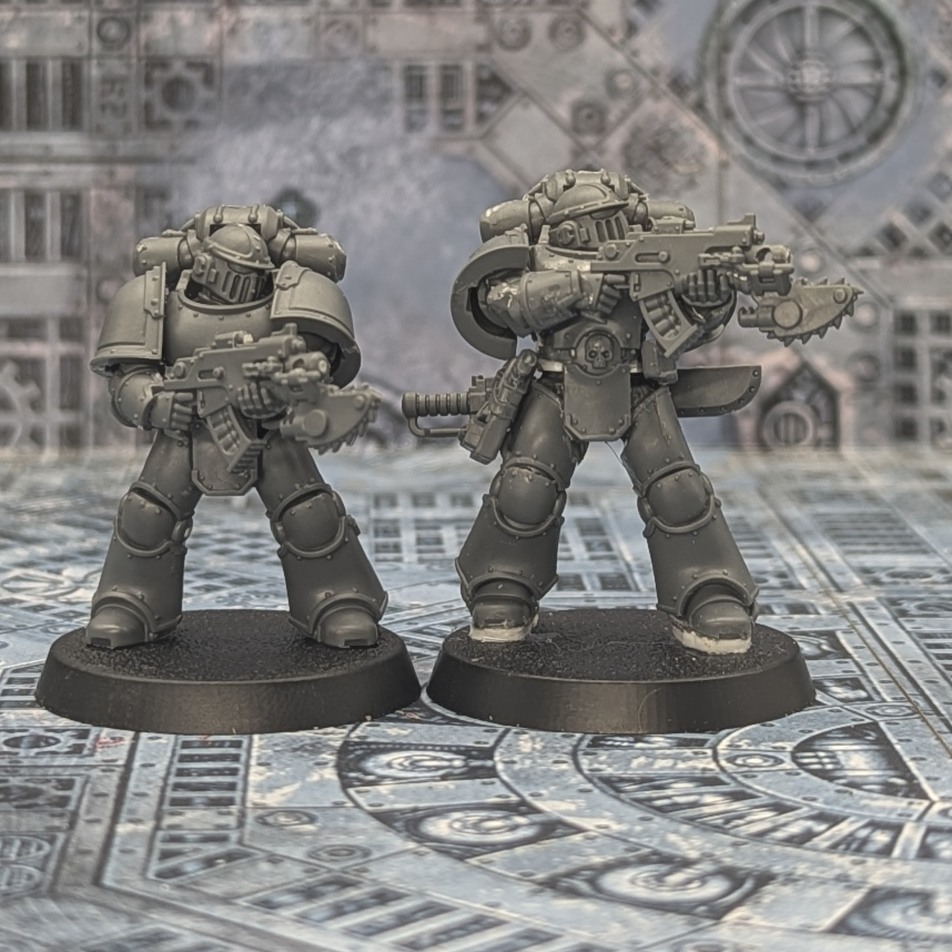
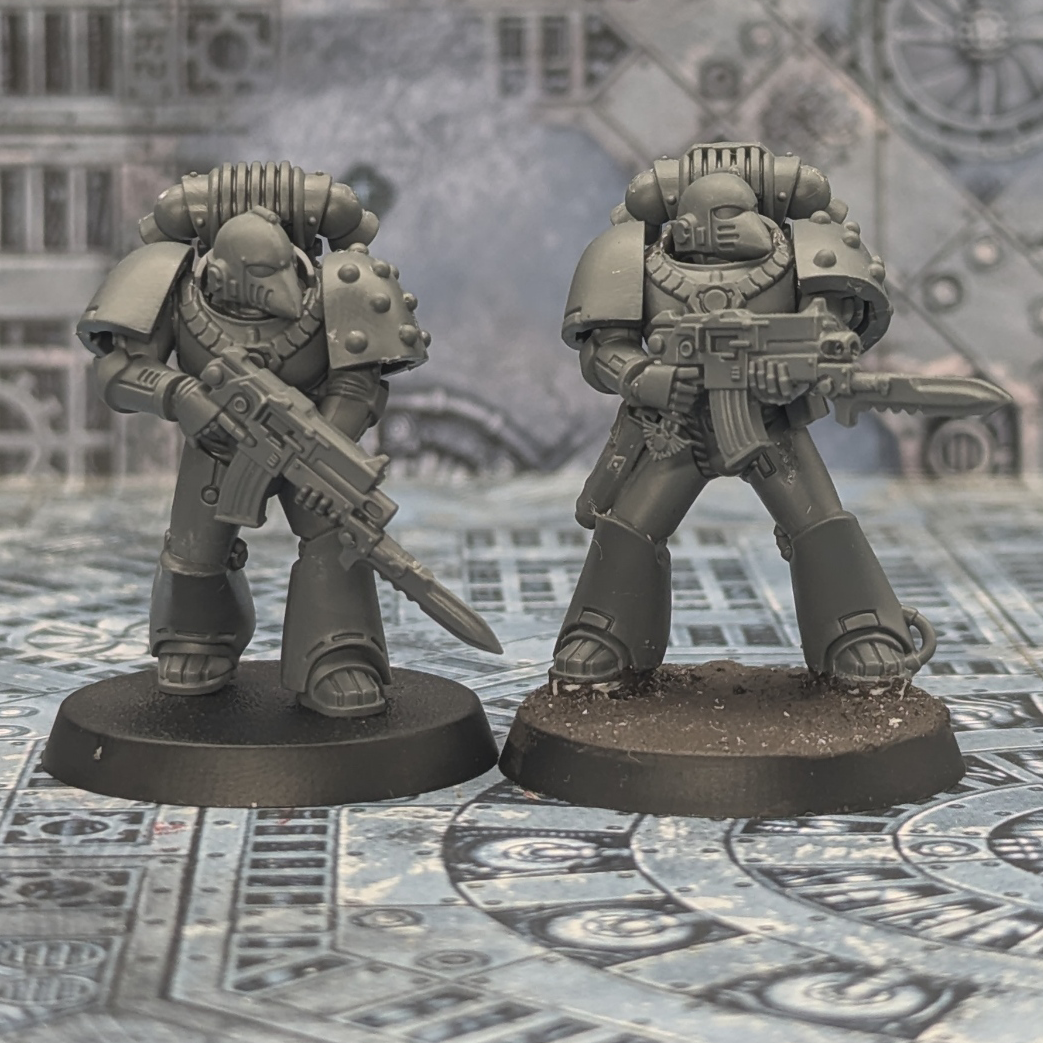
I think that this has been a fairly convincing experiment, and do think that upscaling the older Firstborn Kits certainly doesn't do them any harm, and can help with the scale difference within the Astartes model range.
