Hi Folks,
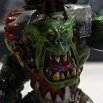
After a long time wondering if I might add a knight to my AdMech as a Freebalde in order to boost my armoured support, I succumbed to the charm of a Styrix knight some times ago.
But the latter, even if it is a nice center piece, tends in some case to be under scoring and with a rather low Return on Investment. I might play it in the wrong way. Or it is a too obvious bullet catcher. Or a single Freeblade is not an optimum set up. Or everything at the same time.
The diagnosis I set led me to seek for a different way of freeblading the armored support, moving toward a cadre of 3 Armigers. But which ones? Helverin and Warglaives are OK and the fact that the kits are now merged in a single box allows getting AdMech styled pauldrons even for Helverins. Yet I have decided moving toward Moiraxes instead. The lighting lock weapon type and the skull heads were to be accounted into my decision. I have indeed decided to get these for the look they have. Rule of Kool again.
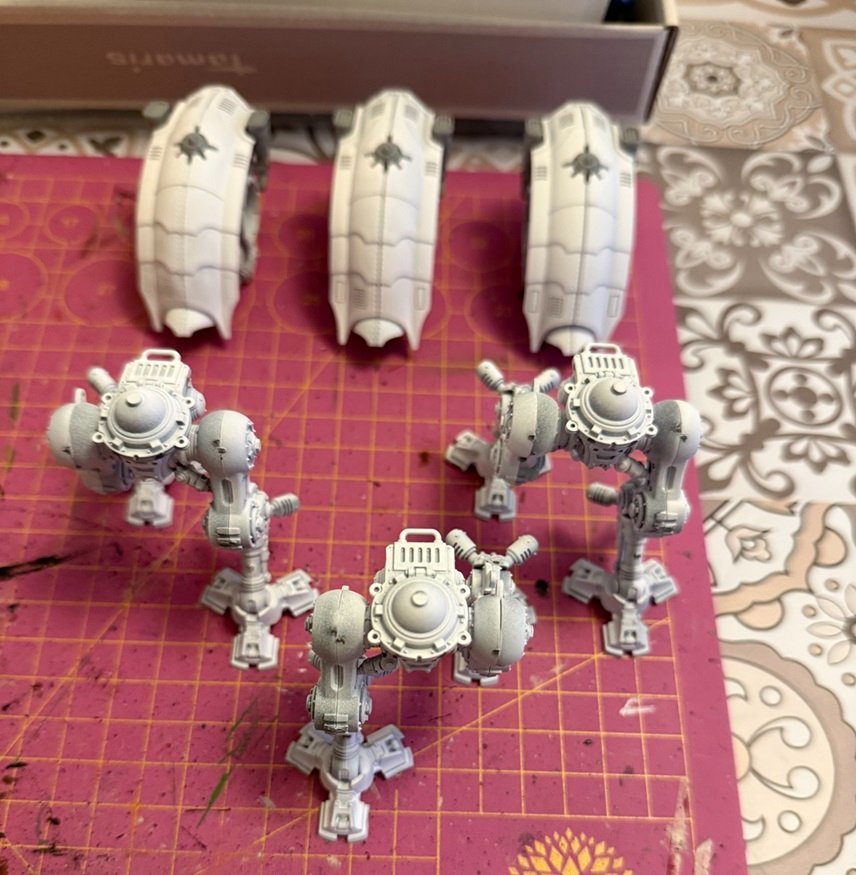
The 3 kits I bought were split into one Moirax with 2 LasLocks and a pair of Volkite with Claw chassis.
Their advantages are that these are not Legendary units, but FW, which may account to their eligibility in some games easier than not updated Legends. And that they are Battleline too. So, in case of extending my gathering of Knights in the coming months, it might be a circumstantial benefit – for what it worths and for what it stays. Yet, as the base case for Freeblades is 1 big knight or up to 3 Armiger chassis, this addition opens the option for getting these 3 lads distributed at various places in the battleline with a potential survivability superior to a single knight. Firepower will be distributed and if I loose one or two in a turn, the third one will still have the possibility to do something. It is like getting the eggs out of the single basket. A kind of balanced approach that might be interesting to get in some cases (such as bright/dark lances heavy armies or when facing other knights for example).
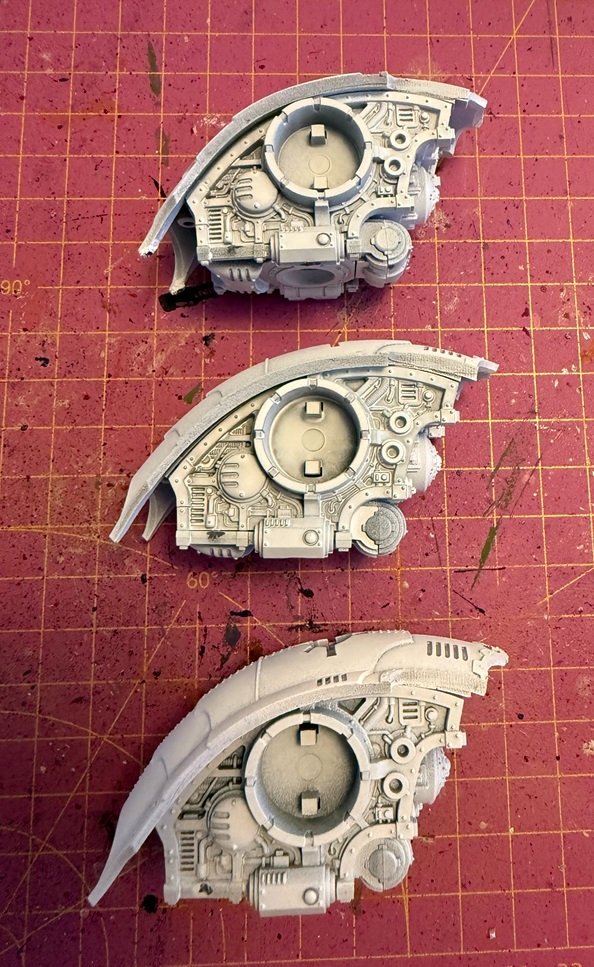
Initial steps after getting the models were cleaning and priming before starting sub-assemblies.
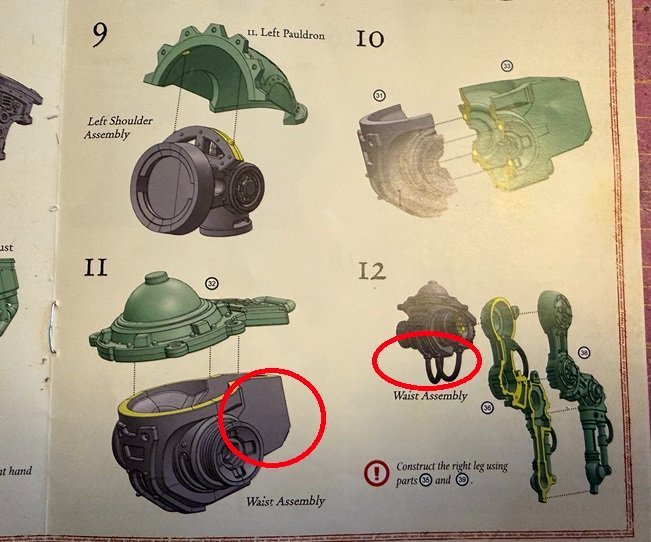
Legs were quite OK to build, even if the instruction leaflet has at least one error for the pelvic area of the battle robots. But it was easily corrected.
The upper body and pilot block was more or less smooth to assemble. Yet the usual suspects that are deformations for the resin parts due to demolding conditions were observed.
How to solve this? One could have been treated by mean of gap filling, but this is really an option for small defects and bubbles or damages IMHO. In that case, the solution is hot bending just as for the more major deformation. A small bath in hot water (60°C approx.), plus a smooth bending in position, et voilà! A perfect result.

When working with resin, hot pot is your friend!
Rest of the job was rather straight forward, and the main sub-assemblies were done promptly. Next step will be weapons, and then I will be able to shift to paint job. Scheme will have to be decided first, even if I will try to stay aligned with my Styrix big brother and its color pallet inspired by House Korvax.
See you for next steps probably after Seasons’ greetings.
Edited by Bouargh

1 Comment
Recommended Comments
Create an account or sign in to comment
You need to be a member in order to leave a comment
Create an account
Sign up for a new account in our community. It's easy!
Register a new accountSign in
Already have an account? Sign in here.
Sign In Now