The Importance of the "Three P's"
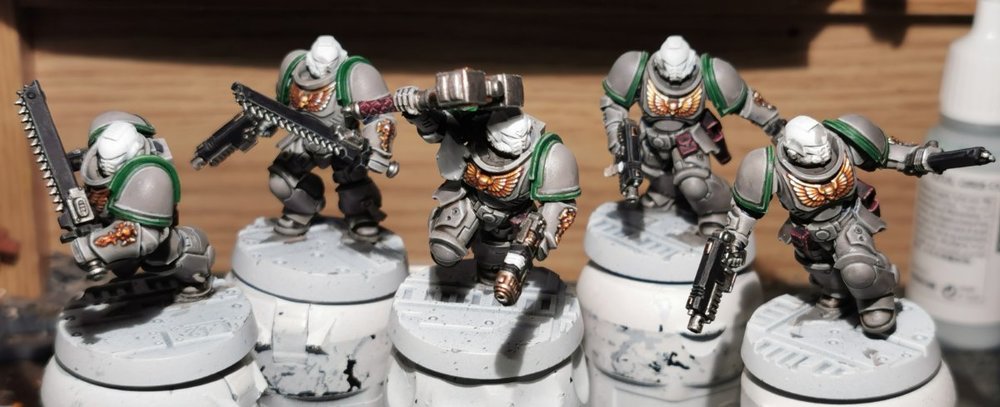
...and by that I mean 'Planning', 'Preparation' and 'Practice' ![]() As I've gone into each step of painting these Marines, I've followed each of these steps - using my tester Marines to plan, prep and practice before painting the finished squad.
As I've gone into each step of painting these Marines, I've followed each of these steps - using my tester Marines to plan, prep and practice before painting the finished squad.
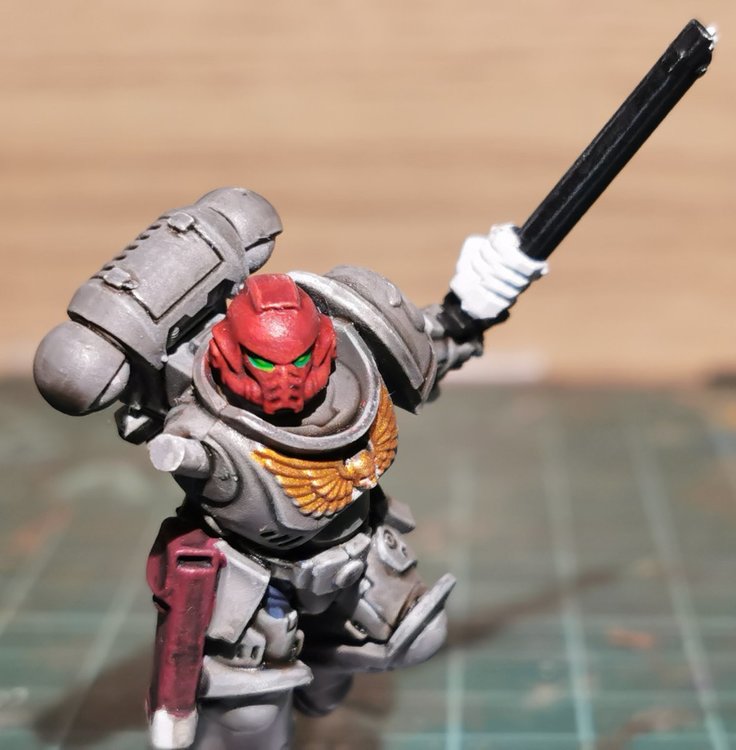
Except, the one time I didn't do this fully, it caused me a bit of faff! When it came to doing the highlights on the Chainsword casing, rather than try it out on a tester Marine first, I just went straight jn. I usually do straightforward painting on edge highlighting, and I thought this would be OK to do so here. How wrong I was! Due to the edges on the back of the casing not actually being that sharp (they're actually a bit rounded), and the awkwardness of some of the angles, I could not get a standard of edge highlight I was happy with. 
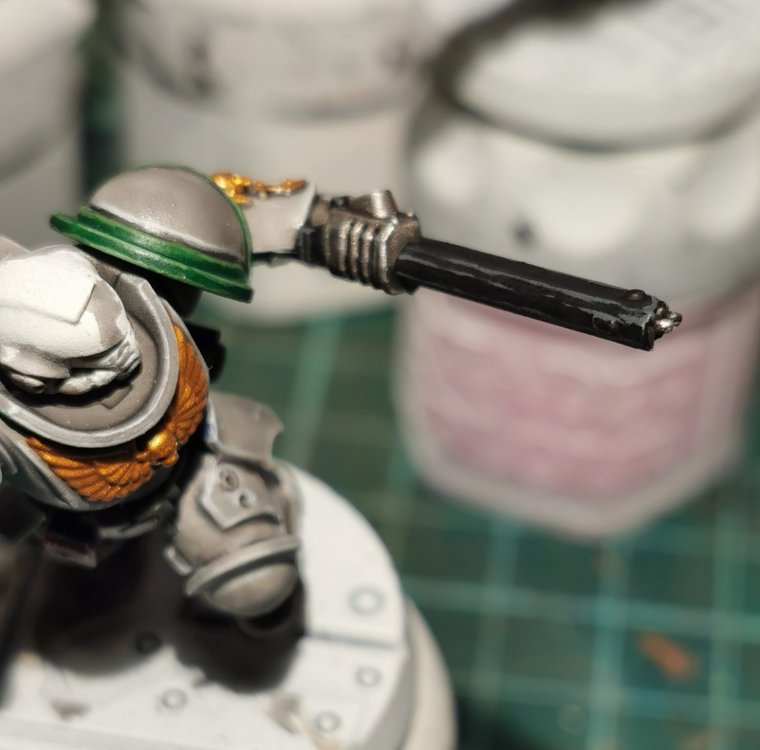
So I went back to a tester Marine and tried a different approach - drybrushing with the highlight colour (Mechanicus Standard Grey) then washing with Nuln Oil or Black Legion Contrast, in between the edges, to tidy. I knew this was immediately the better approach:
So I went back and redid the Chainsword casings on the squad - I'm glad I did!
So, lesson learnt - stick to the Three P's! ![]()
Although, ironically, having just finished the chest Aquillas and other gold details, I didn't practice that first - but to be fair I've already had practice doing gold chest Aquillas on a previous project ![]()
Edited by firestorm40k
Typoes
- Rusted Boltgun and Bouargh
-
 2
2


0 Comments
Recommended Comments
There are no comments to display.
Create an account or sign in to comment
You need to be a member in order to leave a comment
Create an account
Sign up for a new account in our community. It's easy!
Register a new accountSign in
Already have an account? Sign in here.
Sign In Now