Ride Eternal - Shiny and Chrome
Entry posted by zulu.tango in Da Khromeboyz
496 views
August sure did fly by.
I'd intended about being more diligent about maintaining this blog alongside the progress of this project. However between work and family life being chaos as summer drew to a close I barely had enough time to finish this project, let alone effectively document its progress. As such this is going to be a behemoth of a post, though I'm going to keep the text down and try and let the pictures do most of the talking.
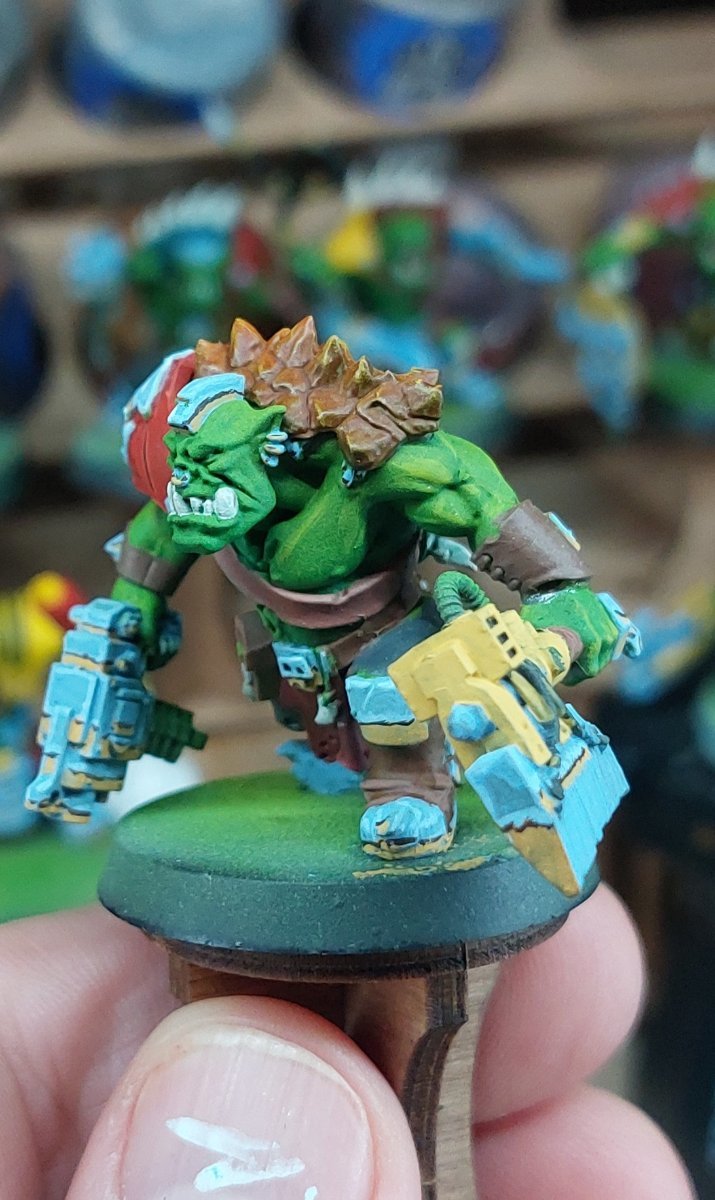
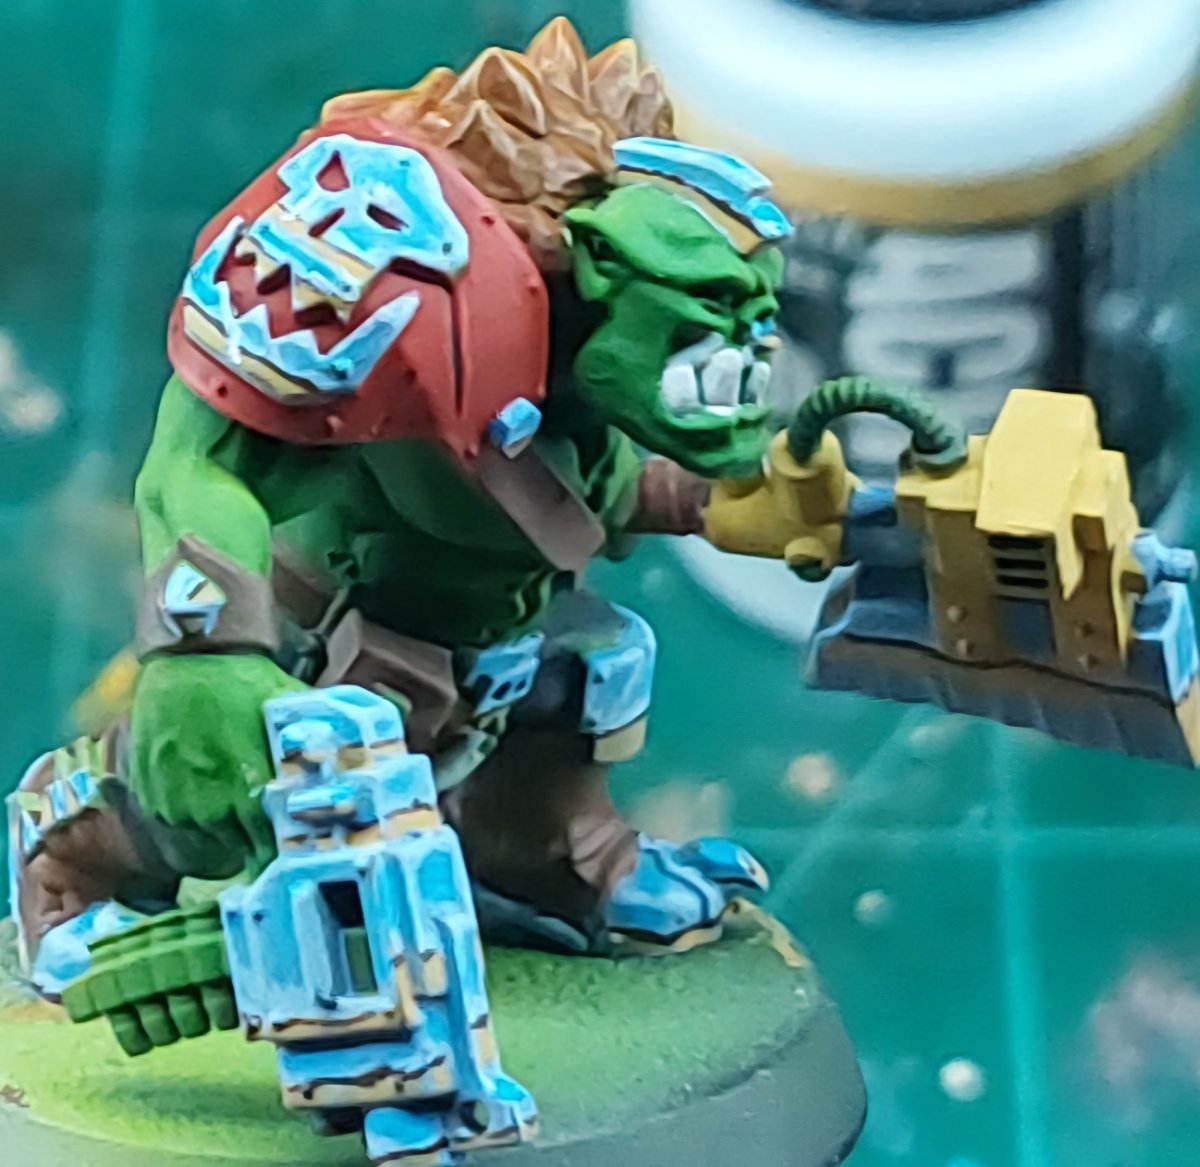
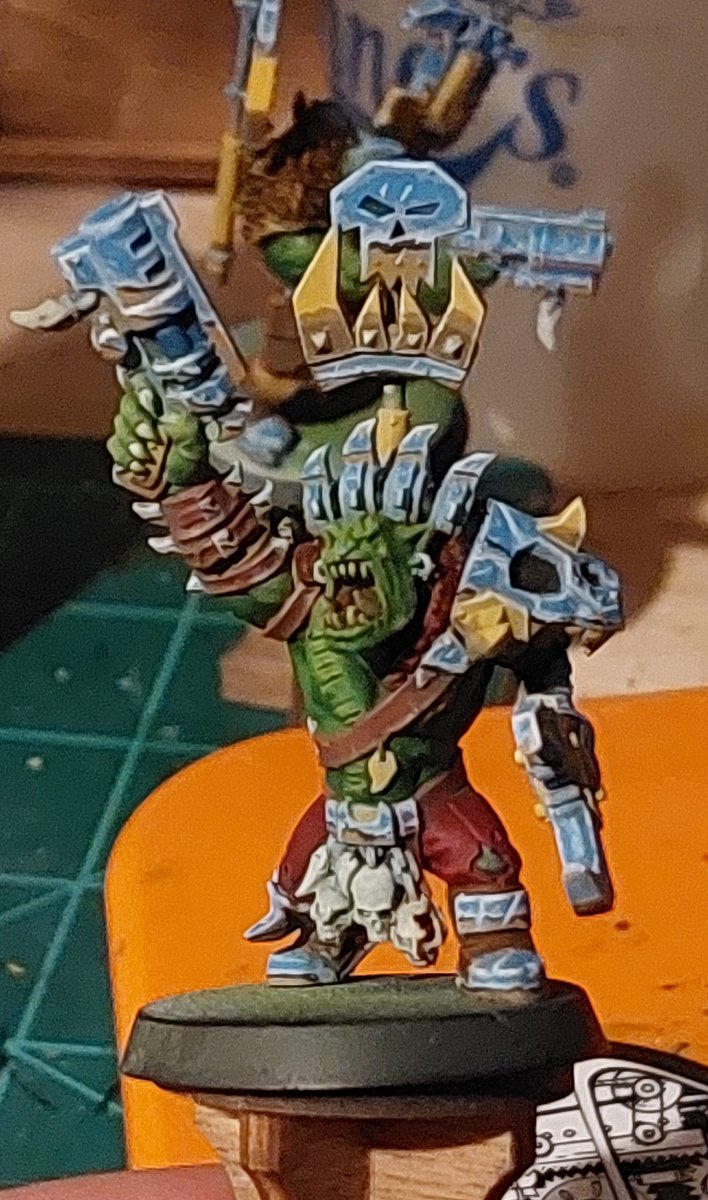
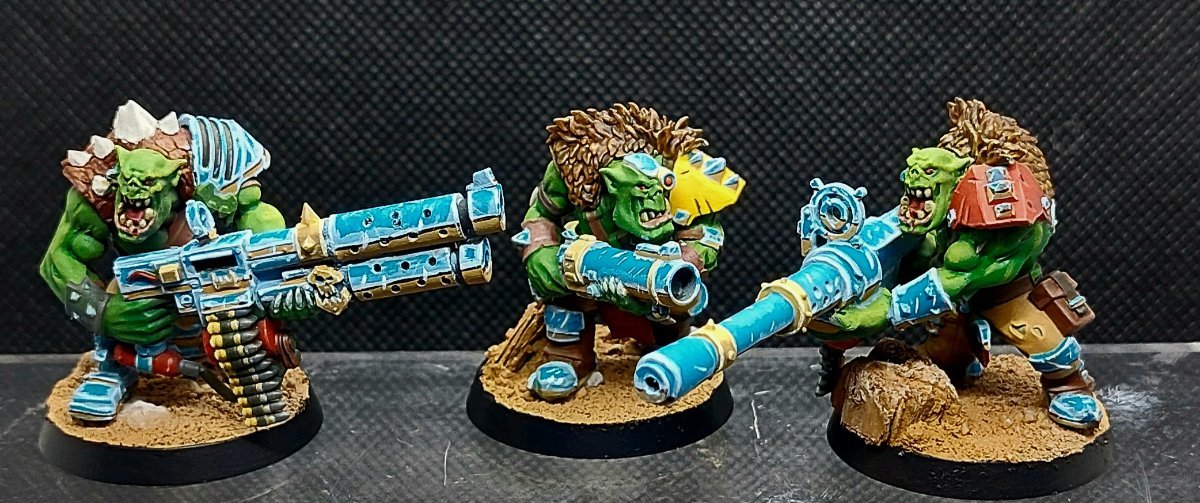
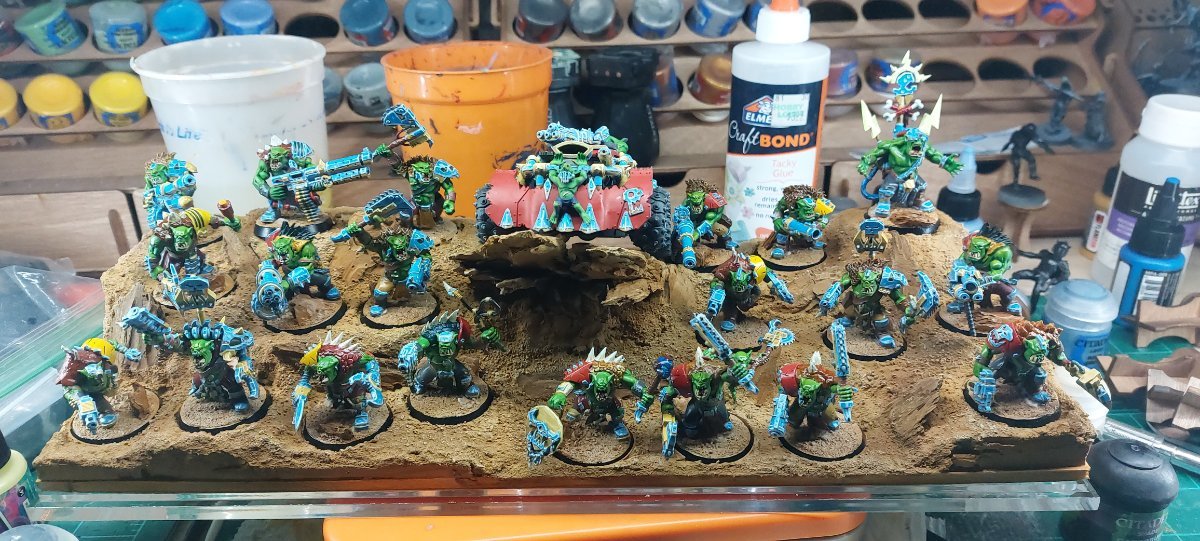
From cloth to chrome - the hardest part of this paint scheme was the "Khrome". Its a forced horizon perspective meant to emulate a chrome finish. My process started with a base-coat of a light blue, edge-highlightng that blue lightened with a white, and then drawing an initial "horizon" line. That was followed up with a layer of "ground" color (a brownish orange for my scheme), a hard horizon line (dark brown line) between the light-blue and the ground color. After that its a darker blue for the deep-sky portions and then mostly white highlight layer to hit the highest points of the metal surface. I also went back and added scratches/glares with the same near-white color to break up the deep blue
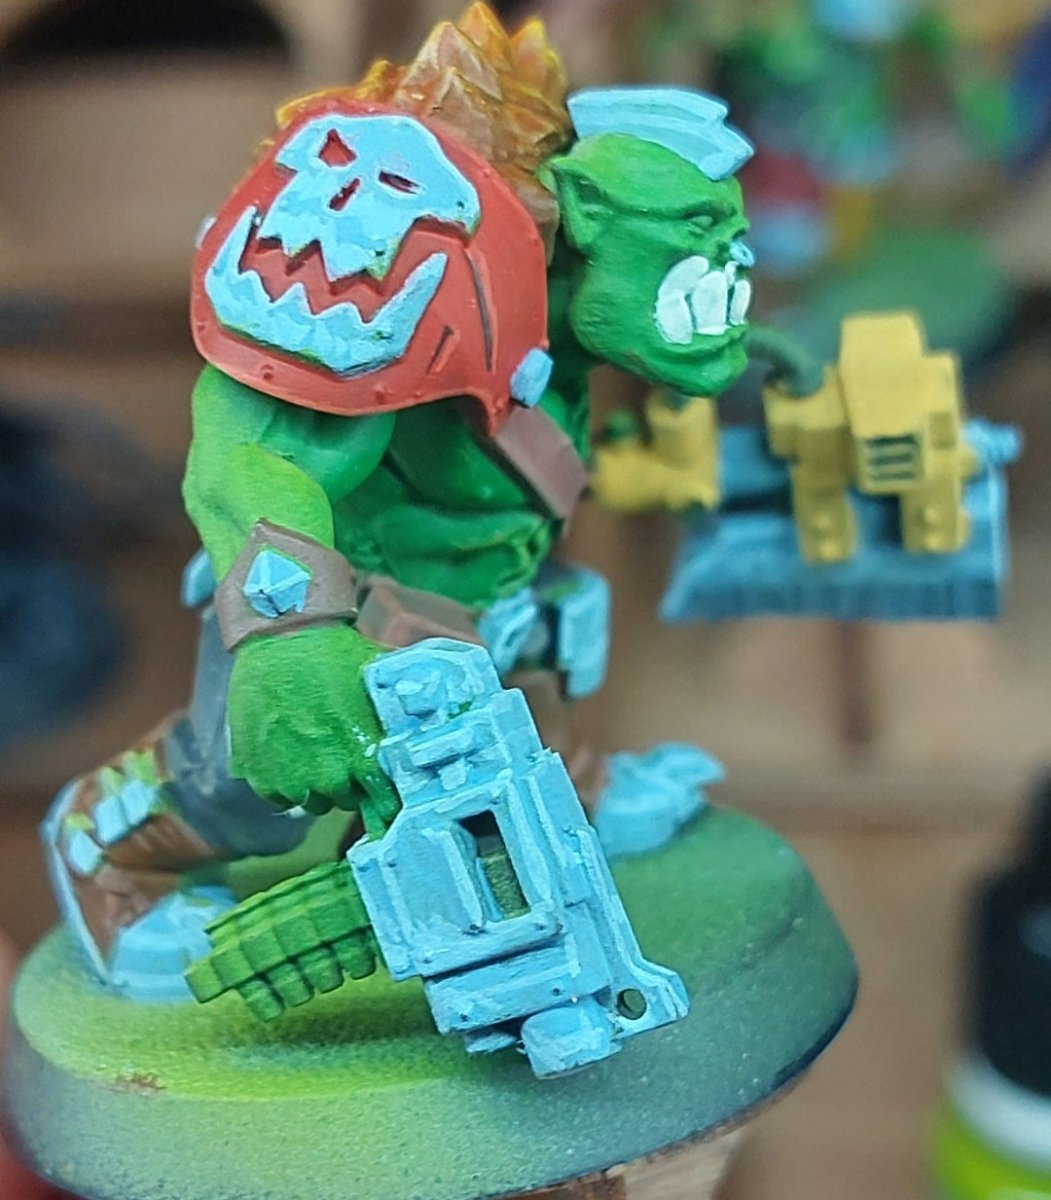
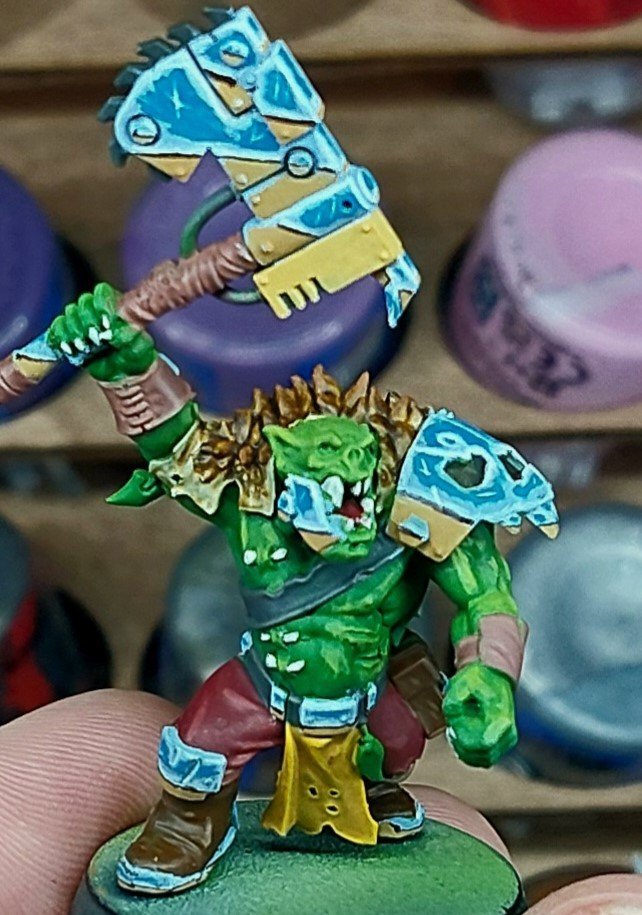
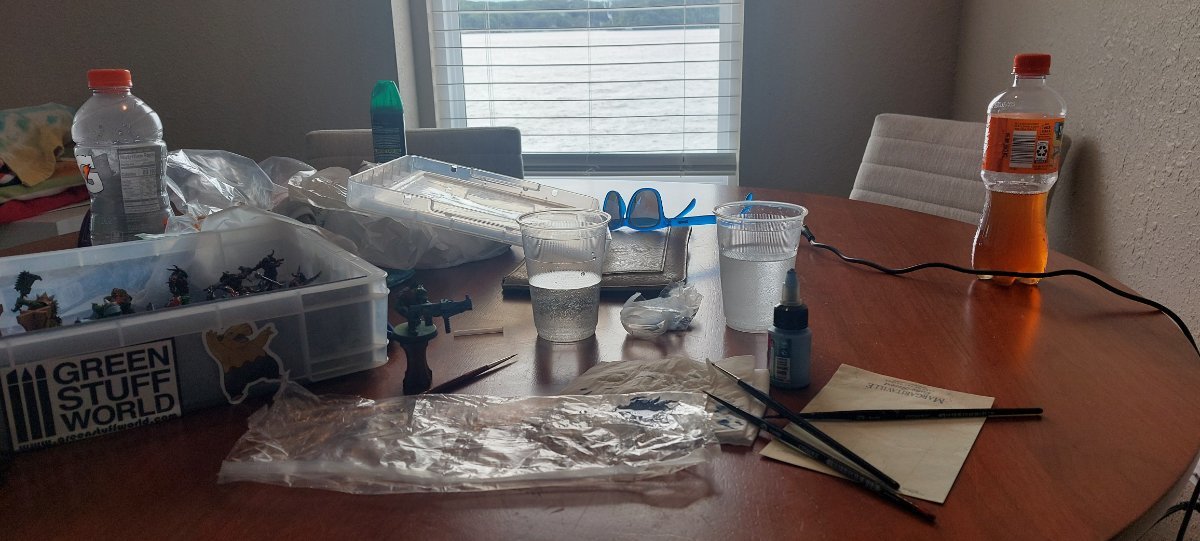
Once I had the process down the speed picked up, but it was still the most time-intensive part of the project by far. I put it on almost every metal surface on the models, and while the smaller bits are easier to "cheat" by omiting some of the colors, it probably took me 2-4 hours per model. (bonus picture of me working on some during some vacation downtime)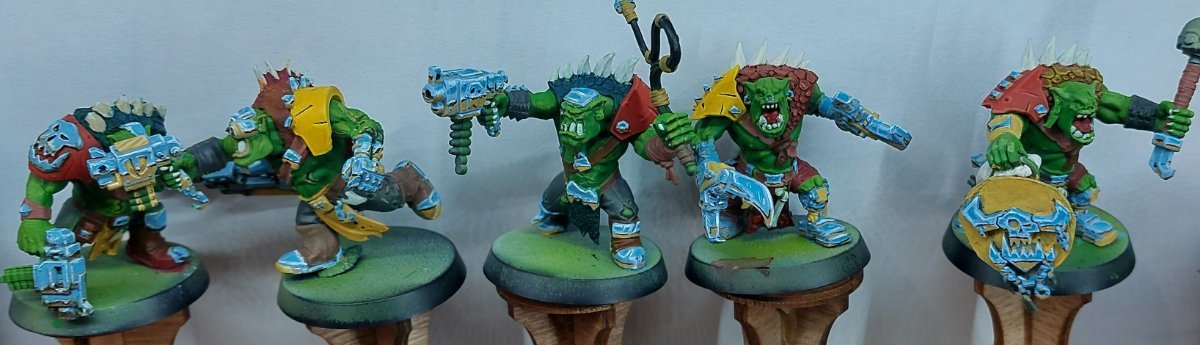
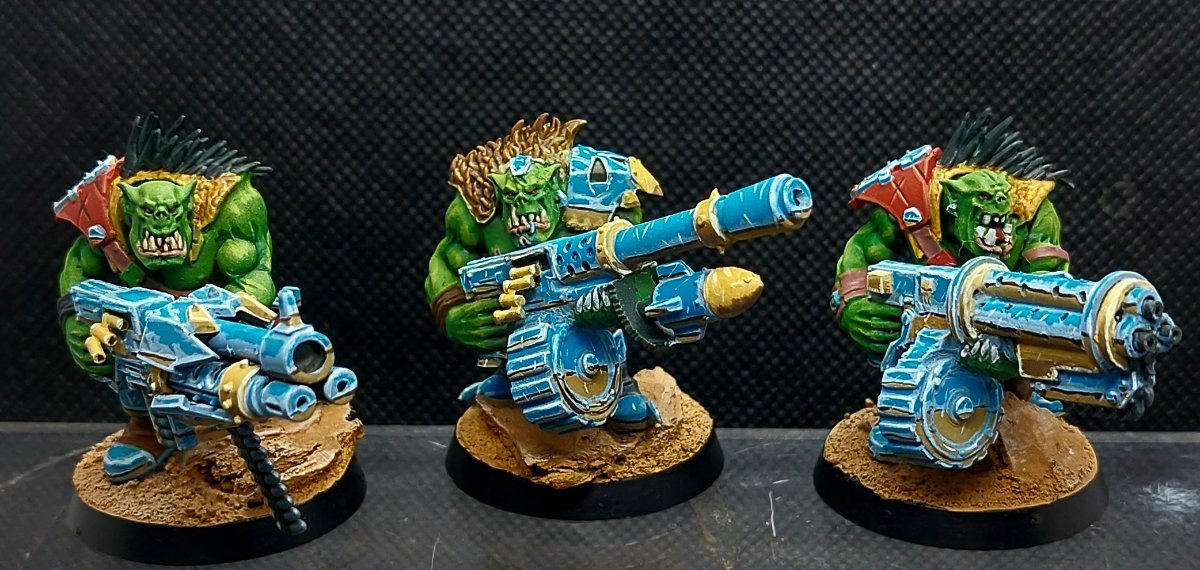
Once I was finished with the chrome I played around with a brass-like scheme for the non-chrome metalic parts of the minis. I was a fan of my initial idea, but the shifts were too gradual to read really well, so I made the transitions more stark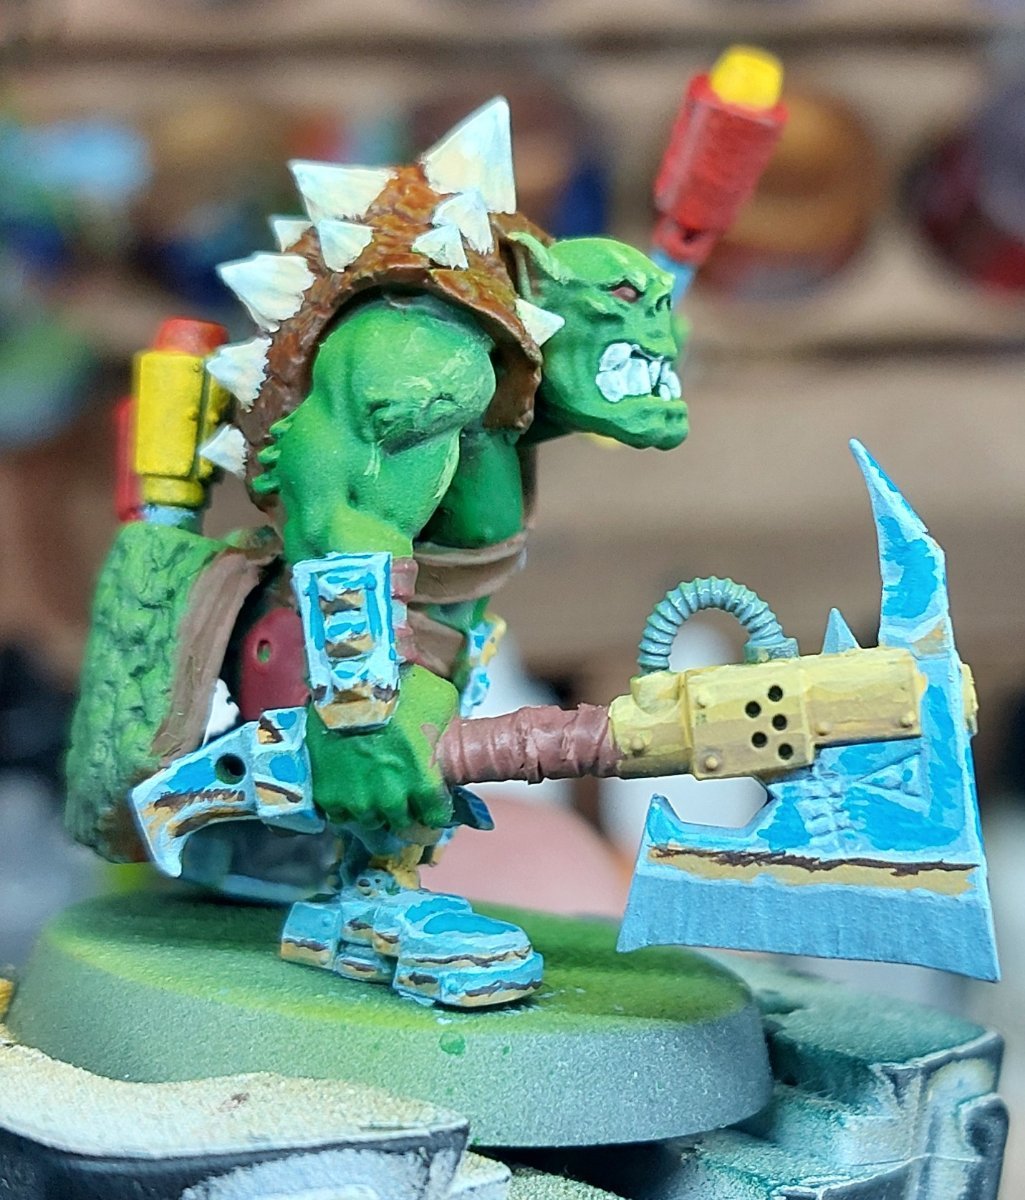
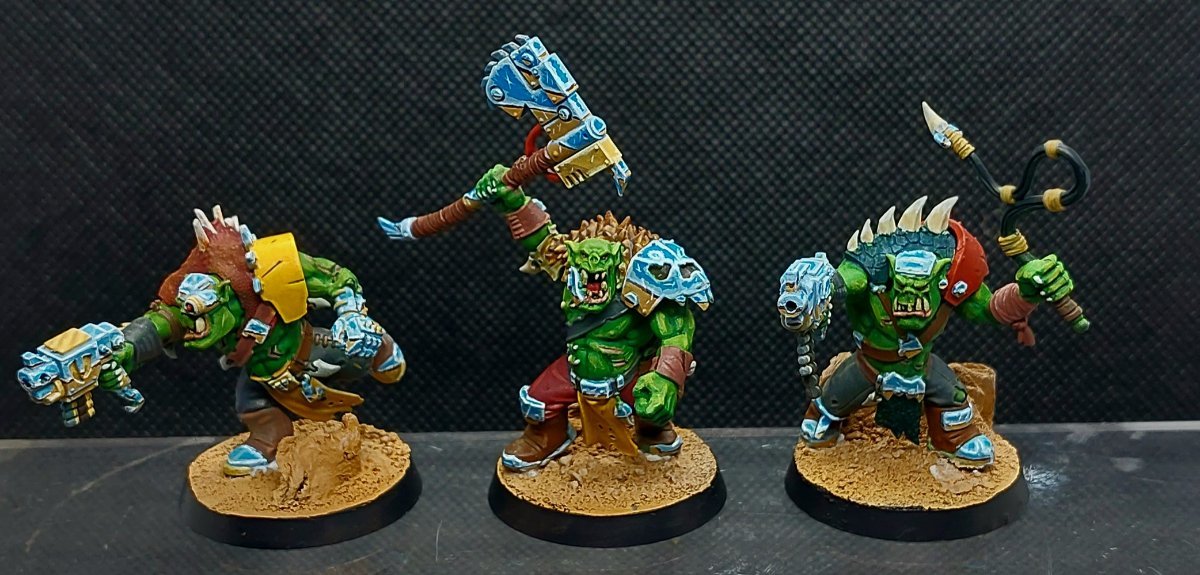
After settling on a darker base scheme I hit the throttle on painting and managed to get them all painted a couple weeks out from Nova, which was my "deadline" for the project. With the paint finished I needed to get started on the bases and the display board. I found a acrylic hobby display box at the container store that seemed like it would provide enough space to house the models as well as providing enough protection to allow traveling with it. 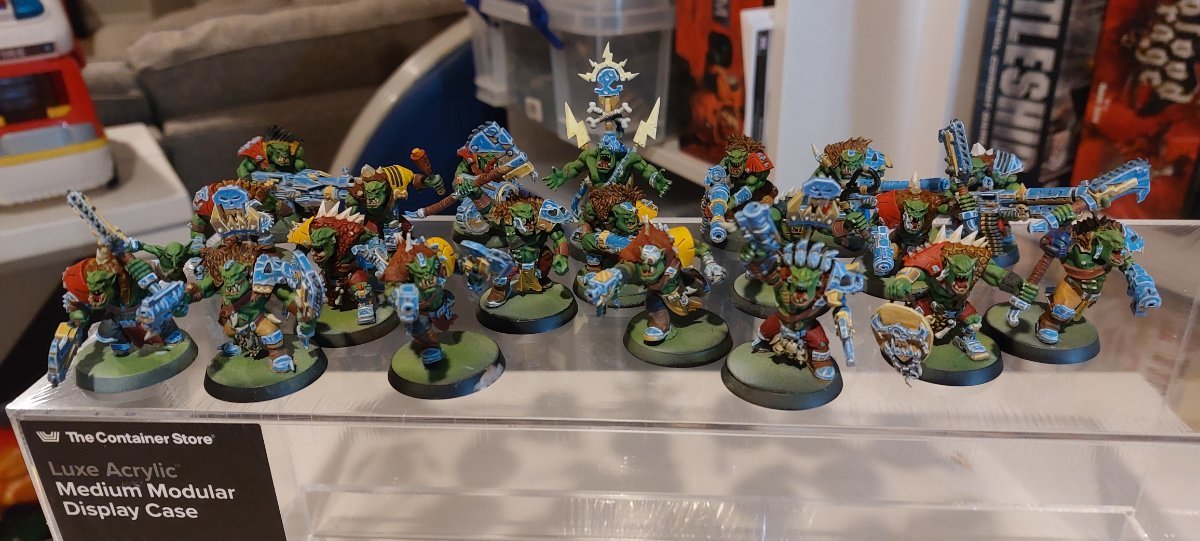
Bases all featured some orchid bark to represent rocky deserts, cut down to angles with the bottoms smoothed. I then back-filled with some desert terrain paste and sprinkled some play-sand to represent larger rocks. 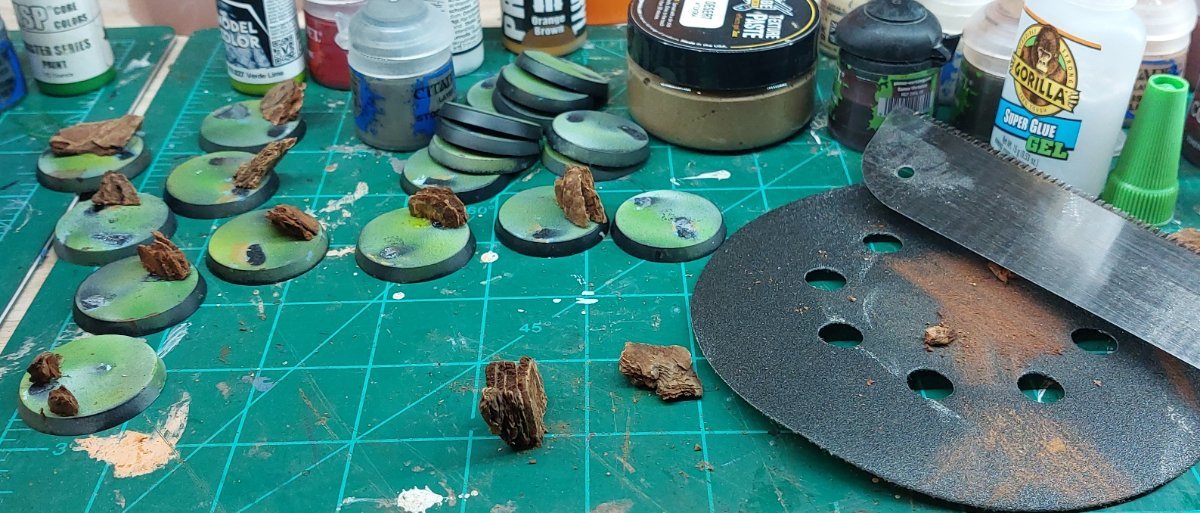
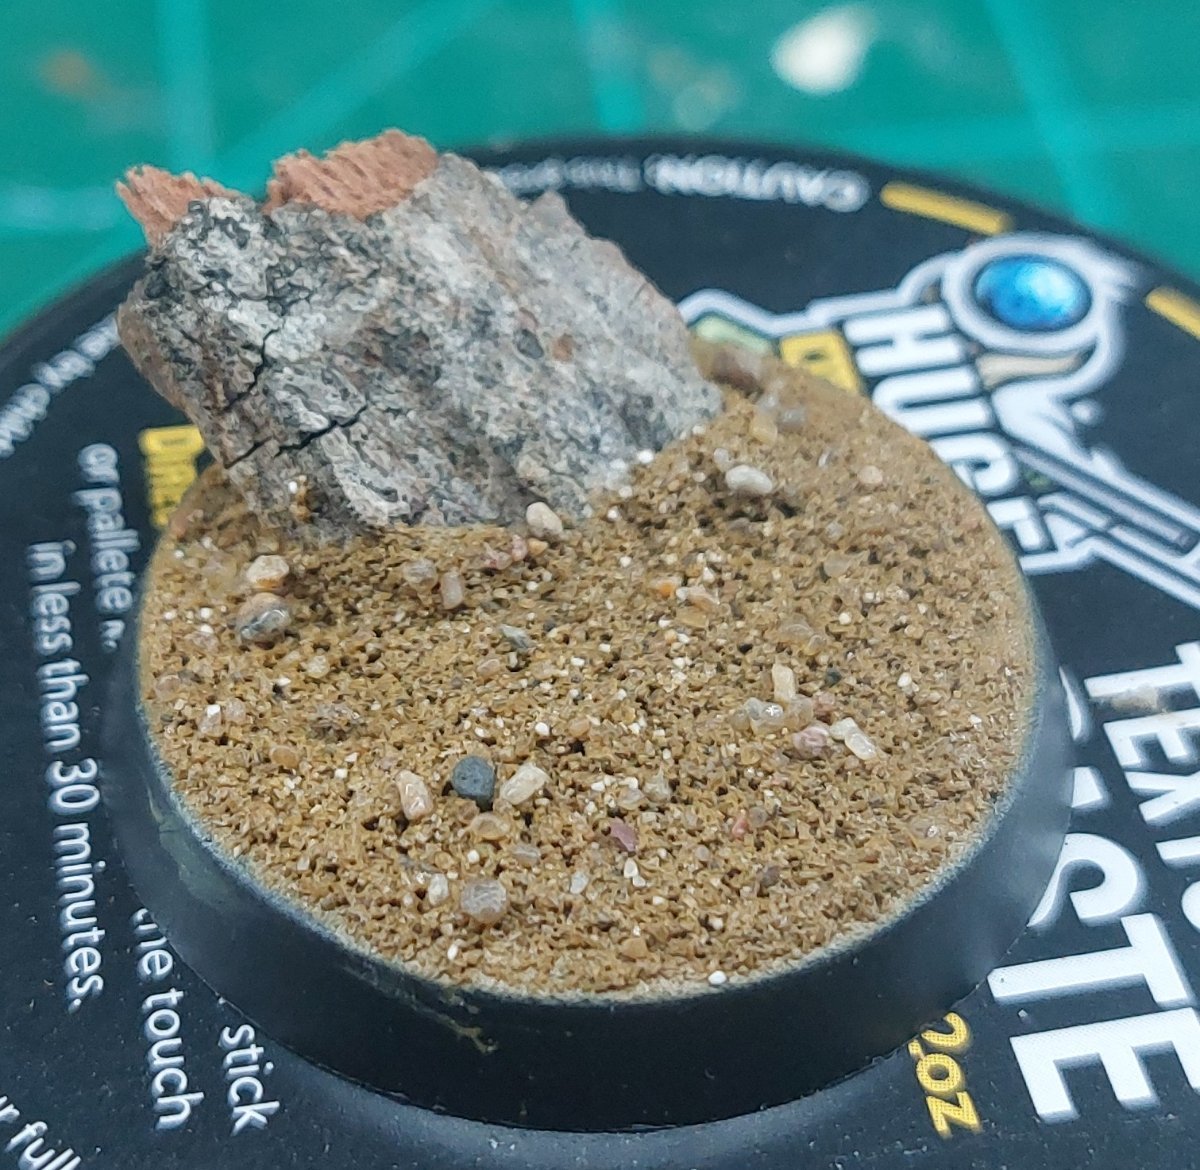
The terrain paste I used lost a ton of volume as it dried, resulting in contraction from the edge of the base and evaporation pock-marks all over it. I was happy with the overall texture though, so and since I was going to have to paint the bark-rocks anyway my disappointment was tempered.
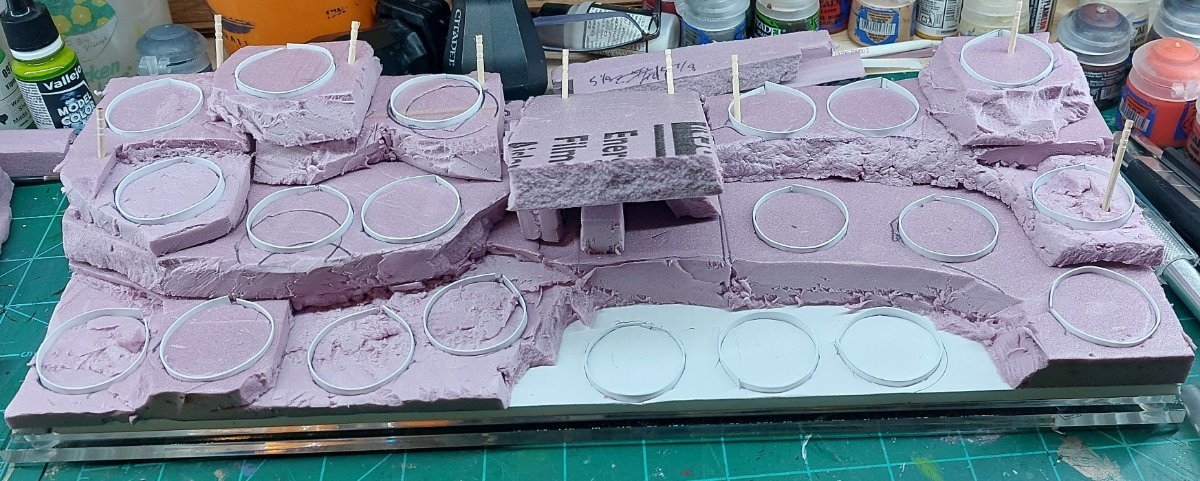
With the basing settled and my dimensions locked in for the display board I started in on blocking. I always like to add vertical elements to my boards to break them up visually, and I knew I wanted the snazzwagon to be the centerpiece. 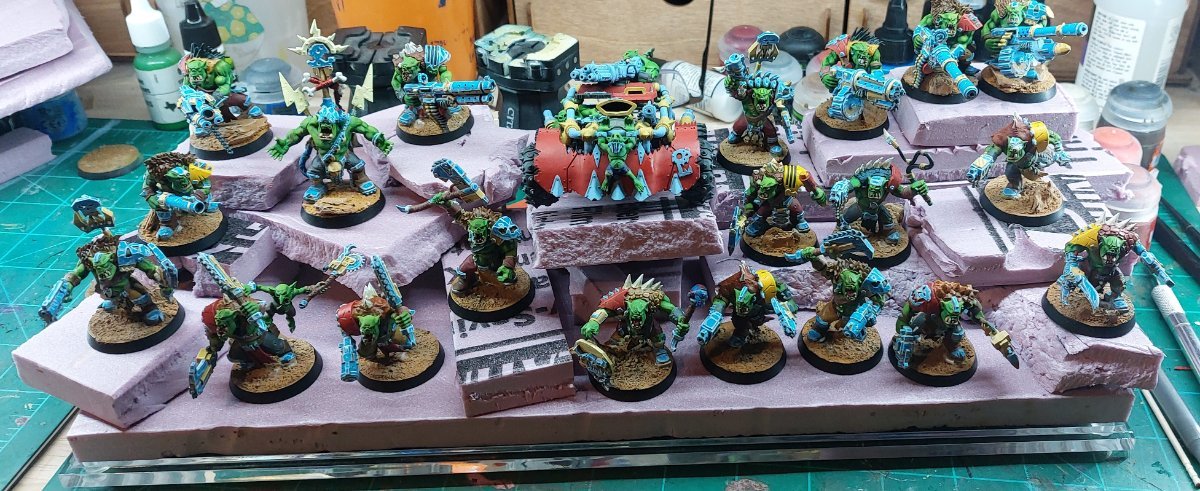
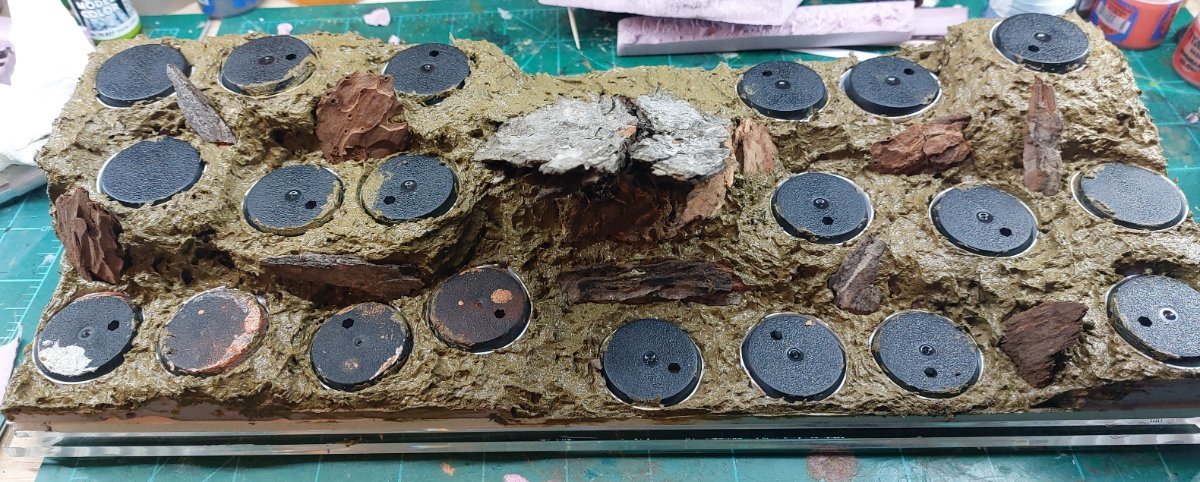
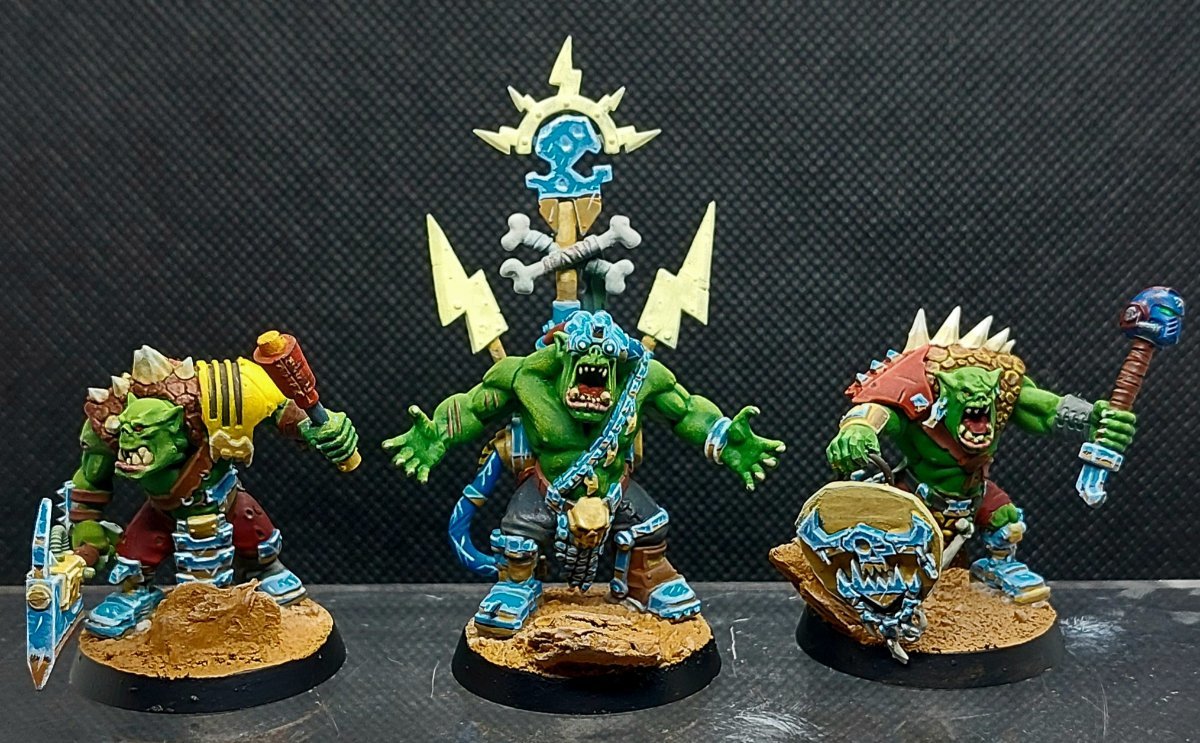
Threw in some texture mud to break up the lines as well as add volume, then I added extra bark bits to break up the sand. While waiting for the board to dry I went back and finished up the skin on the orks and got the bases painted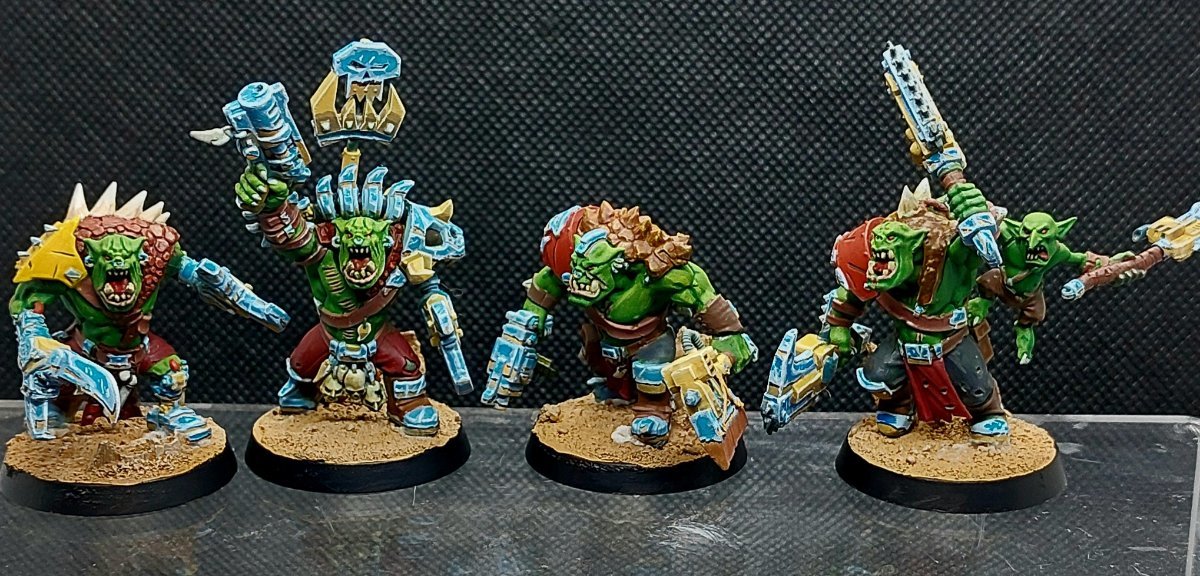
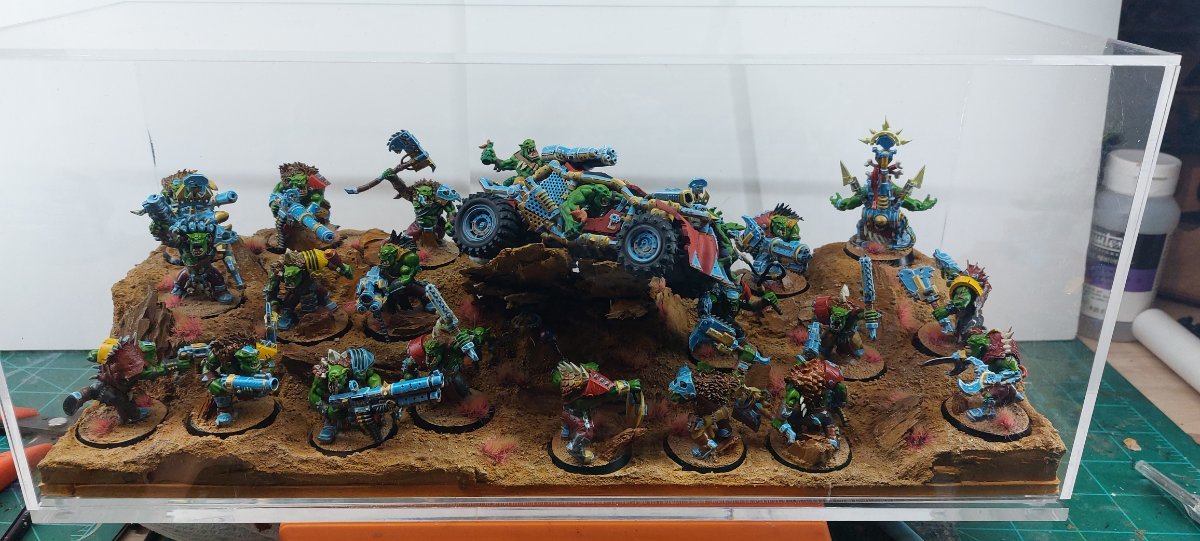
Final "shipping" product fits nicely in the case!
Nova was a blast, both the compendium tournament and the GT were great fun. I didn't end up winning any painted prizes which was my main goal, but between the stiff competition, the poor lighting and the fact that my paint job doesn't read well from anything other than eye level, I'm ok with it. I ended up winning my bracket and met tons of cool people, every game I was in felt competitive and fun and I was glad I went.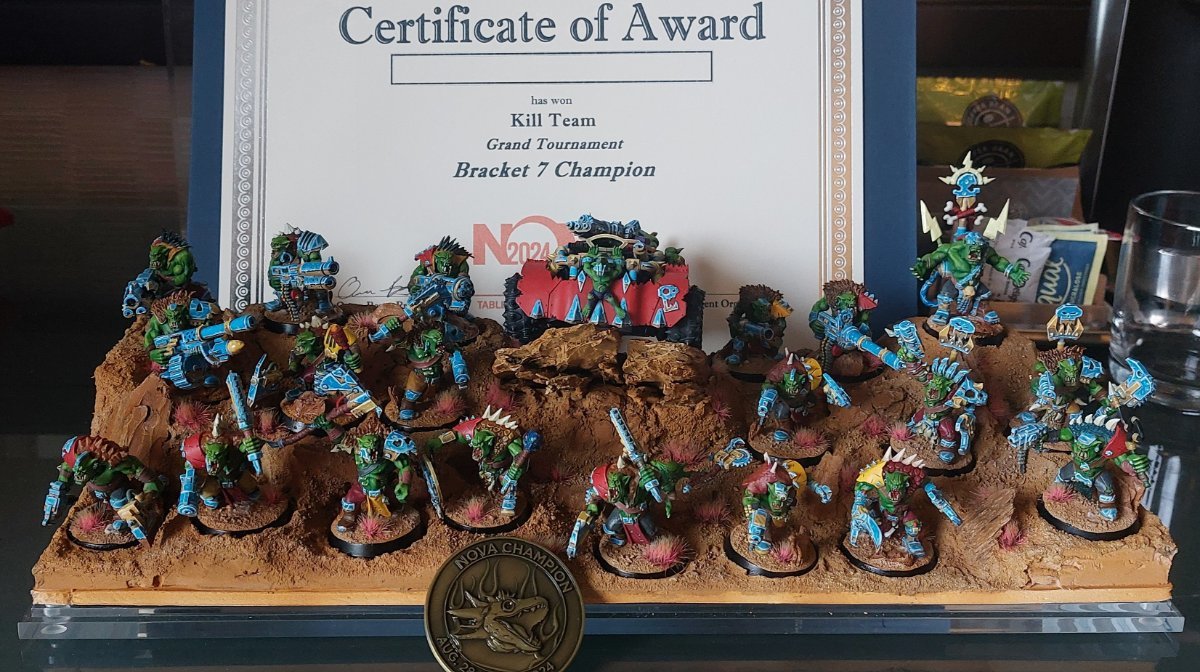
Rushing to get the project done was more stressful than I would have liked and I'm looking forward to some low-stakes terrain modeling and finishing up some of the random projects I have either on my table or floating around.

0 Comments
Recommended Comments
There are no comments to display.
Create an account or sign in to comment
You need to be a member in order to leave a comment
Create an account
Sign up for a new account in our community. It's easy!
Register a new accountSign in
Already have an account? Sign in here.
Sign In Now