ITD Terrain
Entry posted by zulu.tango in Terrain Break
609 views
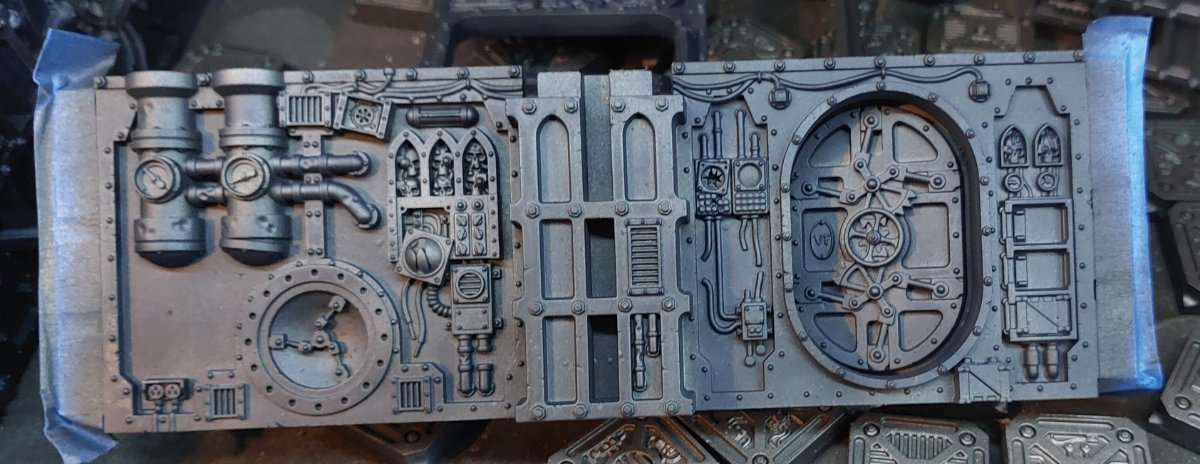
With the new edition of Kill team here I needed to get caught up on my terrain projects. I've had a box of ITD/Gallowdark terrain sitting on my shelf for nearly a year and I decided it was finally time to get it knocked out. There was plenty of pre-prep that went into this that I'm not showing, but the TL:DR of it is that you have to file down the connection points. Using a dremel appears to be the internet's prevaling wisdom, but in my experience the dremel is fine, but I switched to a course flat file about half-way through and found it works significantly faster and more accurately (plus lets you file down the top "peg" allowing the caps to go on significantly smoother.
I bounced around paint schemes for a bit before settling on a dark blue metal (iron warriors base with space-wolf grey contrast airbrushed over it. as the base color. I taped the end-points and top connections to prevent paint build-up, but with an airbrush it was probably unnecessary.
 \
\
Generally speaking I'm a big fan of coloring metalics with contrast paints. The contrast paint applies thin enough that you can still get a metallic sheen through the paint, the brighter the under-coated metallic the more notable the sheen. The photos don't fully capture it, but when these pieces catch the light they very much still read as metal.
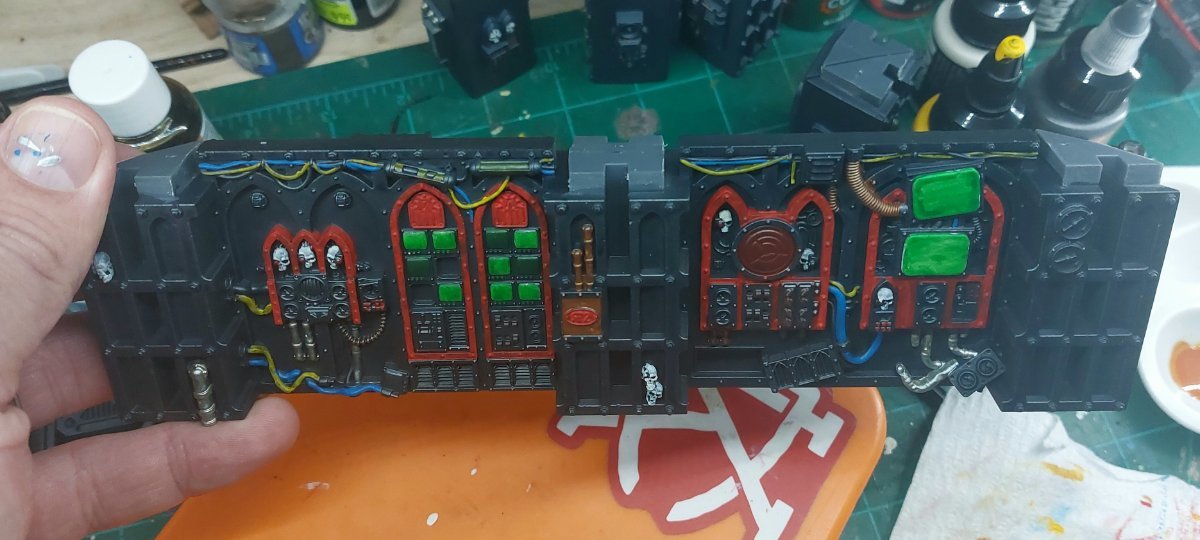
After the base coat was down I did a few passes picking out different metal objects in the terrain with metalics (brass, bronze, steel) and bright colors for handles, cables, wires, plus the skulls. So. Many. Skulls. 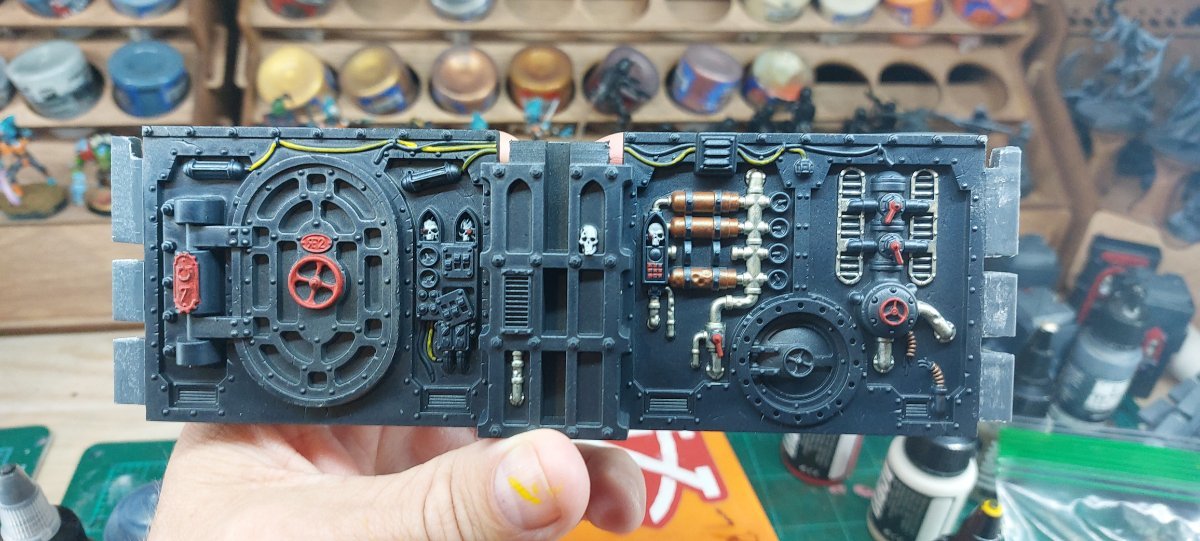
I also went through and picked out the lights and screens wherever I saw them. For screens that were "on" put a layer of white on them first, but all of the lights got a 1:2 mix of contrast paint and matching-color Inks.
Finally after many, MANY passes picking out details I decided to leave well enough alone and move onto weathering.
I used Dirty Down rust and verdigris on all the steel and brass elements, then applied an oil wash (2:2:1 mix of black, burnt-umber, and turquoise)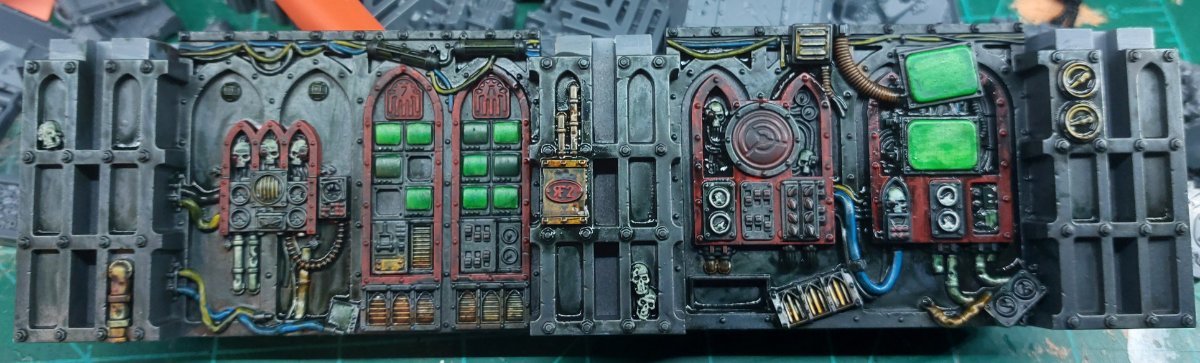
I LOVE the final look of this set. When its all assembled it looks amazing, each part has eye-catching elements and the wash did exactly what I was hoping for, applied a thick layer of grime and age across the whole thing, dulling the bright colors and giving the whole thing so much depth. Once the oil wash finishes curing I might ad some pigments to get some additional texture on the pieces, and I've been toying with the idea of adding some OSL into it...but honestly I'd be perfectly content leaving it as is.
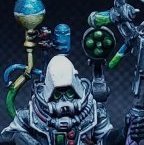
- Domhnall, Rusted Boltgun and W.A.Rorie
-
 3
3
1 Comment
Recommended Comments
Create an account or sign in to comment
You need to be a member in order to leave a comment
Create an account
Sign up for a new account in our community. It's easy!
Register a new accountSign in
Already have an account? Sign in here.
Sign In Now