Krieg Display Board 2023 Pt 1 - Making a 40k Zeppelin

Entry posted by Captain Caine 24th in 2023
1483 views
Death Korps of Krieg Display Board 2023 - Adepticon and Beyond.
So, I'm catching up from work these past two months. 100+ hours in, but never finished. Anyway, step one, I'm building a blimp display board this year. Last year was great. I got a lot of really great feedback at Adepticon and on B&C. People were really kind. But, the question is how to improve it? The problem with going to a new army is that I have to paint a new army, and make a new display, and learn all the rules. Huge, if not insurmountable, time commitment in my context. But, doing Krieg again... we'll it's more of the same. So it's got to stand out. Time to make a Zeppelin.
Inspiration & Options. WW1 "dirgibles," "airships," "zeppelins." Now, in practical hobby terms, the Rob Hawkins hobby blog did it 10 years ago - "Rivet Wars Diorama: The Blimp." It's really great. I've also seen on various forums people attempted zeppelins in 40k via the mechanicus terrain (it being roughly cylindrical in shape. You can buy skeleton frames made of laser cut MDF. But they didn't fit my size expectations. Also, the cost was more than what I'd be ok with to test it out. If I didn't like it, it'd never get used.
Construction of the shape. First, I attempted to use a 3-liter bottle filled with expanding foam. it was roughly a usable shape from the start. Expanding foam however, can only be added to a certain depth in one use or it will not set properly. So, go slow with the expanding foam can if you build it this way. I think it'll work just fine. I just didn't get a good effect and gave up on it.
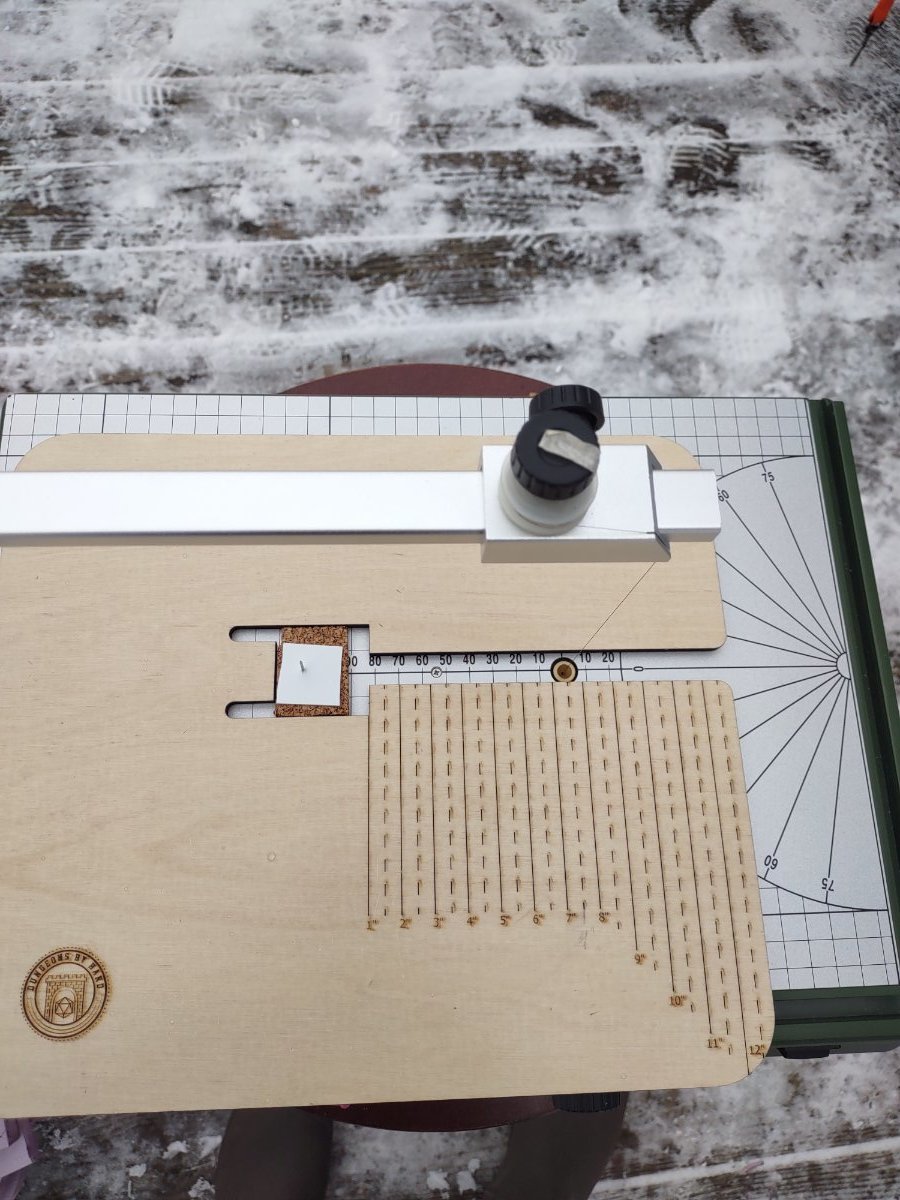
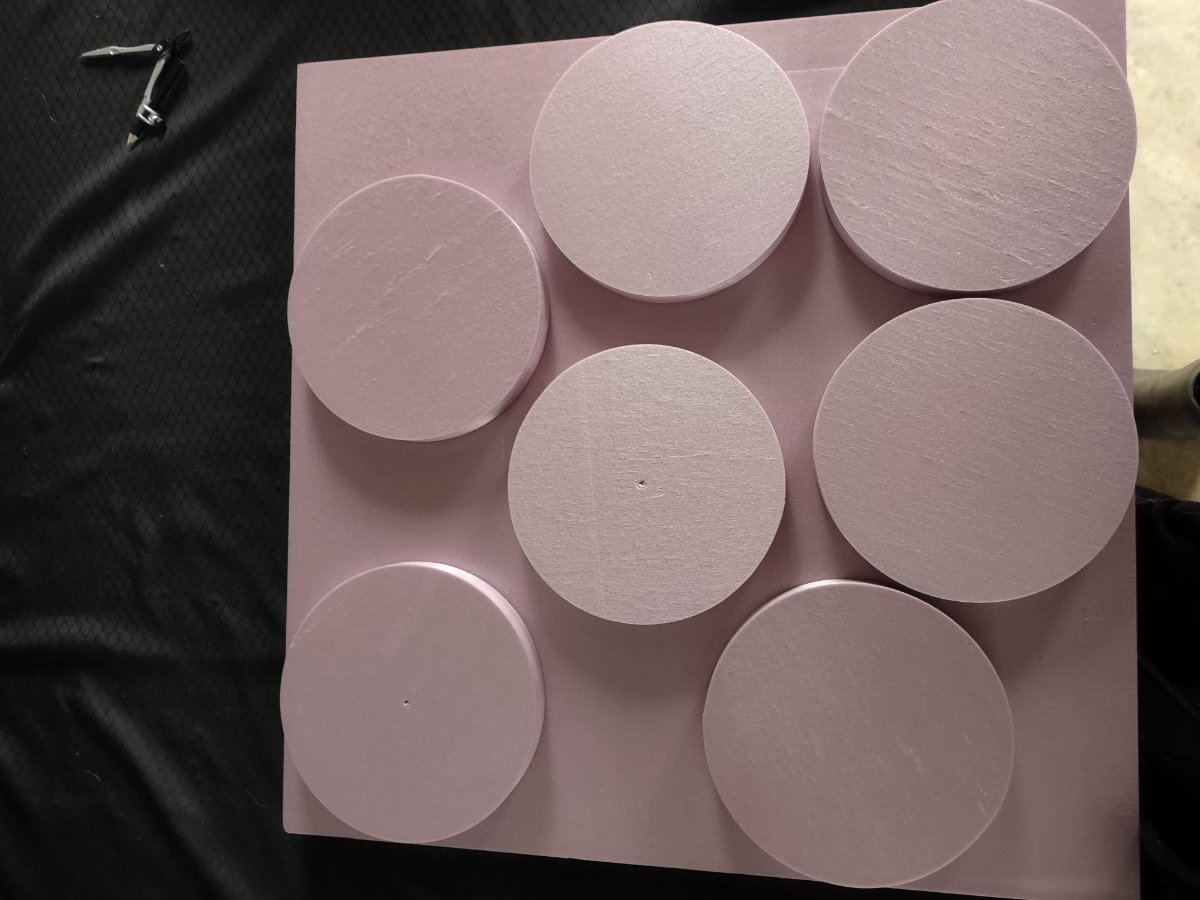
Second, I switched to cutting circles out of foam with a proxxon wire cutter table. That works great. 1" x 2' x 2' foam sheets (menards, home depot, lowes). I also got a circle cutter jig made of MDF. It's not strictly necessary, but it's helpful. Gorilla Construction Adhesive (for use in a caulk gun) is the magic glue. It doesn't dry fast and it's not super strong. But, it dries regardless of air supply. It also doesn't dissolve the foam creating noxious fumes. A hot glue gun can work, and it is very fast, but it is a fumes hazard and may melt the project to some degree (I suppose more or less depending on the heat of the glue gun).
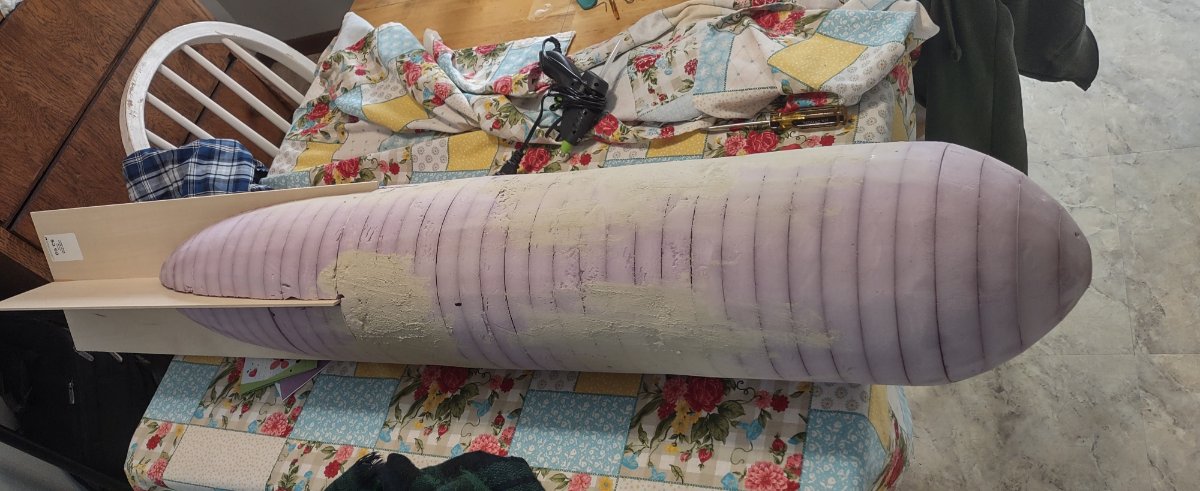
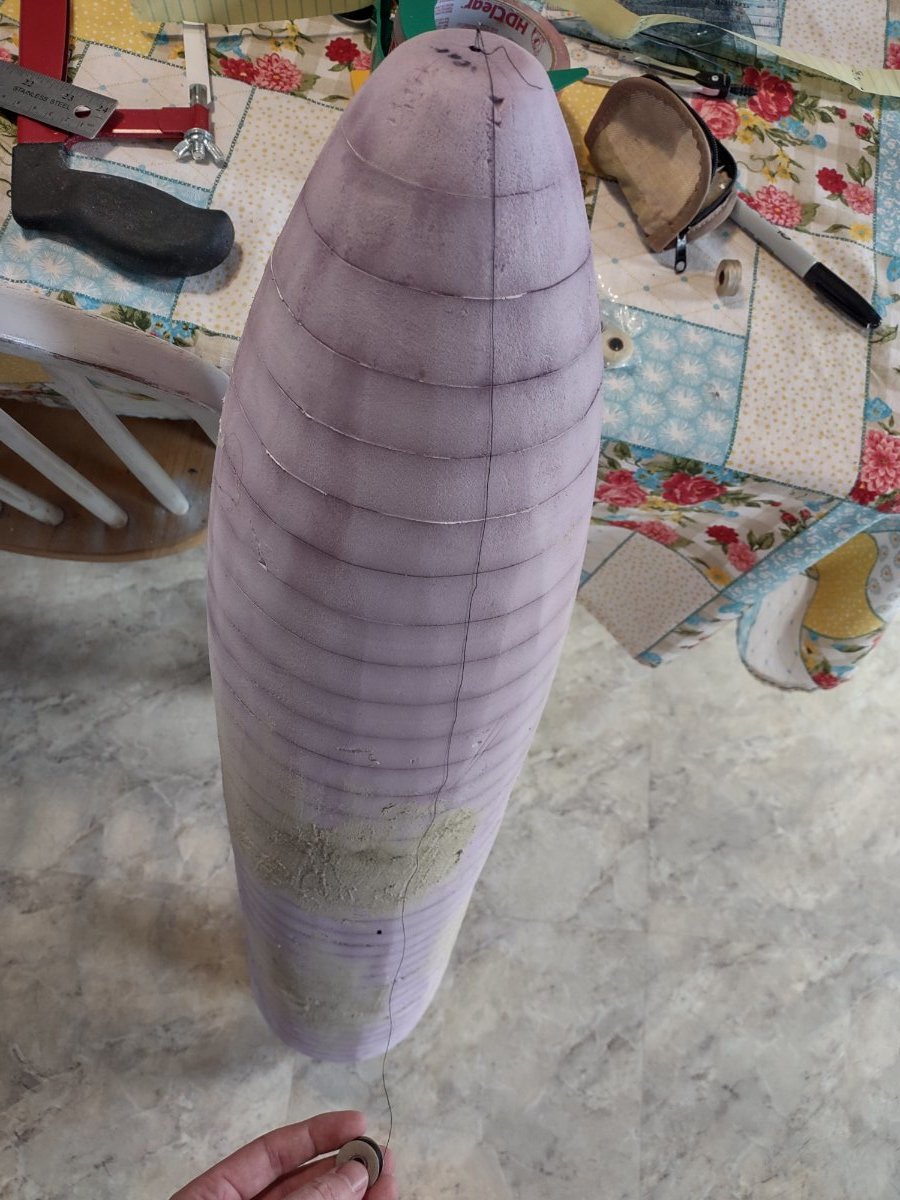
With the rough cylinder cut, it's time for shaping. For the rear and front cone shapes I used a knife to cut a rough cone. Then I used an electric sander with 120 and 220 grit to soften it up and shape it more. This can be easier without the whole blimp constructed. I think it's better to make a front cone, middle cylinder, and rear cone. Put them together only at the end.
*Note: the electric sander kicks and gouges into the foam very easily - proceed with caution or it makes a lot more work.
*Note: I used plastic bags and rubber bands to secure the end of the caulk gun - that way the gorilla construction adhesive didn't dry out when i stopped the project for the day. Worked great.
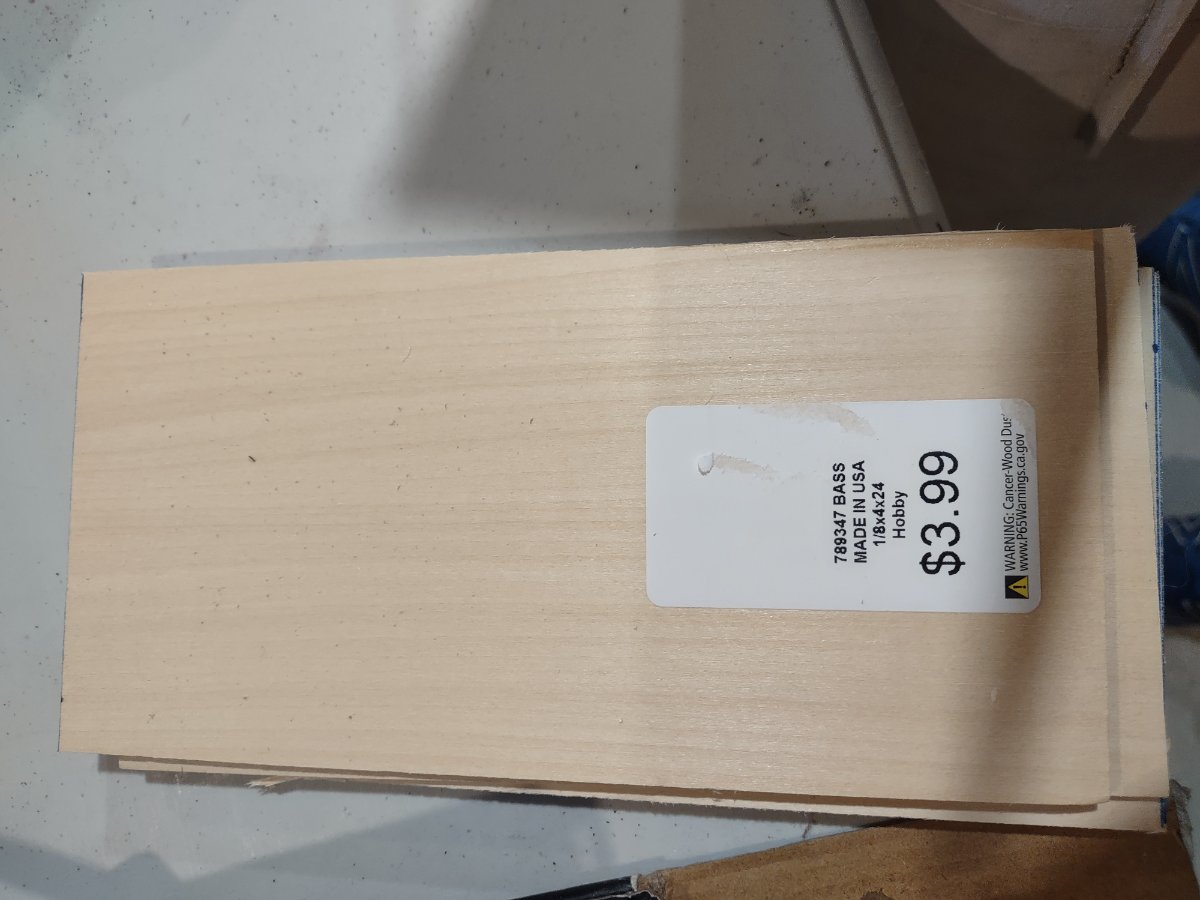
Construction of the fins. I used Basswood sheets, 1/8" x 4" x 24." I didn't want to cut any more than necessary as the tiniest mistakes really show. So, the 4" width was very close to the radius I needed to install the fins. The 24" length was too long, but not a hard cut to make. Later on I came to realize styrene sheets might have been better because the stabilizers I installed were a real chore - breaking constantly. Not great. Gluing styrene to styrene is easy enough. Gluing styrene to wood or whatever doesn't work well. Maybe there's a better glue to consider.
In hindsight I also should have been cognizant of the glue used to secure the foam discs to each other in making the overall shape. So I did it wrong - I glued the foam discs together and then went ahead and cut out foam for the fins to fit in. Don't be dumb like me. Glue doesn't cut easily with the hot foam knife. Plan the glue so perfect cuts can be made for the fins to attach. Actually the rear cone could have just been cut in 4 equal pieces, really.
Transportation. Ultimately moving this thing is a disaster. I believe designing this in three separate sections would have been better. I think a center hole through the length of the ship, with a rod installed along the length would have been a better way to make this and also be able to transport it. Seams from the three sections could be easily hidden.

Edited by Captain Caine 24th
0 Comments
Recommended Comments
There are no comments to display.
Create an account or sign in to comment
You need to be a member in order to leave a comment
Create an account
Sign up for a new account in our community. It's easy!
Register a new accountSign in
Already have an account? Sign in here.
Sign In Now