
White Scars Kill-Team and Board

Entry posted by zulu.tango in White Scars Board
208 views
Another slow day at work, another blog post to archive a previous project.
When the Strike Force Justinian Kill Team was announced/revealed I got to work on a conversion. The stock models are fine, but I'm not a big fan of the Ultramarines and didn't feel like shelling out cash when I had most of the models/bits on hand. The one exception I made was for the captain, because I needed both a powerfist/plasma pistol...and white-scars bits to accompany the upgrade kit I'd picked up ages ago on a whim. I ended up kitbashing Kor'sarro Khan and Messinius. I probably could have found a powerfist and plasma pistol elsewhere, but the horse motif on Messinius's p-fist was too good to pass up...and I was excited about the project. I had previously painted up a box of eliminators as Space Wolves for fun, so one of them took a plunge into some simple-green to be reborn a Son of Chogoris. The Heavy Intercessor was a bit trickier. I didn't want to buy a box for just one model, but I had some aggressors from a start-collecting SW box that I was never going to build, so I got to work kit-bashing. I had a Deathwatch Frag cannon that passed the sniff test to look like a heavy bolter, and after a LOT of painstaking trial and error managed to get the ammo-belts from the aggressor models to look like a decent ammo belt for the HB. The reamaining intercessors also came out of the start-collecting box, and with a few upgrade bits were ready to serve their Kahn. The top-knot and grenade/smoke were both donated from some orks (don't tell the Scars)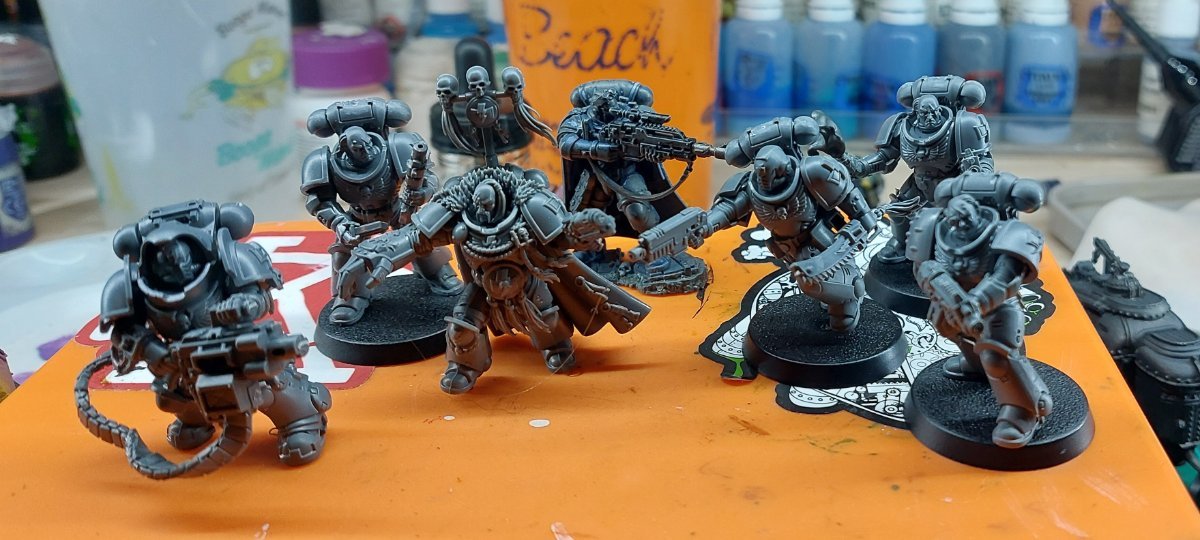
Painting them came together fairly quickly, I went with the GW recommended scheme and colors straight from the website...with the exception of the white, since I don't truck with citadel white's and nothing beats Titanium white ink through and airbrush for my money.
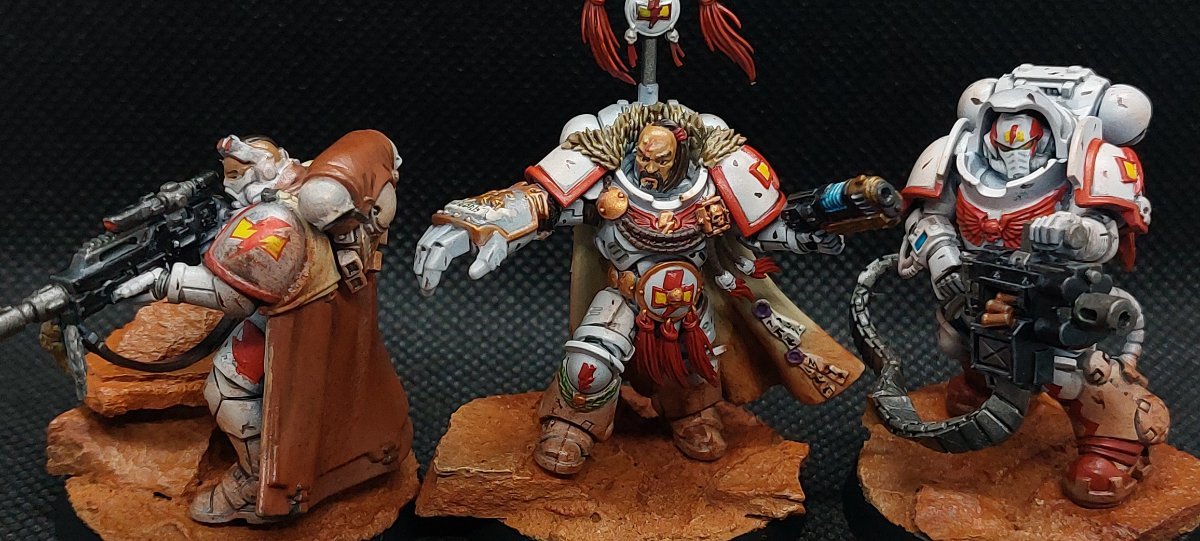
I wanted to go big with the weathering, since it was a skill I wanted to practice. I also finally took the plunge on pigments, which was a medium I'd never worked with. I tried a few different application methods and found that overall I preferred dry application and then sealing it with my varnish. Applying it "wet" with sealer ended up too muddy, and trying to apply the sealer after yeilded similarly dark/muddy results. Since my head-cannon for the team was fighting in Monument valley in SPAAACCCEEEE the muddy look didn't do it for me at all.
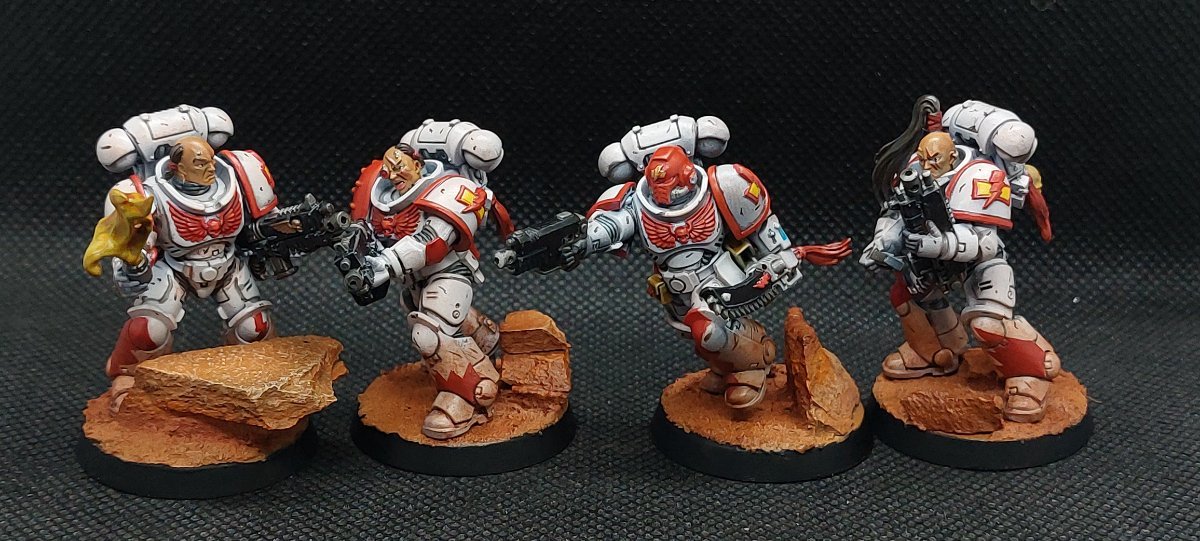
The rocks for the baes are just that. Rocks. I went into the back-yard with a hammer and chisel, and went to town on some slate pavers we'd used for a garden boarder. They tended to break in longer, thin-ish pieces. The biggest one's were set aside for the board (more on that later) and the smaller pieces were distributed among the baes. As stated earlier my idea for the bases/board was monument valley, and I tried to capture that vibe as best as possible, with some added color variation just to break up the visual. Once the bases were done I got to work on the board.
This was the first board I'd ever attempted. I've been a long-time lurker in various terrain building/hobby blogs to have a general idea of what to do, and decided to jump in with both feet. I played around with various arrangements/builds, I knew I wanted dimensionality, and to include a bike in the board, because White Scars, so I needed something that would accommodate that.
Once I had the general layout settled, I decided I wanted to incorporate more of the stones from the garden into the board to tie the models and the board fully together. So I got to work cutting out parts of the board and replacing some of the foam with stones. 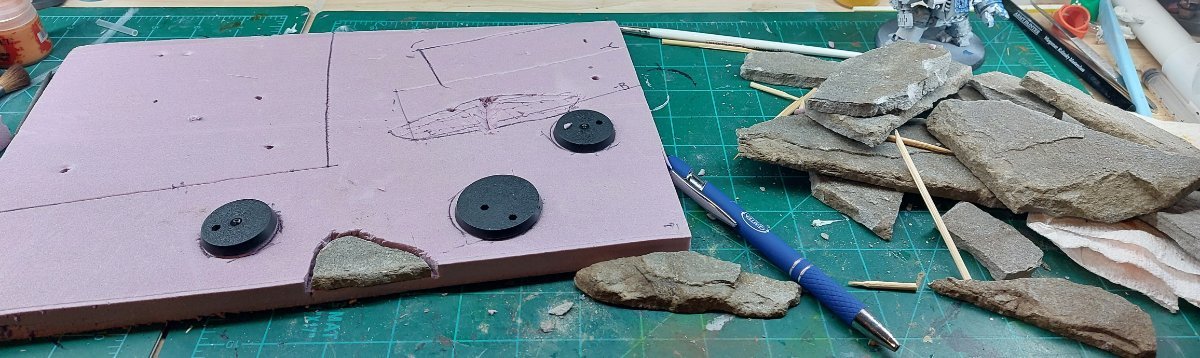

I carved out holes for the bases in the foam and used spare bases as placeholders. This ended up being a bit of a bad idea. The end result has the bases blending smoothly with the board, but they are kind of a mother:cuss:er to remove/replace. Oh well, lesson learned.
Once I had the layout more ore less settled I used air-dry clay to build up the foam and better incorporate the rocks. Because I'm impatient the air was assisted with a hairdryer. 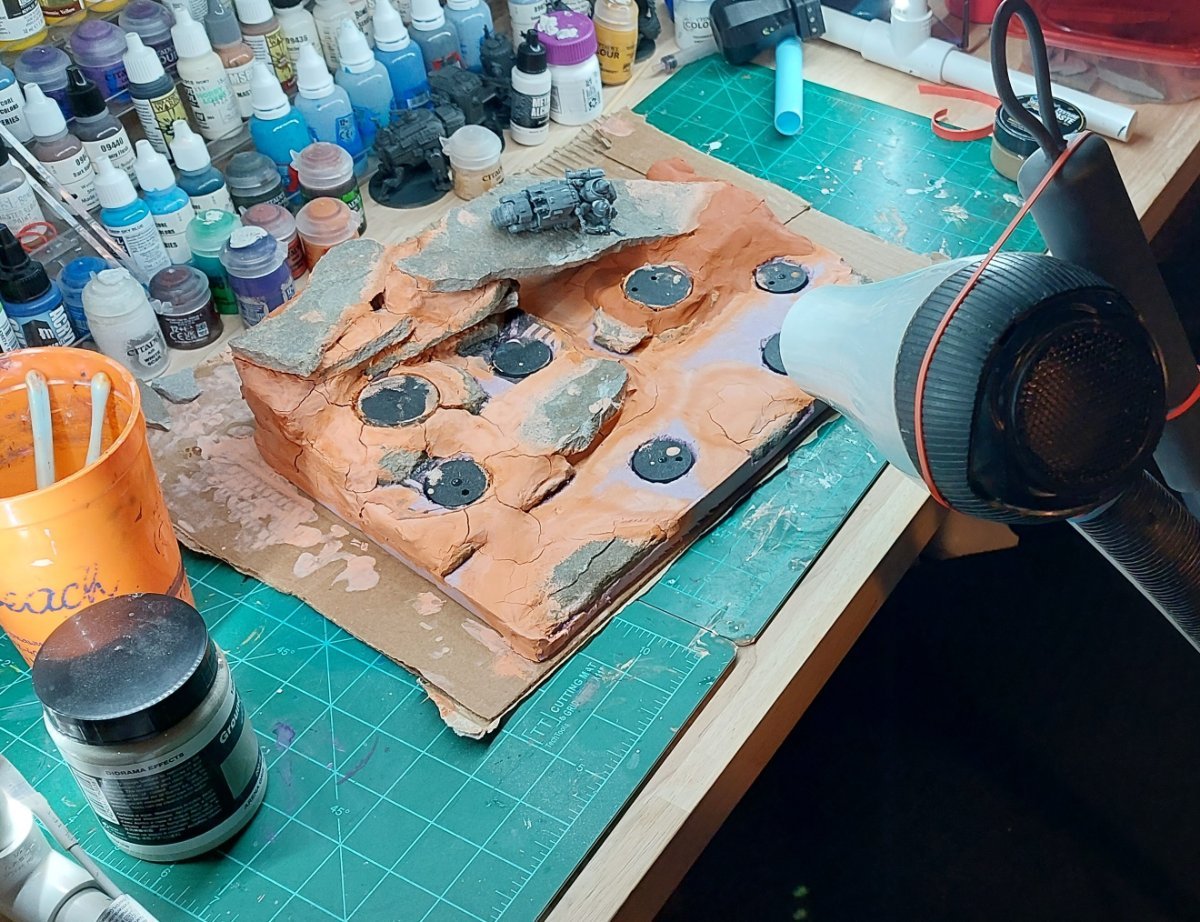
The clay dried with huge cracks, and would easily lift if pulled on...not sure how or if that can be remedied for future projects, but since it wasn't my final layer I didn't worry about it too much. When in doubt, cover it up I guess. Next step was the terrain paste. I primarily used Agris Earth from Vallejo, spread pretty much across the entire board. I wanted the rocky breakup, but also to seal down the clay.
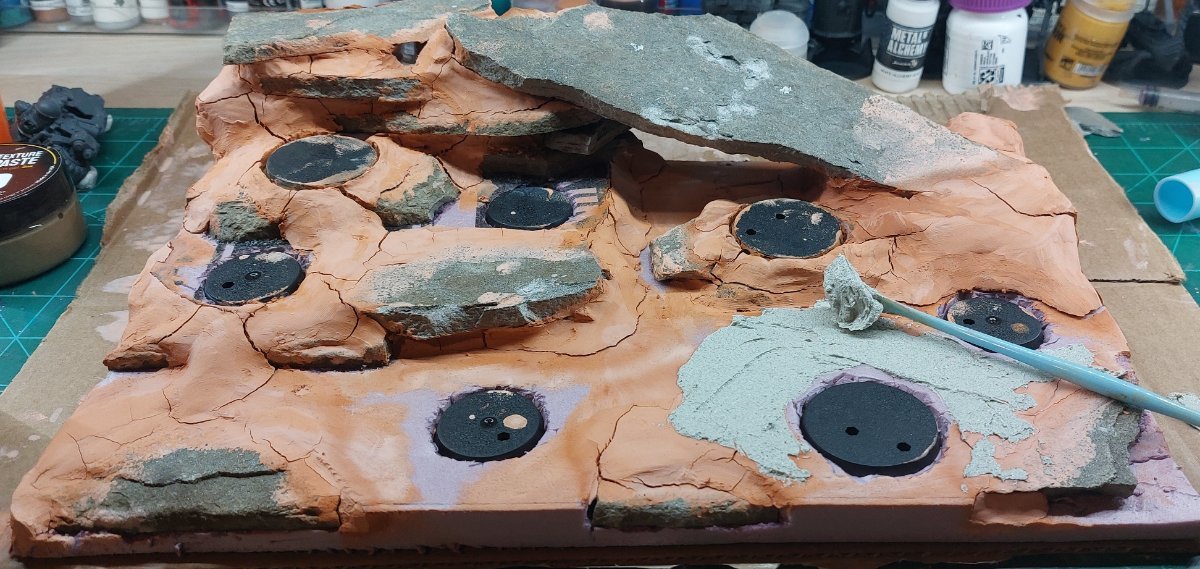
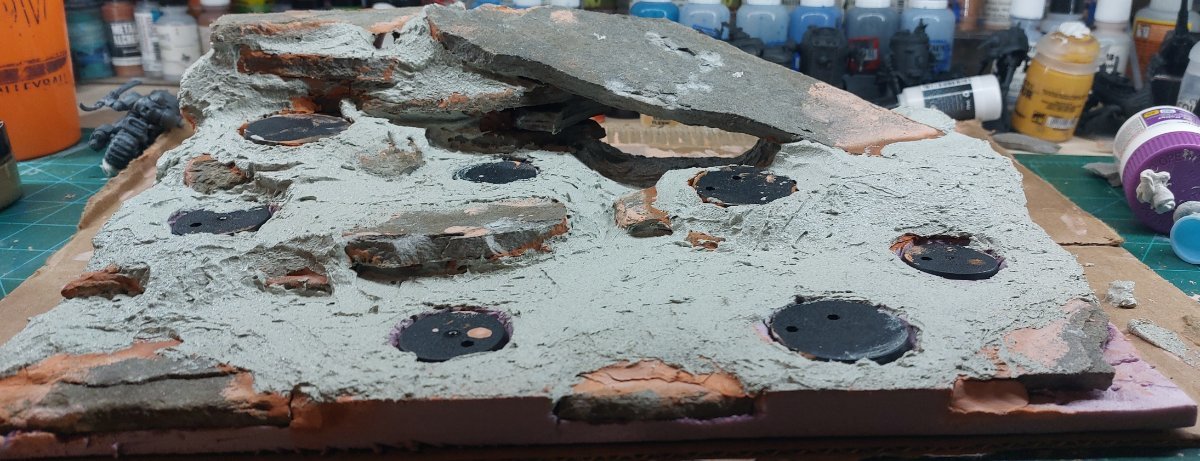
Next up was Martian earth terrain paste from Huge Miniatures. This is a smoother terrain paste that I wanted to use to signify where the marines had been walking, breaking up the dried earth and making it more fine, driving up dust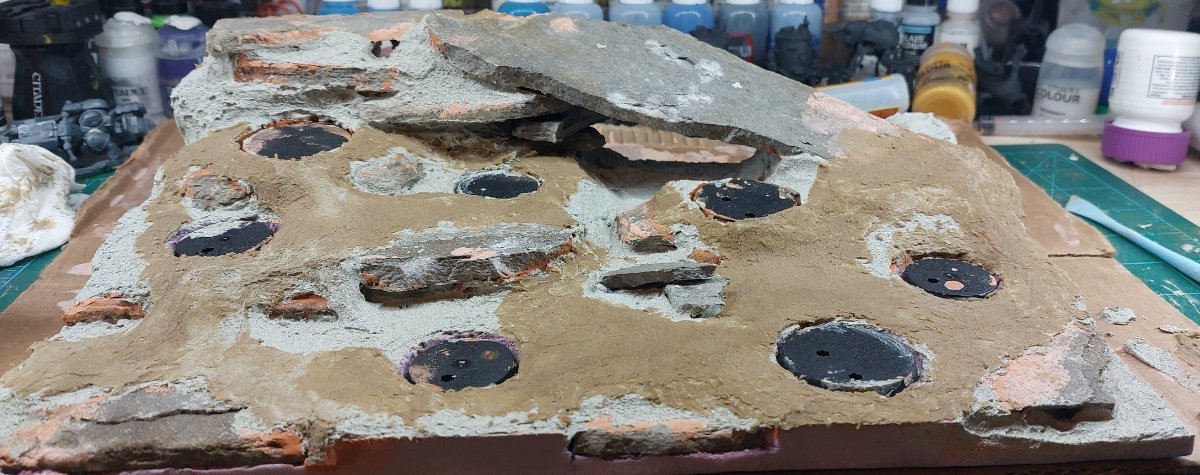
Satisfied with how it looked, the next step was painting. I didn't know how the stones would take paint. I cleaned them off with dish-soap and water before bringing them inside, and decided to use a primer across the whole board just to make sure I could control the colors more easily

Once I had the basic colors in I used pigments to drive up the "churned desert" look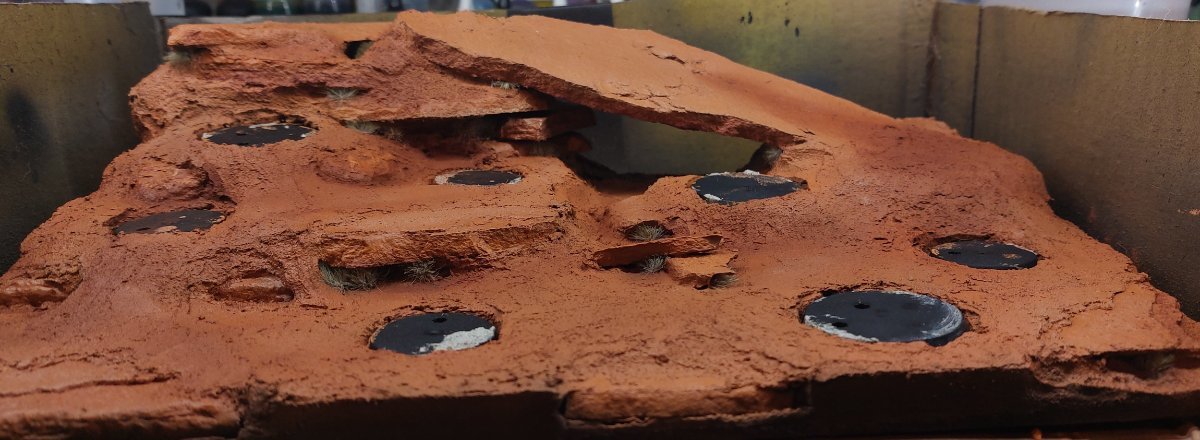
I added some dried bushes/scub to help break of the desolation. I kind of wish I had added more color just to break up the tone of the board, but I didn't have any cacti style terrain bits on hand, and am still happy with the overall result. 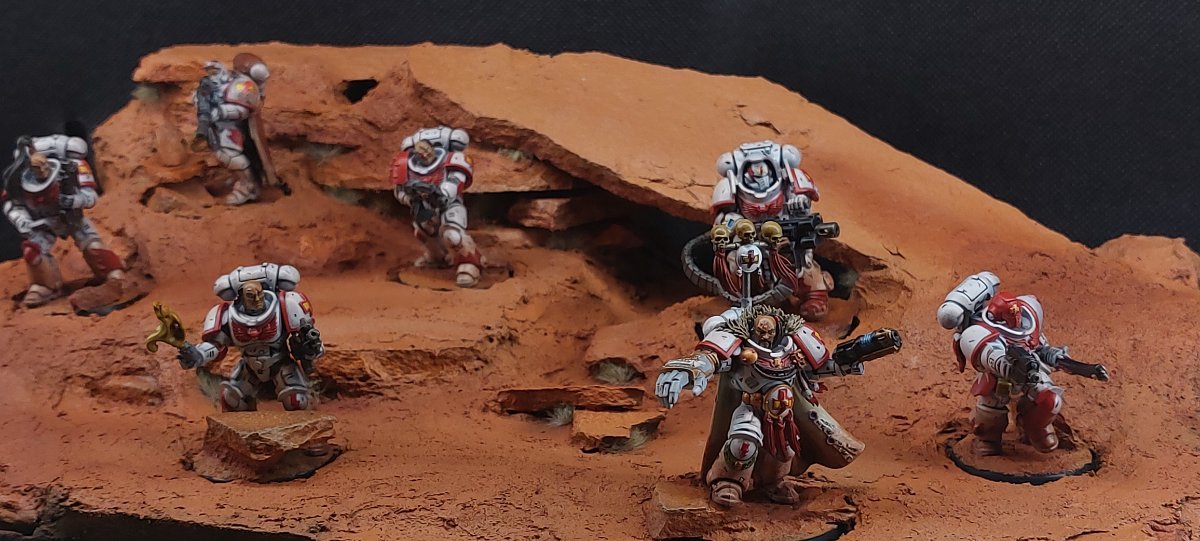
In creating this post I actually realized that I don't have any "final" pictures after having added the bike so that can be a follow up post in this particular thread at a later date. Maybe I'll go back and add some more color to the board to break it up as well. who knows. 
Overall it was a great experience and broke down my mental barrier about taking on a project like this. I learned a lot, and I've taken those lessons to future projects.
One final note, if you're going to use stones for a terrain board, do yourself a favor and put a sheet of plywood or something more solid as a base, because this thing is heavy as :cuss:.
*edited to remove superfluous picture
Edited by zulu.tango
- DemonGSides, AutumnEffect, WAR and 3 others
-
 6
6
3 Comments
Recommended Comments
Create an account or sign in to comment
You need to be a member in order to leave a comment
Create an account
Sign up for a new account in our community. It's easy!
Register a new accountSign in
Already have an account? Sign in here.
Sign In Now