Allied Freeblade - Part 4
Hi Folks,
The W.E. (stands for Week-End, not World Eaters), has been calm enough to complete the lower part (a.k.a. legs) of the Styrix.
After some tape masking and one or two small corretions, the armoured legs of the Styrix were maked-up in the same combination of Eshin Grey and Wraithbone as the paultrons.
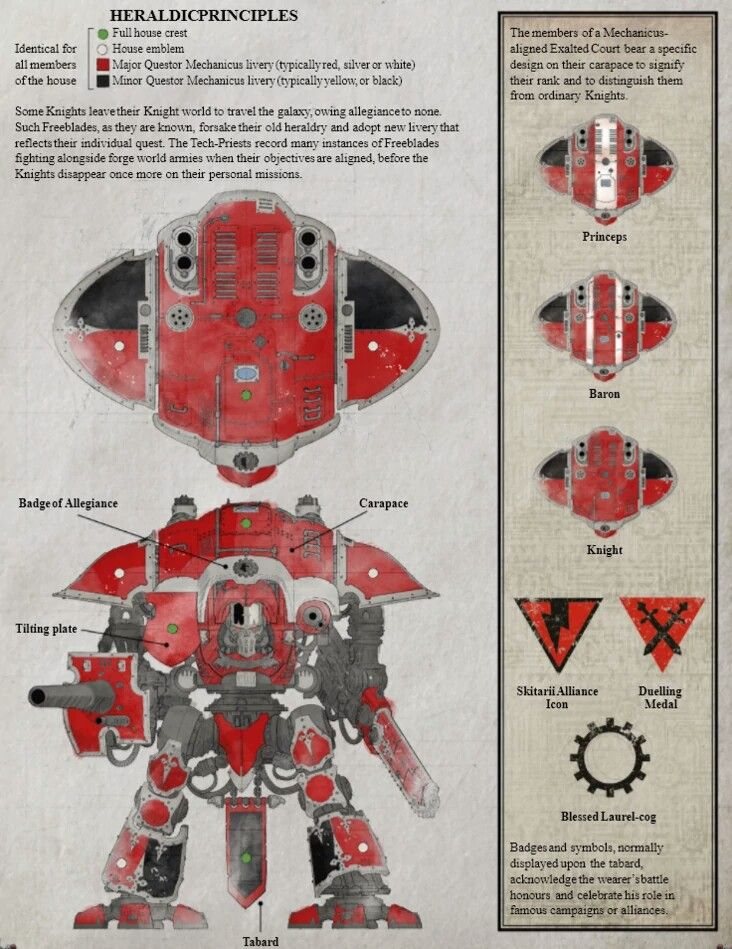
Plus some added red stripes, as on the illustration taken as a guiding model. Main difference is that panel colours are inverted in order to fit to the Heraldry guide for Questoris Mechanicum: Black (grey in my case) on the inside and White (bone in my case) on the outside. For the rest, it is mostly free style. One of the advantages of going Freeblade...
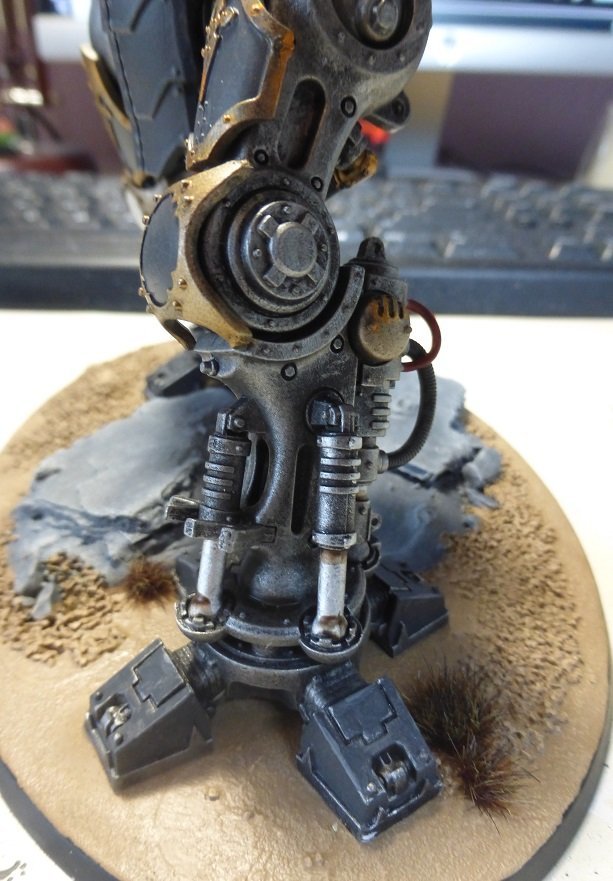
Here is the resulting true crime, before panel glueing:
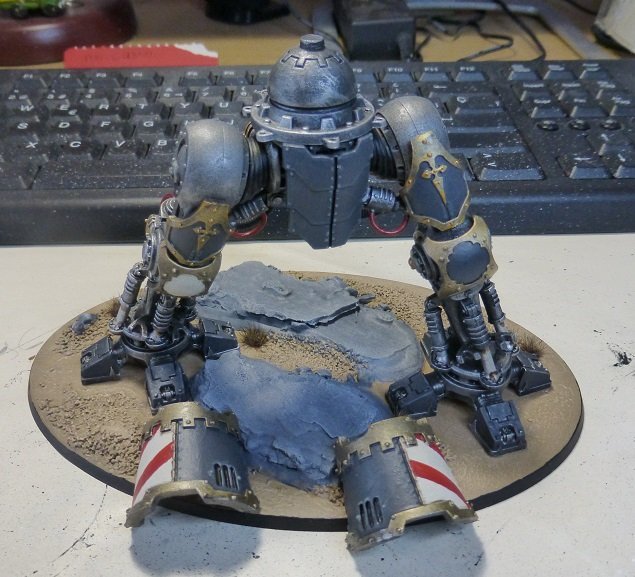
The base is made to be a mid rocky reg, using the usual bark (maritime pine from my last holidays) suspect for modelling rock platforms.
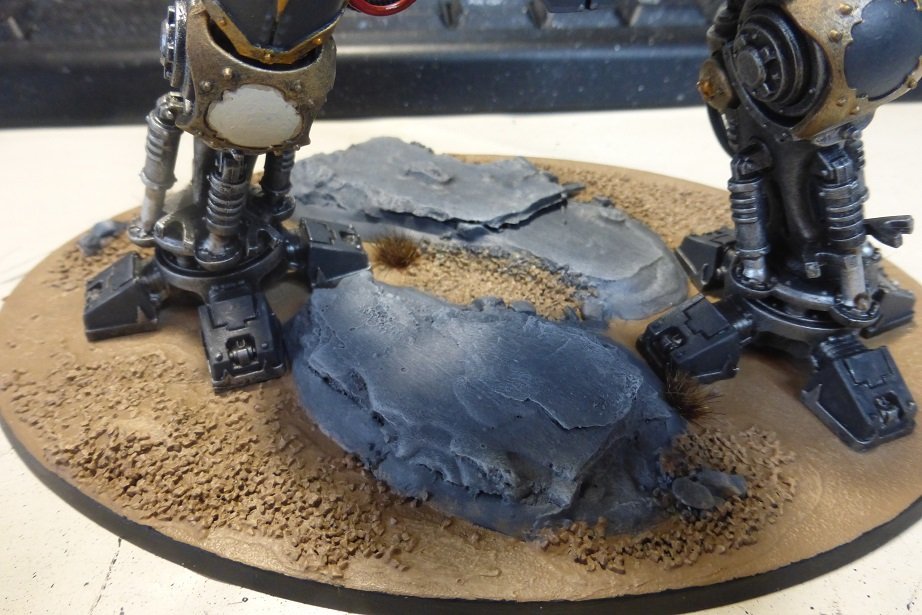
The legs have been painted following the Citadel colour tutorial on Youtube. at least for jacks and hydraulics.
Next step will be final assembly and Decals.
See you once done.
0 Comments
Recommended Comments
There are no comments to display.
Create an account or sign in to comment
You need to be a member in order to leave a comment
Create an account
Sign up for a new account in our community. It's easy!
Register a new accountSign in
Already have an account? Sign in here.
Sign In Now