Tackling my Tau - Stormsurge Part 3

Entry posted by TheArtilleryman in T'au Empire
1485 views
Right so in this entry the construction will be completed.
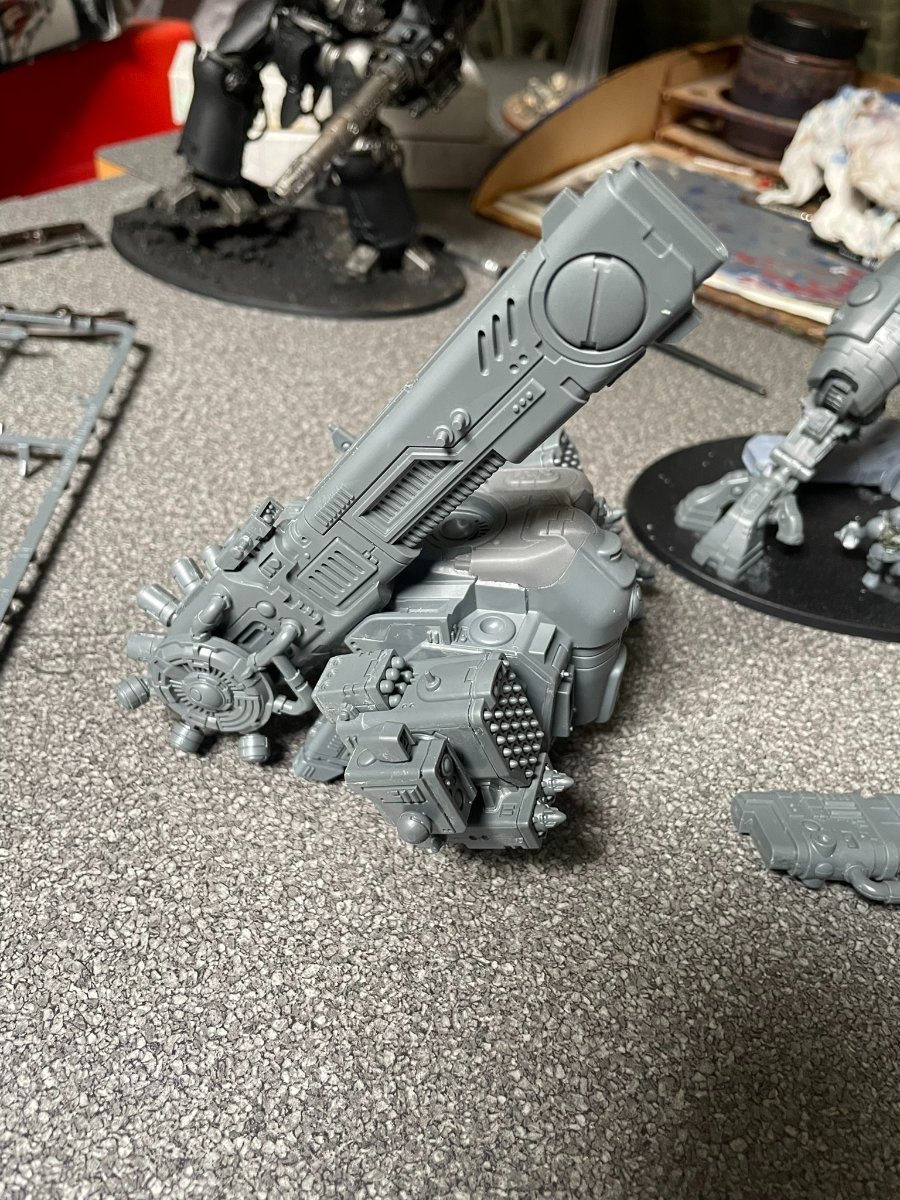
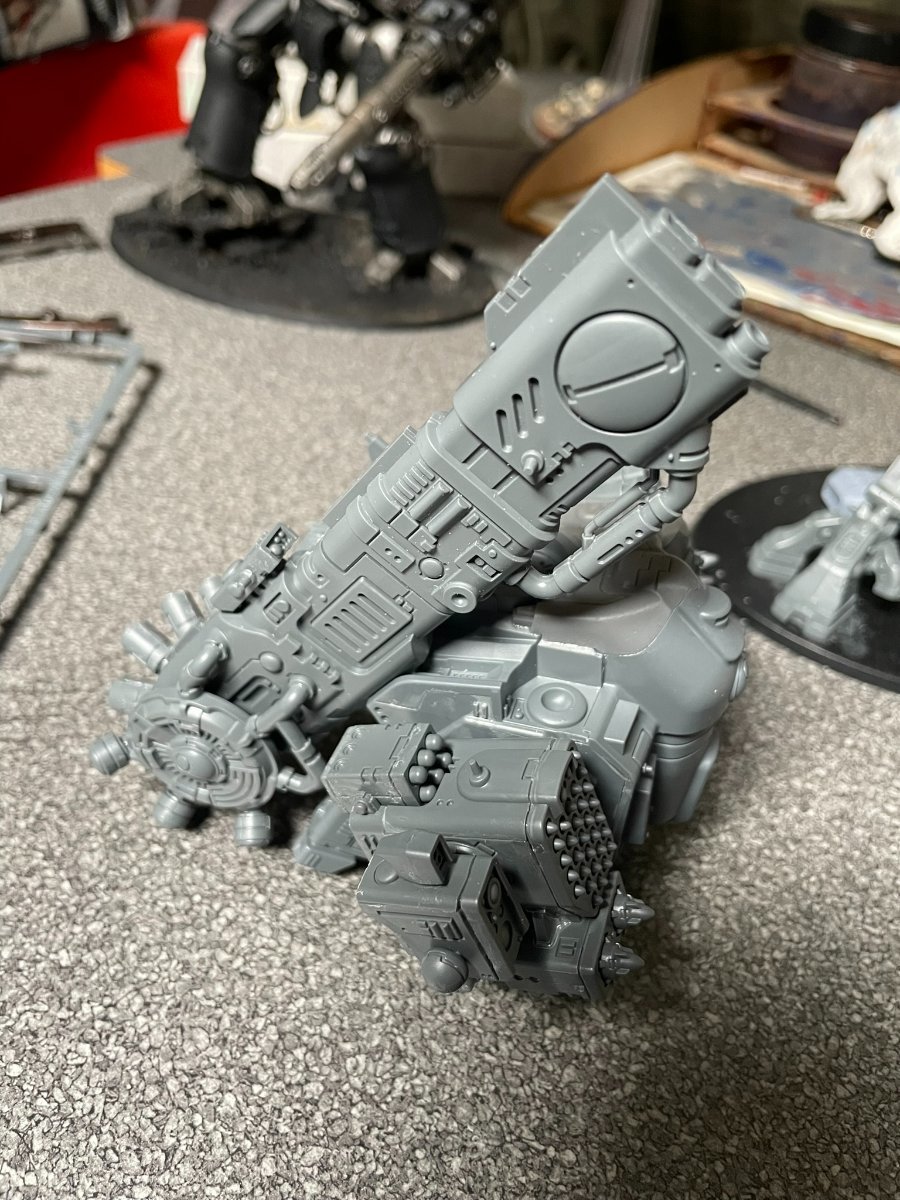
First task here was to decide how to do the main gun. I know that in most circumstances I will want to take the Pulse Blastcannon, just because it is so damn powerful! However, I much prefer the look of the Pulse Driver Cannon, as it is longer and doesn't have so many pipes (I hate painting, and specifically highlighting, pipes). I eventually settled on building the rear section of the pulse driver cannon:
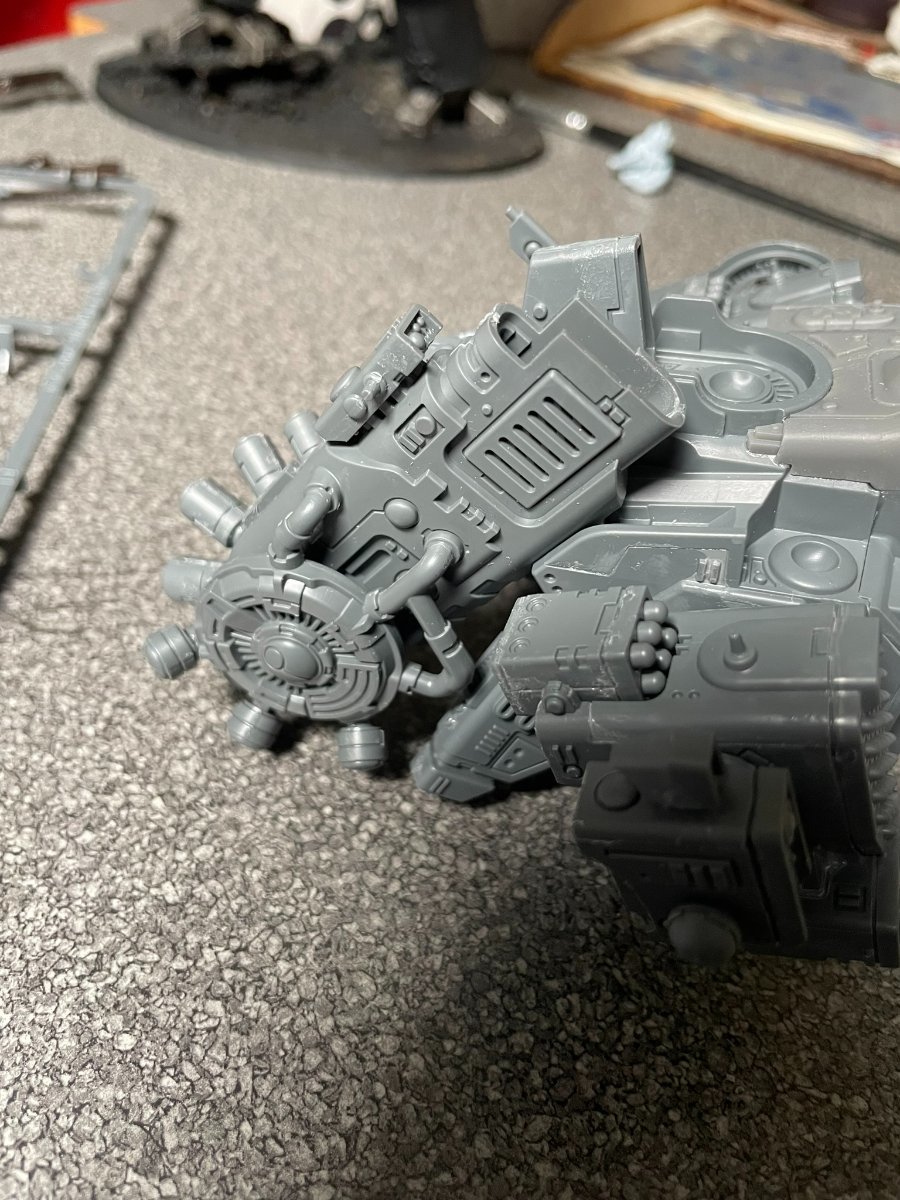
Luckily, the way the front half of the weapons fit means I actually don't need to do any extra work to magnetise them or anything. They "clip" nicely in and out of the rear section so that I can have both options available to me, which will probably end up being the longer gun for display and the stubby Blastcannon for gaming:
I decided to leave out the vent covers on the pulse driver cannon (above) because I plan to make some nice glowy plasma effects on the coils and I didn't want the vent covers to get in the way.
Thanks for the posing suggestions. I went for a slight upward angle on the missile launchers to look like they are being aimed upwards to allow a trajectory towards long-range targets. For the main pose of the machine, I went with the suggestion to face the body right, but because I still wanted to give the sense of forward momentum, I angled the head to the left and the body slightly downwards. Because I've closed off the cockpit, I wanted the head to be more of the focus point for the model than it usually would be. I think this makes the model look more dynamic, but see what you think:
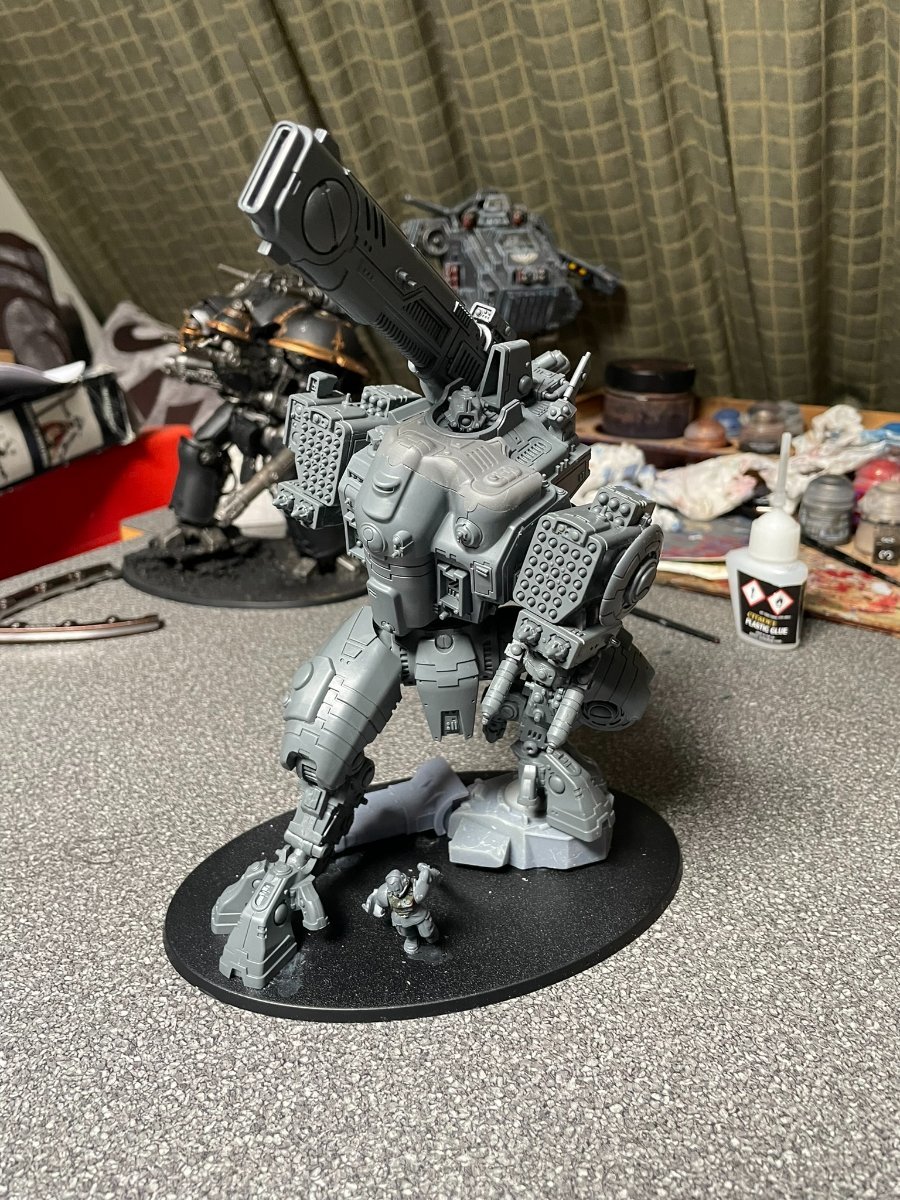
Finally, I added the basing materials and left it resting on the Knight Castellan to keep it held in the right pose while the glue dries.
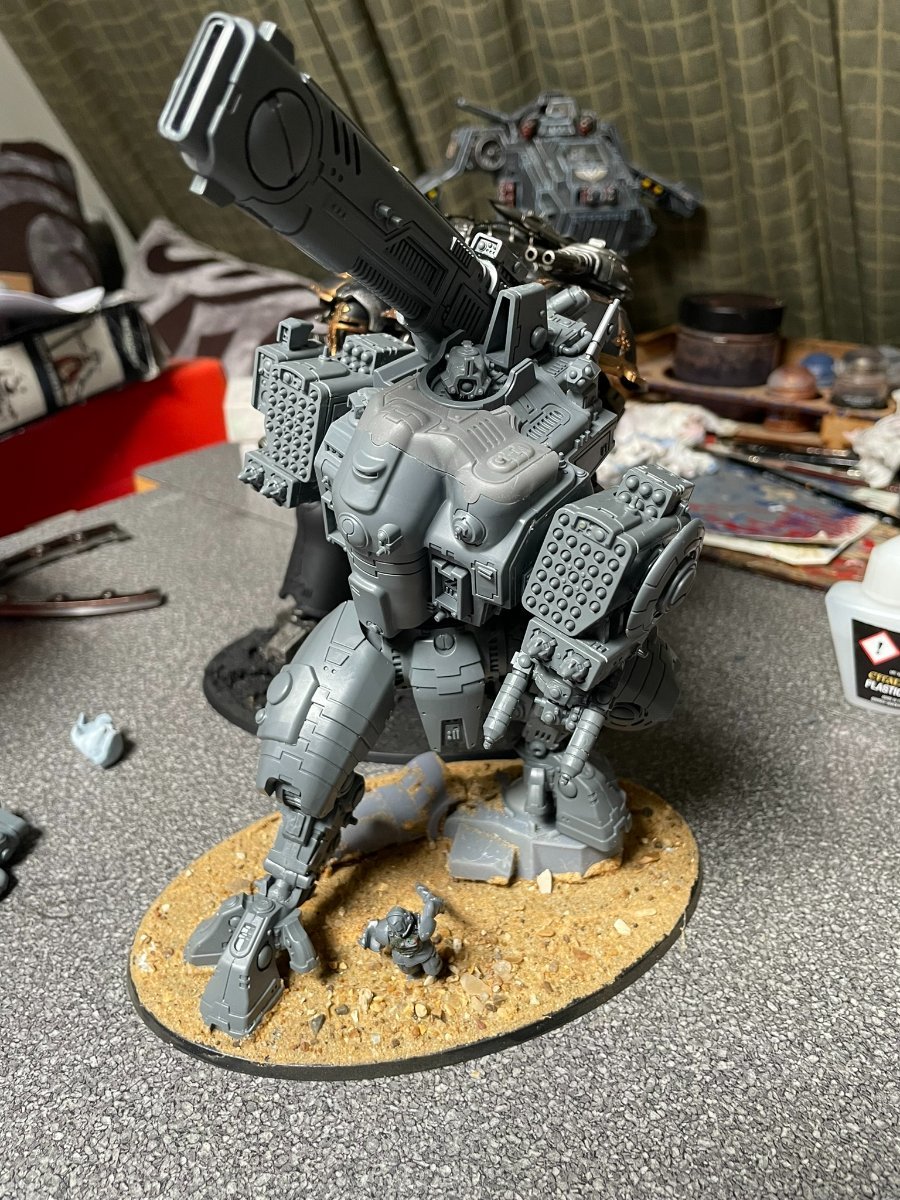
Once dry, it will be ready for priming and getting started on the paint job!
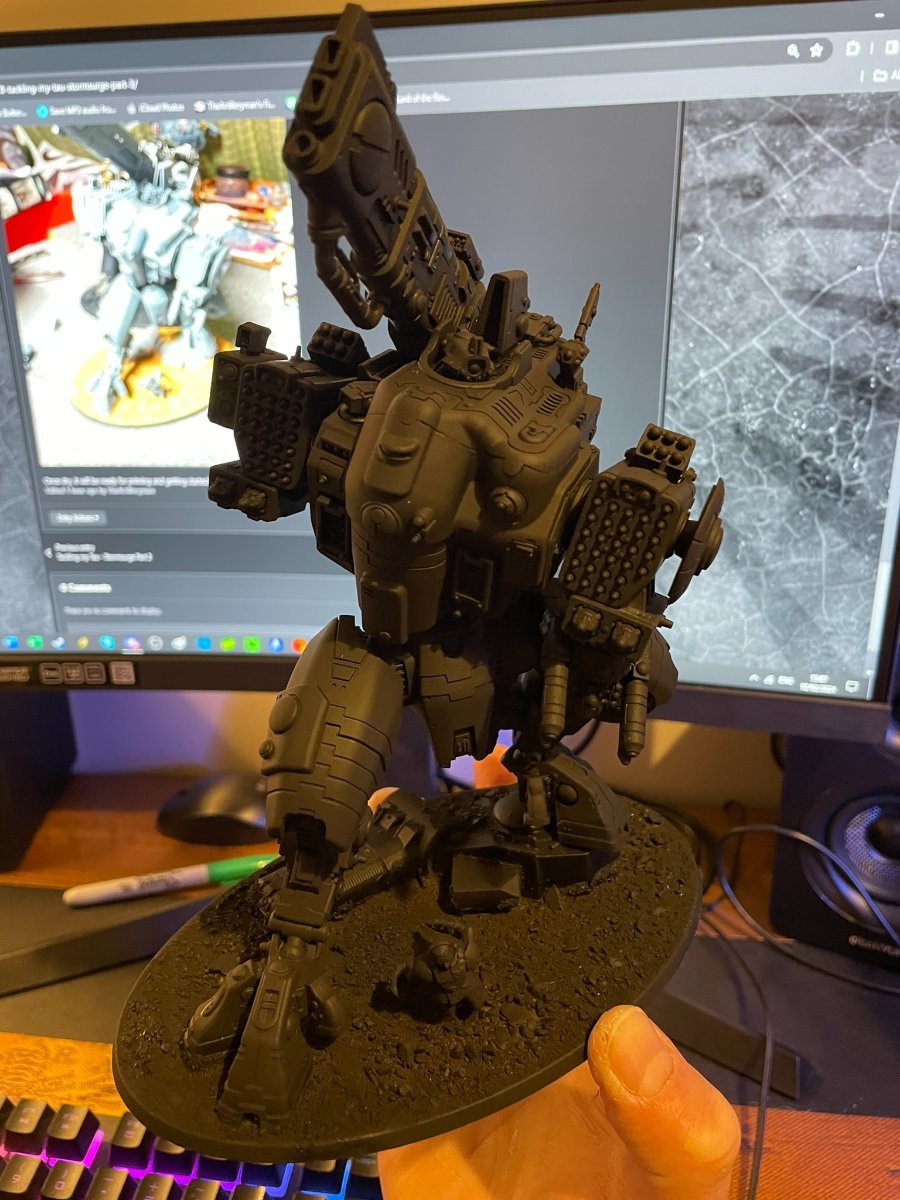
Edit: added photo of the primed model :)
Edited by TheArtilleryman

0 Comments
Recommended Comments
There are no comments to display.
Create an account or sign in to comment
You need to be a member in order to leave a comment
Create an account
Sign up for a new account in our community. It's easy!
Register a new accountSign in
Already have an account? Sign in here.
Sign In Now