Search the Community
Showing results for tags 'tutorial'.
-
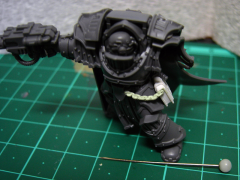
Hey everyone, welcome to my hobby thread! If you're looking for one of the colour scheme tutorials from my 'March of the Legions' project or one of the basing tutorials, please check the bottom of this post for all of the relevant links. If you can't find what you're looking for or if you have a question that's not answered in the relevant post, please feel free to send me a private message. Regards, Kizzdougs. For more regular updates check out my Instagram account @raptorimperialis I've recently been feeling the urge to start a new 40K project. After much musing and many false starts, i've decided on the Thousand Sons, Pre-heresy. They aren't my favourite legion or chapter but the TS have always be a legion full of character, imagery and conversion opportunities. A perfect combination in my opinion. This project has been at least two years in the planning process. It all started when i converted a PH TS sorcerer for a conversion competition at my local GW (which i was lucky enough to win). After building the Sorcerer i knew i had to make some more TS, they are just so fun and different. Unfortunately it has taken me over two years to finally get here. The Sorcerer who started it all. He is a relatively simple kit bash with minimal GS work. I took inspiration from the Thousand Sons art in 'Collected Vissions', especially that of Ahriman and Uthizarr. http://i1122.photobucket.com/albums/l522/kizzdougs/photo-3.jpg The test mini. I used bits from several kits to build this terminator, the majority are from the GK terminator kit and the Tomb Guard kit (WHFB). http://i1122.photobucket.com/albums/l522/kizzdougs/DSCN0290.jpg?t=1313302289 With crest added. I can't decide whether to give all the terminators these crests or just keep them for the squad leaders. Any opinions and suggestions are welcome. http://i1122.photobucket.com/albums/l522/kizzdougs/DSCN0291.jpg?t=1313302233 http://i1122.photobucket.com/albums/l522/kizzdougs/DSCN0292.jpg?t=1313302169 A close up of the force weapon. Such a simple conversion but i'm fairly happy with how it turned out. Sorry about the bad lighting. http://i1122.photobucket.com/albums/l522/kizzdougs/DSCN0289.jpg?t=1313302359 Hopefully this project will develop and progress at a not too slow pace (fingers crossed). I plan on adding some Sisters of Silence and maybe even some Custodes at a later stage. I'm certainly feeling the necessary inspiration at the moment. Any and all suggestions and advice are more than welcome, as are questions and queries. Thanks for looking EDIT: March of the Legions Painting Tutorials: Space Marine eye lenses Legions without tutorials: World Eaters Iron Warriors Sons of Horus The Rout Imperial Fists Night Lords Thousand Sons White Scars Legions with tutorials: Blood Angels Death Guard Emperor's Children - Palatine Breachers tutorial Emperor's Children Metallic (airbrush) Salamanders Ultramarines Raven Guard Word Bearers Alpha Legion (no airbrush) - Alpha Legion (airbrush) Effrit Stealth Scheme Dark Angels Iron Hands Thousand Sons World Eaters Hobby tutorials: Basing - ZM/industrial Greenstuff tutorial Desert/rocky base building Desert/rocky base painting Eye Lens Tutorial
- 3878 replies
-
- pre heresy
- thousand sons
- (and 8 more)
-
Some of my very first posts at B&C were my tutorial on how to give fantasy warrior capes to chaos space marine models. Given that its been 7 years and my approach has simplified somewhat, I thought I would redo it using the new EC noise marine models. How to bring your Emperor's Children from Fantastic to Fabulous 1. Clip out and clean up the legs and torso pieces of your EC model, as well as a fantasy warrior cape. You'll need the other EC bits later, but we won't worry about them for now. You'll also be needing glue to assemble the model, a hobby knife, a swaw and some hobby putty such as "greenstuff". Clippers can be helpful as wel, and some sort of shaping tool for the greenstuff (I use my hobby knife). 2. Using your saw, cut the back off of the torso with a cut immediately above the belt. For some models with pouches or other equipment on their belt, you may need to cut down around that first to avoid amputating it with your main cut. 3. Here are the seperated pieces. You can remove or thow out the back piece - we don't need it for this build. 4. If you haven't already, complete assemble the legs and glue them to the base. Here's a picture showing the backless model. 5. Cut your fantasy warrior cape just below the elbow, in to the walls of the "box" in the middle of the cape. You can cut a bit higher though the elbow (so as to avoid clipping the skulls on the back) but it will be a bit harder and will require removing the remaining parts of the elbow afterwards with your hobby knife. 6. Cut along the shoulder just outside the "box". If you clip the box, that's okay, it just makes for a harder cut. Stop when you start cutting the cape itself - a few small nicks won't be noticeable as they'll pretty much be hidden. I suppose you could skip this step, but it makes the cut in the next step much easier and more precise. 7. From the top of the cape, cut down along the score you made with the previous step. 8. When your vertical cut meets your horizontal cut, you'll be able to detach the shoulder portion. You may need to go back and cut a bit more horizontally if your cuts don't match. Clean up the edges of the cape along the cuts with your hobby knife. 9. Do the same thing on the other side. Note the skulls and rope on the back - we got lucky and didn't cut either of them, so its worth putting some extra care into the cuts on the side with those details to avoid them. Or, if you do trim them, you can patch them up or build them back later. 10. Trim off the bottom of the "box" - this portion will be hidden so doesn't need to be particularly neat. I like to use clippers because they are easiest and fastest, and that their cut is a bit "messier" doesn't really matter here. 11. Using a ball of greenstuff in the middle of the "box" on the cape, attach the cape to the front of the torse. Try to line up the two sides of the "bowl" for the head so that they are even - this may require you to clip a bit more of the sides of the "box" so that they fit. Don't worry about the slight gap unless its particularly massive on either side of the "bowl" - they will be hidden by the head. 12. Set the model aside to let the greenstuff cure. If you are building a batch of models, this is a good time to repeat the above process for the next model. 13. Once the greenstuff applied in the last step cures and you can handle the cape without shifting it around, greenstuff the back half of the shoulder "flats" that we removed with the back half the torso. After to you do this, prepare the arms and head to be added to the miniature. 14. Glue on the arms and head. 15. Trim off the portions of the shoulder pad that would protrude through the cape. Here, I've pointed the bits I trimmed out with the paintbrush - I trimmed off some of the rim and of the wings. 16. Mix up your greenstuff. Take about half of it, and shape it in a long triangle like the above. Starting with the base of the hole you cut in the cape, drape it accross the shoulder. 17. Cut the applied greenstuff in a straight line from the top front edge by the head down to the edge of the cape.. Remove the greenstuff on the outside of the cut line. The cutting may cause the greenstuff to bunch near the bottom or pull in weird ways - that's to be expected. 18. Smooth the greenstuff so that it matches the natural shape of the cape, paying particular attention to the outside edge and where the greenstuff meets the plastic cape at the bottom. This may require you "thinning" parts of the greenstuff by cutting it away, or adding more to fill pits or gaps. For me, other than the cutting of the cape, this is the most time consuming portion (and fiddliest) portions of the build. 19. Do the other side, but its best either to let the greenstuff cure first, or take extra care not to press on the first side and distort or destroy your previous work. 20. Let the greenstuff cure, then make a small "sausage" of greenstuff along the edge of where the "fur" portion of the plastic cape ends. 21. Using your tool, shape the "sausage" of greenstuff into a fur type pattern, trying to match (to a certain extent) the fur on the plastic cape. Once done, do the same on the other side, taking care to not squash your just competed work. 22. Put a ball of greenstuff on the back of the back pack for the model. 23. Put the backpack in the desired position - this may require some shifting it about. Once you are done, shape the visible greenstuff used to attach it into more fur. And there you have it - a fabulousized noise marine. This also works well with tormnentor & infractors, as seen by the photos below. If you are using this method to do tormentors/infractors, I like to glue their grenades, pouches and other belt items on at the last step - that way they don't get in the way for the rest of the build. One final note, the fantasy warrior capes may need some adapting where one leg protrudes behind the model, as is the case for two of the noise marines. Those models will require you to a) forgo the cape, b) use a cape from a different source what flares out on the side with the problem leg, c) tilt the fantasy warrior cloak so that it clears the leg, but realising this will effect the angle of the cape around the head or d) trim the portion of the cape that interferes with the leg and rebuild it with greenstuff. Hope this was helpful, and I look forward to seeing your fabulous EC, even if they are tragically capeless.
-
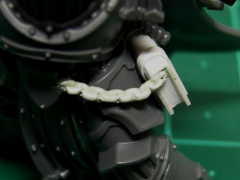
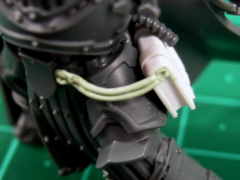
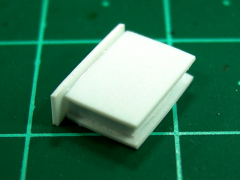
From the album: Tutorial: Book and Chain
-
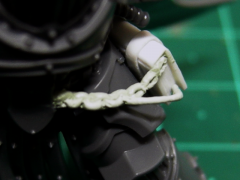
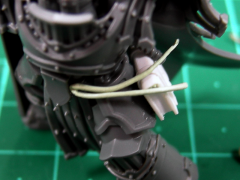
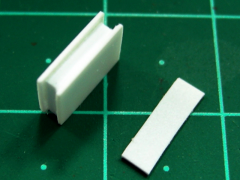
From the album: Tutorial: Book and Chain
-
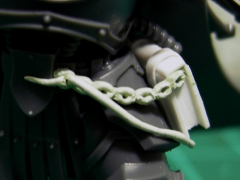
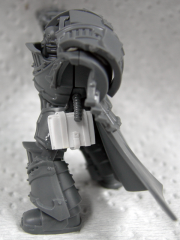
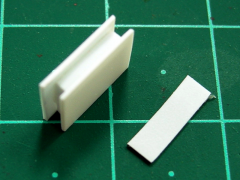
From the album: Tutorial: Book and Chain
-
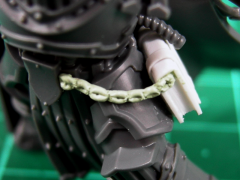
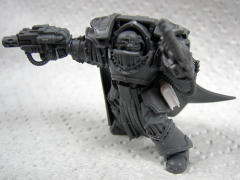
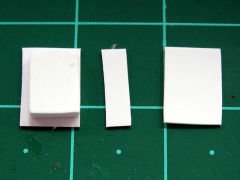
From the album: Tutorial: Book and Chain
-
From the album: Tutorial: Book and Chain
-
From the album: Tutorial: Book and Chain
-
From the album: Tutorial: Book and Chain
-
From the album: Tutorial: Book and Chain
-
From the album: Tutorial: Book and Chain
-
From the album: Tutorial: Book and Chain
-
From the album: Tutorial: Book and Chain
-
From the album: Tutorial: Book and Chain
-
From the album: Tutorial: Book and Chain
-
From the album: Tutorial: Book and Chain
-
From the album: Tutorial: Book and Chain
-
From the album: Tutorial: Book and Chain
-
From the album: Tutorial: Book and Chain
-
From the album: Salamanders
-
From the album: Salamanders
-
From the album: Salamanders
-
From the album: Salamanders
-
From the album: Salamanders
-
From the album: Salamanders
