Search the Community
Showing results for tags 'Tutorial'.
Found 12 results
-

360 downloads
Chibi Marines Template & Tutorial This download provides you with the tools and knowldge to create your own 'Chibi Marine' avatar. -
 While putting together some new Berzerker Champions, I found myself needing to reposition some power fists. I could've easily just used some guitar wire, but I wanted it to look more like the damaged cabling you often see on newer Chaos models. After thinking on it for a bit, I had an epiphany: heat shrink. Heat shrink is used in electronics to repair damaged wire insulation or to bundle multiple insulated wires together (amongst other uses). When it reaches a certain temperature, the material shrinks, usually by a factor of around 2:1 or so, so you would normally pick a diameter that is slightly larger than the wire you're insulating, slip it over the section you need it, and then apply heat. I happened to have some in a drawer from an old job, but you can get some fairly cheaply from a hardware store or Amazon. It starts with a Green Stuff tentacle, though you can always use guitar wire, and a length of heat shrink that's just a touch wider than the tentacle. Make sure the GS is fully cured. I cut out some holes and roughed up the ends of the heat shrink with some clippers and a hobby knife. I then slipped the heat shrink over the GS tentacle and applied some heat: in my case, I simply used a lighter, and held the material a few centimetres above the flame using a pair of tweezers. Not close enough to burn the material or cause the tweezers to get too hot, but enough to make the material shrink. Obviously, you will need to exercise suitable caution with this step! Being Green Stuff and soft plastic, it is still malleable enough that it can be carefully twisted and pushed into place. If you live in a cold climate, I suggest keeping a cup of hot water nearby, so you can submerge the cable into it every now and then to keep it malleable enough. Enjoy!
-
- 6
-

-

-
- chaos
- chaos space marines
- (and 1 more)
-
 Hey Brothers! Note to the moderators...The reason I've put this tutorial up here is that it is a WIP as well. It will be a running project involving all the armour marks and a number of legion specific pieces. In this first post is MKIV only with MKIII to follow soon. I've been meaning to get a tutorial on Heresy armour up here for some time now but have never found the opportunity. It would appear however that I have found the time now! The basic idea is to produce a number of tutorials which may help you to save money by converting almost any GW plastic power armour kit into a heresy armour mark! The focus is on more on the armour than the weapons but in the future I hope to share some methods I've used to turn standard plastic weaponry into heresy era stuff. I will also attempt to display how I would go about doing particular legions, eg head swaps for ultramarines and thousand sons, cloaks for DA and so on. Without further ado (and in good Star Wars tradition) let’s start off with number 4! Maximus Pattern http://i1110.photobucket.com/albums/h451/Zaevin/tutorial4050.jpg For the purpose of this tutorial I'm going to go mostly off the Forgeworld stereotype. The base model comes from the command squad box with the exception of the blood angels bolt pistol and the finecast backpack which is standard, just resin and not plastic. These principles can be applied to most GW plastic marine kits. One thing I want to encourage people to take note of (and I'm sure the vast majority already have) is that there are absolutely loads of different versions of power armour bits which are considered one mark or another. I can think of 5 or 6 different kinds of mark IV helmet for example, from forgeworld and games-workshop. There are even more pictures of mark IV in artwork which looks different from the generally accepted and now seemingly official forgeworld pattern. So the choice is massive for people wanting heresy era marines. Please note, this is just how I do it and I want to say that there are some fantastic armour tutorials out there! Hope you find this one useful too though Preparation What you'll need. http://i1110.photobucket.com/albums/h451/Zaevin/tutorial4052.jpg This is more or less what I used for the MKIV marine. Included among the usual suspects such as a sculpting tool and a hobby knife are Nail Perfection UK micro beads which I use to add to armour as bolts. Please for the love of the Emperor do not ask me how I found these... Anyway, like with any project it's a good idea to prepare the tools first so you know you've got everything you need Torso http://i1110.photobucket.com/albums/h451/Zaevin/tutorial4004.jpg Start with any mark VII torso and clean off aquillas and scull icons and so on until you have a smooth surface. http://i1110.photobucket.com/albums/h451/Zaevin/tutorial4013.jpg Then score a line from under each arm to the centre of the chest plate. http://i1110.photobucket.com/albums/h451/Zaevin/tutorial4014.jpg It should also lead behind the torso to the backpack join. Legs http://i1110.photobucket.com/albums/h451/Zaevin/tutorial4005.jpg For the legs you will need to remove the knee pads and smooth the cleared area to be the same level of the shin guard. http://i1110.photobucket.com/albums/h451/Zaevin/tutorial4027.jpg You should also cut away the curved part of the cod piece so that it is a flat surface. Prepared Surface Pieces http://i1110.photobucket.com/albums/h451/Zaevin/tutorial4008.jpg At this stage you should have something like this. I mostly find it's sometimes easiest to stick these three together now rather than sculpting the bits individually. ...and on to part two...
- 197 replies
-
- 3
-
-
- Horus Heresy
- Conversions
- (and 7 more)
-
So I posted this in my BA thread, but it might help some folks here. This tutorial will take you through the steps to go from this To this Step 1 Paint the knee pad black Step 2: Draw A circle The next stages are a circle and triangle, to define the basic shape of the skull. It doesnt really matter what order you do these in. Step 3: Draw a Triangle. Draw an isosceles trianle, with the top point roughly in the centre of the circle. This makes the upper jaw Step 4: Temple and jaws Knock the corners off the triangle with the base colour paint to make them more rounded. Where the triangle meets the circle, add smaller circles on both sides to represent the temple bones, so pronounced on GW transfers. Step 5: Teeth Add fine, irregular vertical lines to the base of the triangle Step 6: Teeth 2 Then, use the base paint to redefine the bottom of the triangle, cutting the teeth from the main skull Step 7: Nose Using a very fine brush, water down some black paint and draw two diagonal lines, forming 2 sides of a triangle to make the nose hole. These can be messy, and then tidied up with white afterwards Step 8: Eye sockets Paint 2 blobs just above the nose. I usually angle these towards the nose, but you could do them more rounded, or more angled to look angrier. I usually mess up the right hand eye, and have to have several goes at painting it, with the model at different angles. Try a few different position and styles. then go with whatever works best for you personally! EPIC TRAINING MONTAGE:
- 1 reply
-
- 9
-
-
- Freehand
- Blood Angels
- (and 5 more)
-
I put together a tutorial on painting a power sword. The power sword I did was for my counts-as Abaddon, and I did it in pink. While pink may not be everyone's go-to power sword color , the technique remains the same regardless of color, an is easy enough to change. Anyway, I hope someone finds this useful! Power Sword Painting Tutorial
-
- 3
-
-
- Wet Blending
- Tutorial
- (and 1 more)
-
 https://www.reddit.com/r/Warhammer40k/comments/194cfjt/my_death_guard_tutorial/ I found this tutorial and is quite interesting. And I really like the conversion, simple but effective.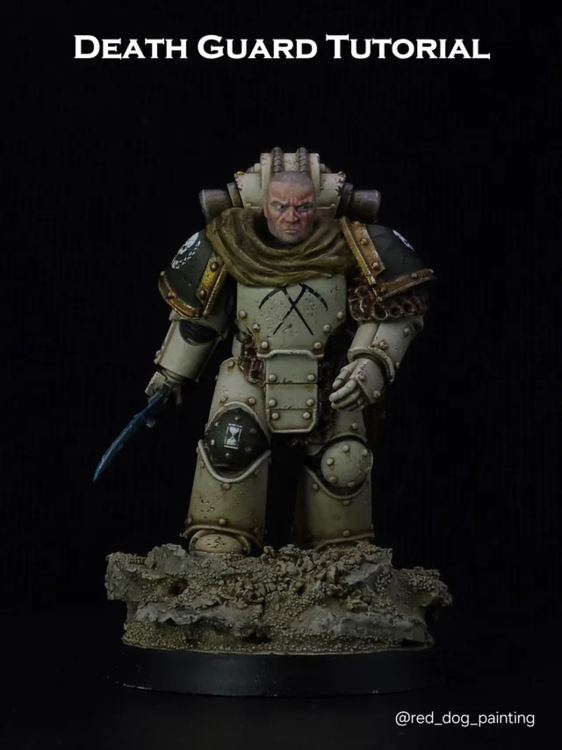
-
- 2
-
-
-
- Horus Heresy
- Death Guard
- (and 2 more)
-
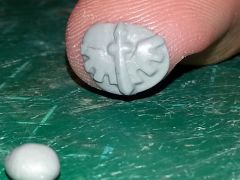
From the album: Dark Angels 5th Company WIP
-
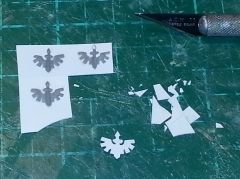
From the album: Dark Angels 5th Company WIP
-
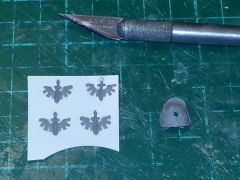
From the album: Dark Angels 5th Company WIP
-
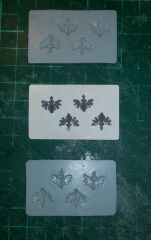
From the album: Dark Angels 5th Company WIP
-
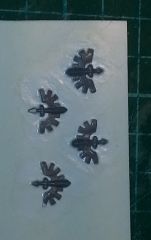
From the album: Dark Angels 5th Company WIP
-
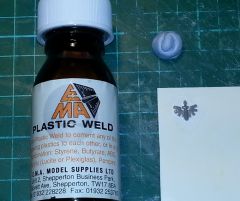
From the album: Dark Angels 5th Company WIP